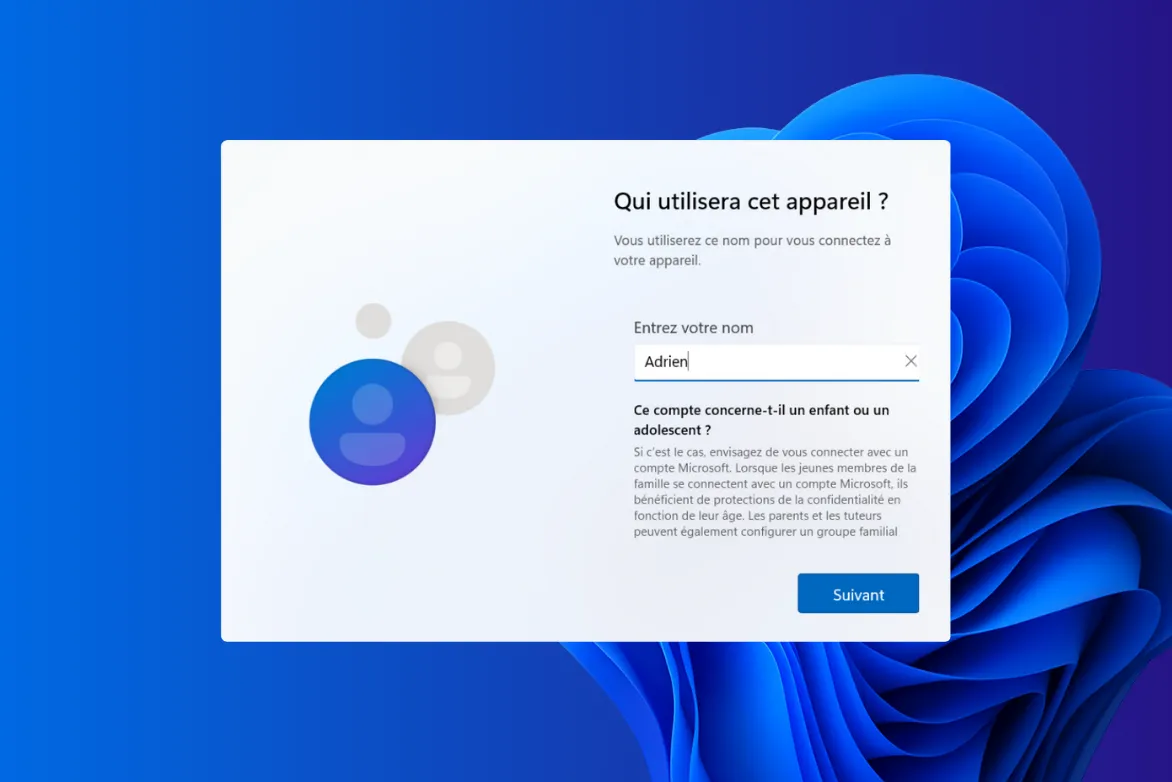
Microsoft requires an online account when installing Windows 11. If you try to proceed without an internet connection, the setup wizard freezes. If you enter a fake email address, it won’t work. This restriction and the ways to get round it change with every Windows update.
We regularly see people coming into the workshop with a freshly installed PC, stuck because they’ve followed a guide from 2023 whose instructions no longer work. This guide has been updated for June 2026 and explains what works depending on your version of Windows 11.
In this article
- Which method should you choose, depending on your situation?
- 1. Rufus: prepare a USB stick before installation
- 2. Register injection during installation
- Why not use the direct OOBEBYPASSNRO command?
- Steps for using OOBEBYPASSNRO manually
- 3. Disconnect from the internet before starting
- Don’t let Windows force you to use a Microsoft account
Which method should you choose, depending on your situation?
Before we get into the detailed steps, here’s a quick overview:
- Create the USB stick now: use Rufus with the local account option. This is the simplest and most reliable method in 2026.
- You are already on the configuration screen: try the ‘registry’ command (below). Disconnect from the internet first.
- You have already set up a Microsoft account: you can switch to a local account via Settings; see the bottom of the page.

1. Rufus: prepare a USB stick before installation
Rufus is a free piece of software that creates Windows installation USB drives. Since version 3.2, it has included an option that removes the requirement for a Microsoft account from the installation image. No manual intervention during OOBE, no commands to type, and no risk of Windows detecting an internet connection and asking you for an account again.
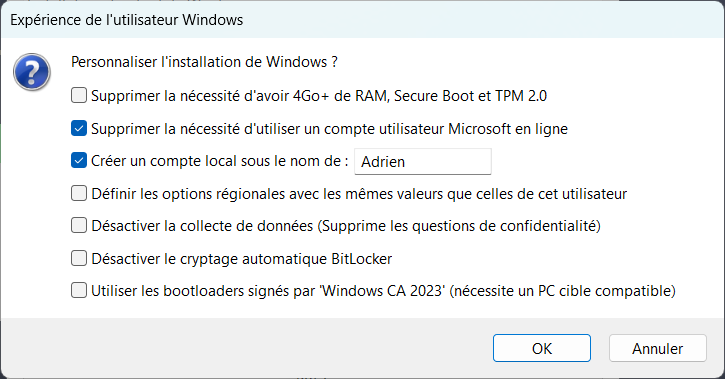
Download Rufus from rufus.ie and obtain your official Windows 11 ISO file. In Rufus, select your USB stick and your ISO file. Click Start. A customisation window will appear; this only appears with Windows 11 ISO files.
Tick the following two options: ‘Remove the requirement to use an online Microsoft user account’ and ‘Create a local account with the name: [your first name]’. Click OK. Rufus adds an autounattend.xml file to the USB stick. When the installation starts, Windows reads this file and skips the Microsoft account screen.
2. Register injection during installation
Why not use the direct OOBEBYPASSNRO command?
The OOBEBYPASSNRO command was historically the best-known method. It is unreliable in 2026. Microsoft has removed the script from recent builds of Windows 11 24H2 (since around March 2025). On some older versions, or if you are installing without an internet connection, it may still work. However, with an active internet connection, Windows may detect the connection and ignore the bypass, taking you back to the Microsoft account screen.
The method using the direct registry key is more reliable because it does not call the deleted script; instead, it writes the value directly.
Steps for using OOBEBYPASSNRO manually
Boot your PC from the Windows 11 installation USB drive. Follow the initial steps (language, keyboard). When you reach the screen asking you to connect to a network or a Microsoft account, start by unplugging the Ethernet cable or turning off Wi-Fi if you have it.
Press Shift + F10 at the same time (or Fn + Shift + F10, depending on your keyboard) to open the command prompt. Then type the following two commands, one after the other:
reg add HKLMSOFTWAREMicrosoftWindowsCurrentVersionOOBE /v BypassNRO /t REG_DWORD /d 1 /fshutdown /r /t 0The PC will automatically restart and boot to the installation screen. Open the command prompt again using Shift + F10, then type:
ipconfig /release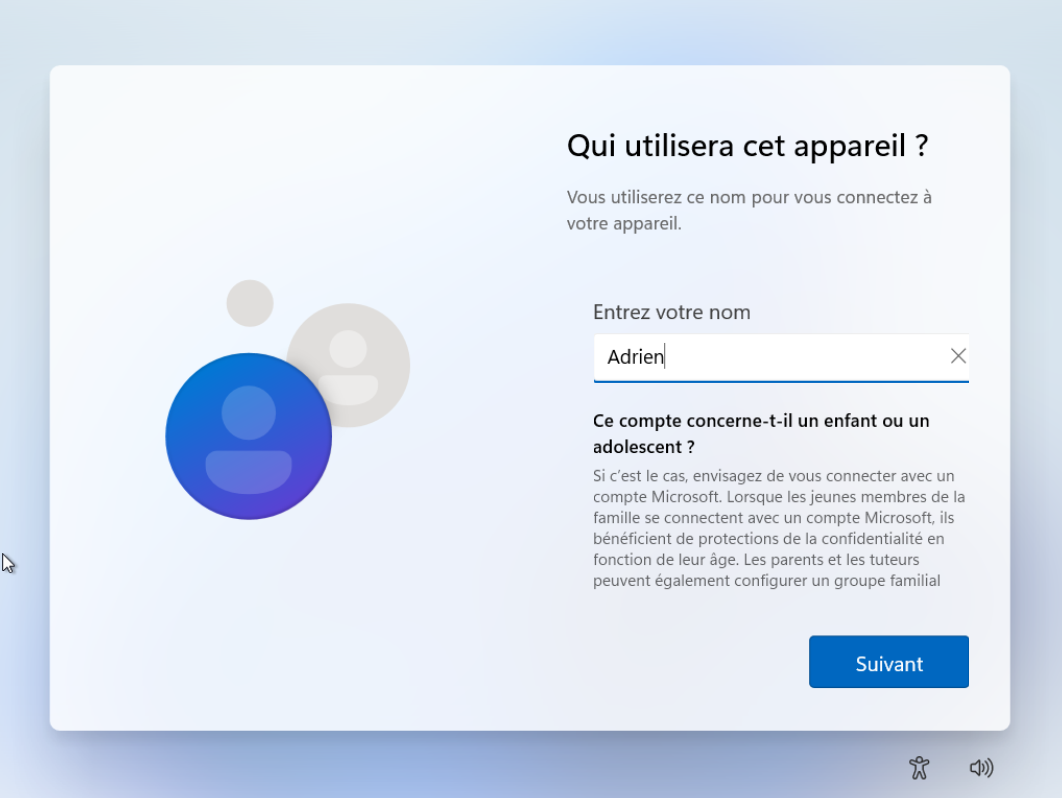
This command disables the network connection, preventing Windows from verifying an online account. Close the command prompt. The wizard will now prompt you to create a local account directly, without requiring a Microsoft account or an internet connection.
Add Assistouest to your preferred sources on Google so you can find our guides faster when you search for an IT solution.
3. Disconnect from the internet before starting
The most discreet – and often overlooked – method is simply to unplug your Ethernet cable and disable Wi-Fi before starting the installation. If Windows does not detect any network on the OOBE screen, the ‘I don’t have internet’ option appears automatically, which leads to the creation of a local account without any further action required.
This method doesn’t work on all PCs; some network cards are recognised before you even have a chance to do anything. But on a desktop PC with an Ethernet cable, it’s enough and requires no technical know-how.
Don’t let Windows force you to use a Microsoft account
| Criterion | Local account | Microsoft account |
|---|---|---|
| General operation | Strictly local use without the cloud | Logged-in profile linked to online services |
| Privacy | Very high as no data is synchronised | Lower, as data is transferred to the cloud |
| Installation of Windows | Possible without an internet connection | Requires an active connection |
| Access to services | Features limited to local use | Full access to OneDrive and cloud apps |
| Synchronisation between devices | No synchronisation | Settings, themes and passwords synchronised |
A local account completely isolates you from Microsoft services: no synchronisation, no data is transmitted. A Microsoft account centralises your settings, history and OneDrive files across all your devices. If you have several PCs or use Microsoft services frequently, the online account makes sense. If privacy is a priority or if the PC remains offline, the local account is more suitable. You can create a local user account after installation if you change your mind.