Windows Defender is the native Windows antivirus designed to protect your system from threats in real time. However, in certain situations, you may need to temporarily disable it: installing incompatible software, performance testing or managing another antivirus. In this article, we explain step-by-step how to disable Windows Defender.
How do I temporarily disable Windows Defender?
Temporarily disable Windows Defender from its interface
If you wish to disable Windows Defender for a short period, you can do so via the Windows security settings.
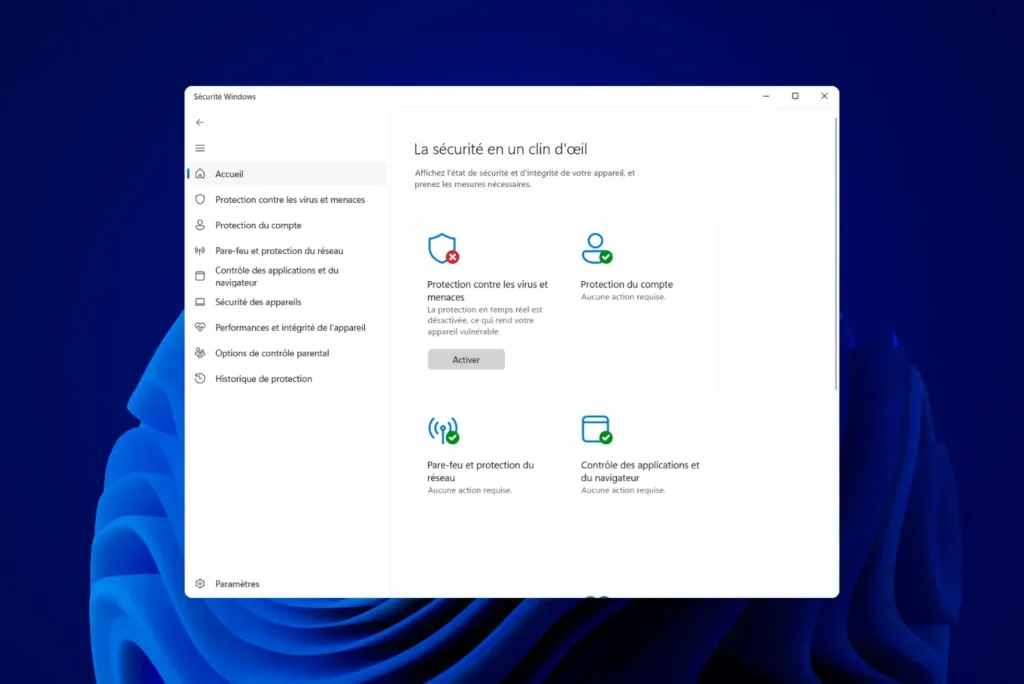
- Click on the Start menu and search for Windows Security.
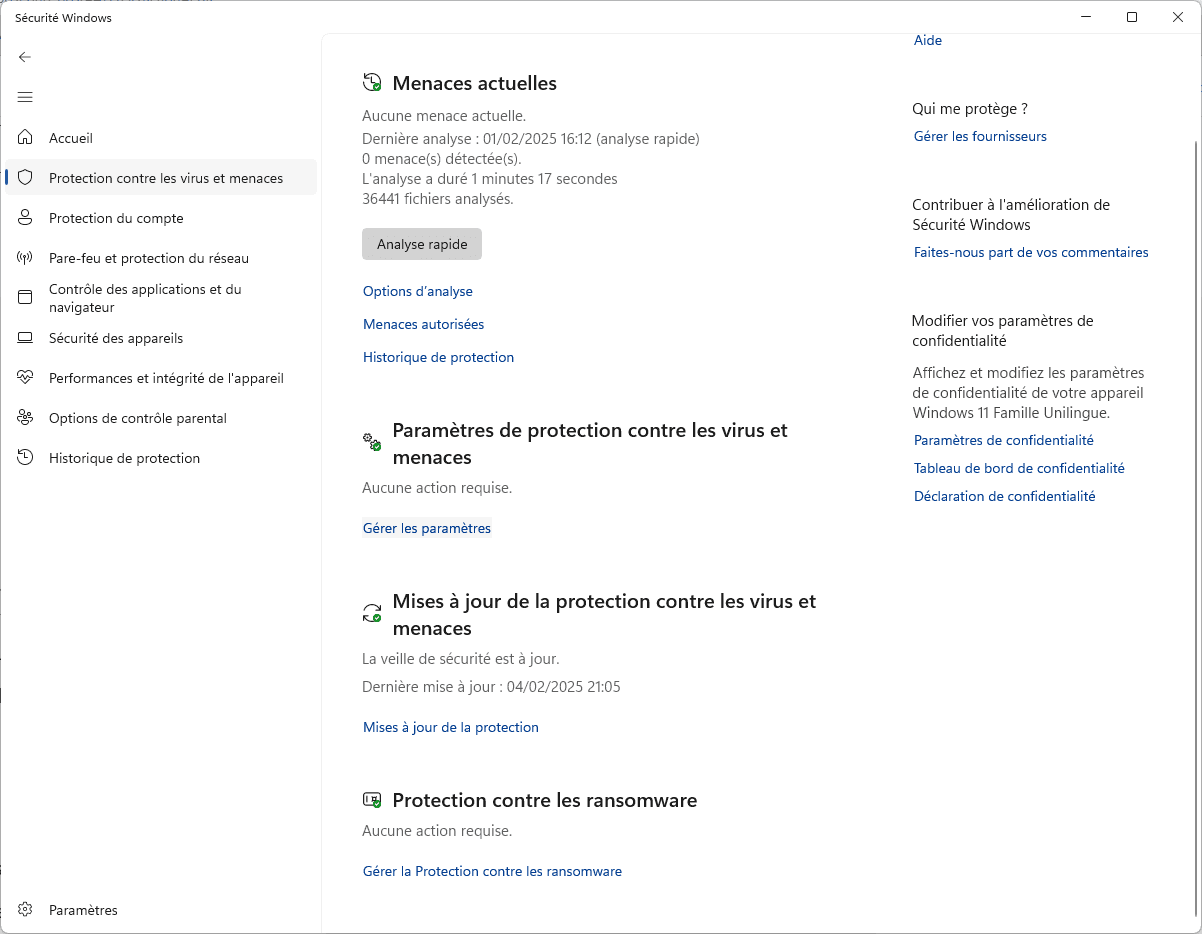
- Open the software and click on Virus and ThreatProtection.

- Then click on Manage settings.
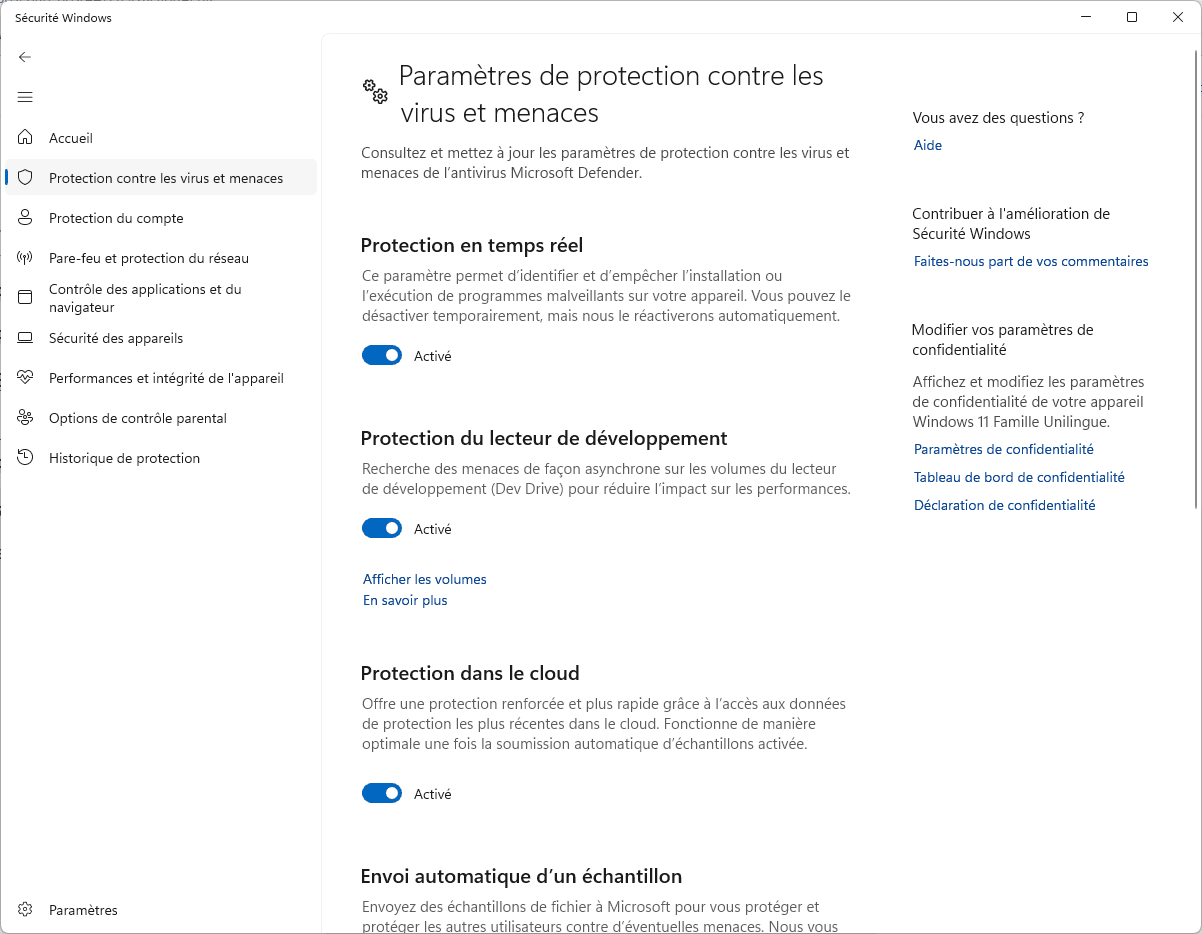
- Deactivate Real-time protection.
- Deactivate Cloud Protection.
- Deactivate Automatic sample sending.
- Deactivate Development drive protection.
- Deactivate Protection against tampering.
Windows may request confirmation via User Account Control (UAC). Accept to validate changes.
🔹 Note: This method disables Windows Defender only temporarily. Real-time protection will reactivate automatically after a Windows restart or update. You will need to manually reactivate the other options.
Read our article: Is Windows Defender a good antivirus?
Did you find this article helpful?
Share it so others can benefit from it.
Learn more about the author
