
Frankly, what could be better than a gaming PC you’ve built yourself? You choose every component, you optimize performance, and what’s more, it’s great fun (I promise). If you’re tempted by the idea, this guide is for you. Follow me, I’ll explain everything, from buying the parts to the first switch-on.
In this article
- Example of an assembled configuration for a modern gaming PC
- 1. Your needs define the technical characteristics of your PC
- Let’s take the example of a gaming PC for playing Fortnite
- 2. The processor defines the entire configuration
- 2. Choose the right ventilation for your processor
- 3. The motherboard must be compatible with the CPU and RAM.
- 4. DDR5 RAM at 5600 MHz
- 5. Affordable, high-performance storage
- 6. The graphics card: an RTX 4060 for Ultra gaming
- 7. Feeding, a necessary life cycle calculation
- 8. A full-tower box to accommodate my configuration
- Practical application: How to assemble your gaming PC?
- 1. Unpack motherboard and insert processor
- Installing the processor using the coder
- 2. Fix the motherboard in the case
- 3. Positioning and securing the ventirad
- 4. Place the other components: NVMe SSD, RAM, GPU
- 5. Position and connect power supply
- 6. Connect motherboard and case
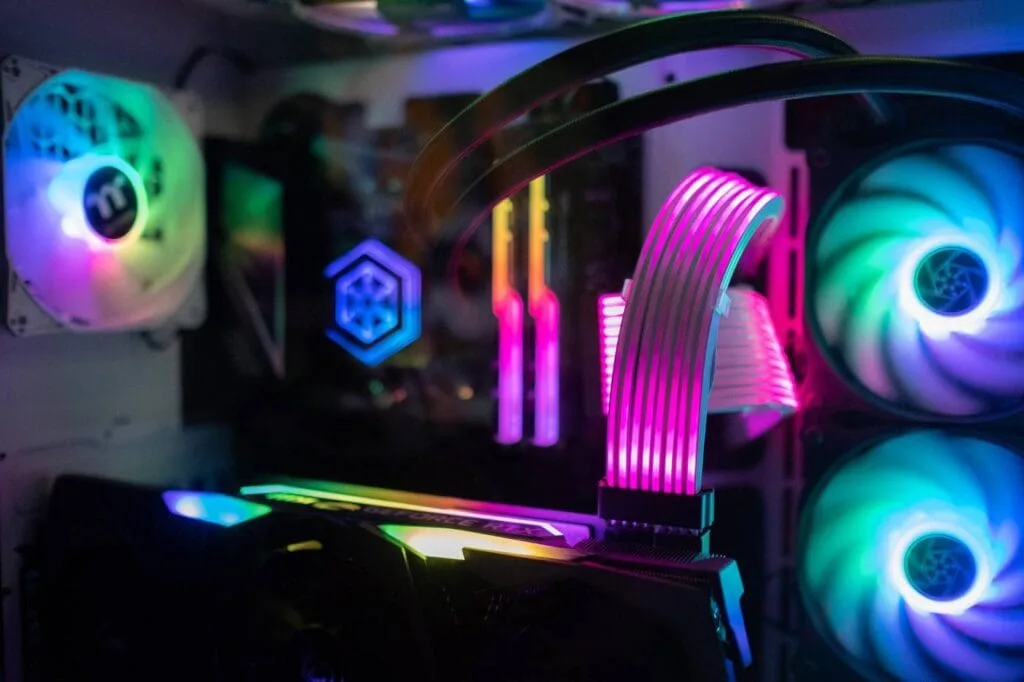
Example of an assembled configuration for a modern gaming PC
1. Your needs define the technical characteristics of your PC
What am I going to do with my PC? This often overlooked consideration is the first step in determining the ideal technical specifications for your future gaming PC.
A gamer will be looking for impressive graphics performance and computing power capable of handling the most demanding games. This calls for a dedicated graphics card, a fast processor and good RAM capacity. Furthermore, the balance between components is very important to maximize performance and your investment.
Creative people (designers, video editors, developers) will have even more specific requirements, such as a multi-core processor, a large amount of RAM or fast storage space to manage their large projects.
Don’t be seduced by impressive specifications that may not correspond to your real needs.
To assess your needs accurately, consult this practical guide: How to choose the right laptop?
Let’s take the example of a gaming PC for playing Fortnite
Let’s take Fortnite as an example, a super-popular game that requires a minimum of power to run properly. Before even thinking about components, we start by finding out what technical specifications are required. What’s the point? Because this will help you avoid over-investing or, worse still, under-sizing your config.
| Configuration | Usage | Key features |
|---|---|---|
| Recommended | For comfortable, fluid gaming |
– Graphics card: Nvidia GTX 960 / AMD R9 280 (DirectX 11, 2 GB VRAM) – Processor: Intel Core i5-7300U or AMD Ryzen 3 3300U – RAM: 16 GB – Storage: NVMe SSD – OS: Windows 10/11 64-bit |
| Minimum | For reduced-quality gaming |
– Graphics card: Intel HD 4000 or AMD Radeon Vega 8 – Processor: Intel Core i3-3225 (3.3 GHz) – RAM: 8 GB – Storage: HDD possible, but SSD recommended – OS: Windows 10 64-bit, version 1703 minimum |
| Epic | For a premium (ultra) experience |
– Graphics card: Nvidia RTX 3070 / AMD Radeon RX 6700 XT (8 GB VRAM or more) – Processor: Intel Core i7-8700 or AMD Ryzen 7 3700x – RAM: 16 GB or more – Storage: NVMe SSD (mandatory) – OS: Windows 10/11 64-bit |
If you want to play comfortably, the recommended configuration is ideal. It offers a good balance between performance and budget. For those aiming for ultra graphics and high FPS, the epic configuration is a must. Finally, if you’re just starting out or your budget is limited, the minimum configuration may suffice, but don’t expect wonders.
2. The processor defines the entire configuration
The processor (CPU) is like the conductor of your gaming PC. It dictates overall performance, but also compatible components. That’s why it’s important to choose your processor first. Once you’ve done that, you can build the rest of your configuration around it.
For my configuration, I opted for the Intel Core i5-14600K, a balanced and powerful processor, ideal for both gaming and multitasking. Here’s why this CPU stands out:
This CPU also contains an iGPU, ideal for computer troubleshooting.
| Features | Details |
|---|---|
| Architecture | Raptor Lake (13ᵉ generation Intel Core) |
| Socket | LGA 1700 |
| Number of cores | 14 (6 Performance-Cores + 8 Efficient-Cores) |
| Number of threads | 20 threads |
| Base frequency | 3.5 GHz (Performance-Cores) / 2.6 GHz (Efficient-Cores) |
| Boost frequency | Up to 5.3 GHz (Performance-Cores) / 4.0 GHz (Efficient-Cores) |
| Cache | 24 MB (L3), 20 MB (L2) |
| TDP (thermal power) | 125 W (Base) – up to 253 W (Maximum Boost) |
| Memory support | DDR4-3200 and DDR5-5600 |
| PCIe | PCIe 5.0 and PCIe 4.0 support |
| Integrated graphics | Intel UHD Graphics 770 |
| Overclocking | Yes, processor unlocked |
| Chipset compatibility | 600 and 700 series (LGA 1700) |
| Supported technologies | Intel Hyper-Threading, Turbo Boost Max 3.0, VT-x, VT-d |
| Manufacturing | 10 nm “Intel 7 |
You can also buy this excellent processor for gamers here.
With such a powerful processor, it’s essential to choose compatible components to avoid any problems and maximize performance. Here’s what you need to remember:
| Criteria | Compatibility with i5-14600K |
|---|---|
| Socket | LGA 1700 |
| Chipsets | 600 and 700 series |
| RAM | DDR4 (3200 MHz max) or DDR5 (5600 MHz max) |
| Power supply | Minimum 650 W, 750 W recommended for full gaming configuration |
| Cooling | Ventirad or watercooling required (not included with processor) |
2. Choose the right ventilation for your processor
With a processor like the Intel Core i5-14600K, which can deliver up to 253 W in boost mode, a high-performance cooling system is essential.
For my configuration, I opted for the Noctua NH-D15 chromax.black, a high-end dual-tower ventirad that combines performance, silence and aesthetics.
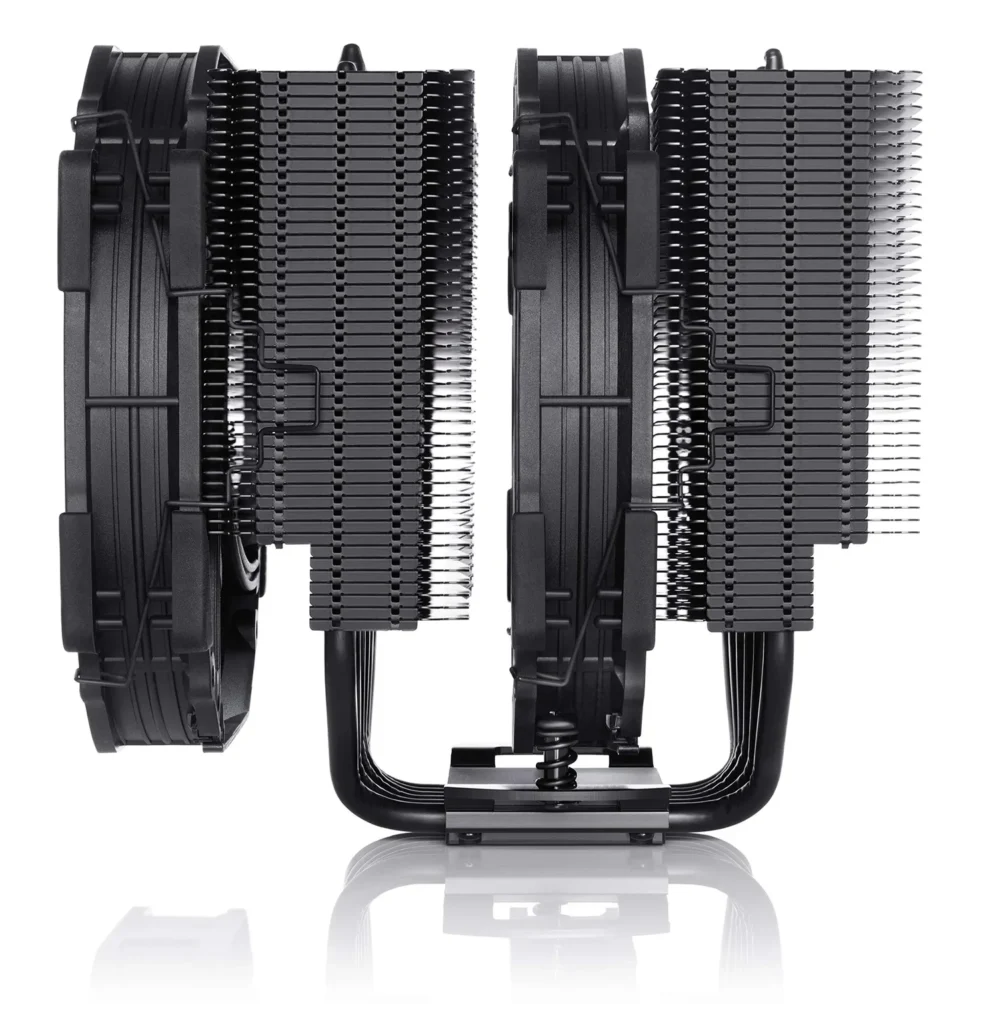
With its two 140 mm fans and double-tower design, the NH-D15 chromax.black offers impressive heat dissipation. Even during long gaming sessions or light overclocking, it keeps the processor at optimum temperatures.
The ventirad is fully compatible with the LGA 1700 socket used by my i5-14600K processor, and fits seamlessly into most mid- and full-tower cases thanks to its well-thought-out design.
3. The motherboard must be compatible with the CPU and RAM.
The motherboard must be able to fully exploit the capabilities of your processor and manage the RAM you plan to use. That’s why it’s essential to check the following points:
3.1 A LGA 1700-compatible motherboard for my CPU
First of all, compatibility starts with the socket. My CPU uses an LGA 1700 socket, which means I need a motherboard that supports this standard. Without this, it’s impossible to mount the CPU. Then the chipset comes into play. With a processor of this stature, it would be a shame not to exploit its overclocking capabilities and advanced technologies such as PCIe 5.0 or optimized DDR5 management. That’s why I opted for a 700 series chipset, more precisely a Z790, which offers everything you need for a high-performance, scalable configuration.
3.2 A DDR5-compatible motherboard
The choice of RAM is just as decisive. With a modern processor like the i5-14600K, I preferred DDR5, faster and capable of handling high frequencies like 5600 MHz. This offers a notable advantage in the most demanding games and intensive multitasking. However, the motherboard had to be compatible with this technology. Fortunately, motherboards equipped with a Z790 chipset support DDR5 without a hitch.
3.3 A motherboard that integrates Bluetooth and supports NVMe SSDs
But I didn’t want to stop there. As my gaming headset uses Bluetooth, I wanted to avoid having to use an external adapter. So a motherboard with integrated Bluetooth was the obvious choice. And for ultra-fast loading times and large file handling, support for NVMe PCIe 4.0 or 5.0 SSDs was a must.
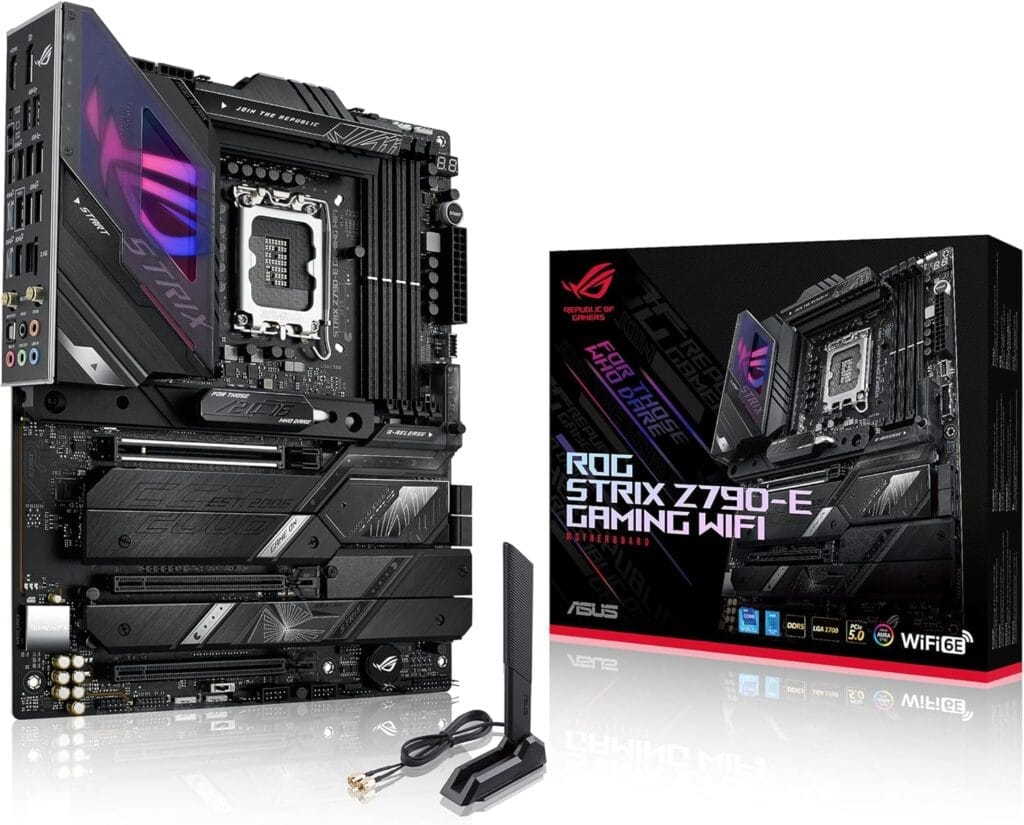
3.4 I chose the ASUS ROG STRIX Z790-E GAMING WIFI
After weighing up all these considerations, my choice fell on a motherboard that ticks all the boxes: the ASUS ROG STRIX Z790-E GAMING WIFI. It’s compatible with my processor and RAM, and also offers features like Bluetooth 5.3, Wi-Fi 6E and PCIe 5.0 SSD support. What’s more, its design is perfect for a gaming setup with a sleek, professional style.
Choose a motherboard tailored to your specific needs
Choosing a motherboard is like laying the foundations of a house. The right choice guarantees stability and scalability for years to come. With the right model, you avoid limitations and open the door to a high-performance, long-lasting configuration. Now that this step has been validated, it’s time to move on to the rest of the assembly! ?
4. DDR5 RAM at 5600 MHz
With a processor like the Intel Core i5-14600K, capable of fully exploiting DDR5, it was obvious that this would be my choice.
For my configuration, I opted for a Crucial 16 GB (2×8 GB) DDR5 5600 MHz kit.
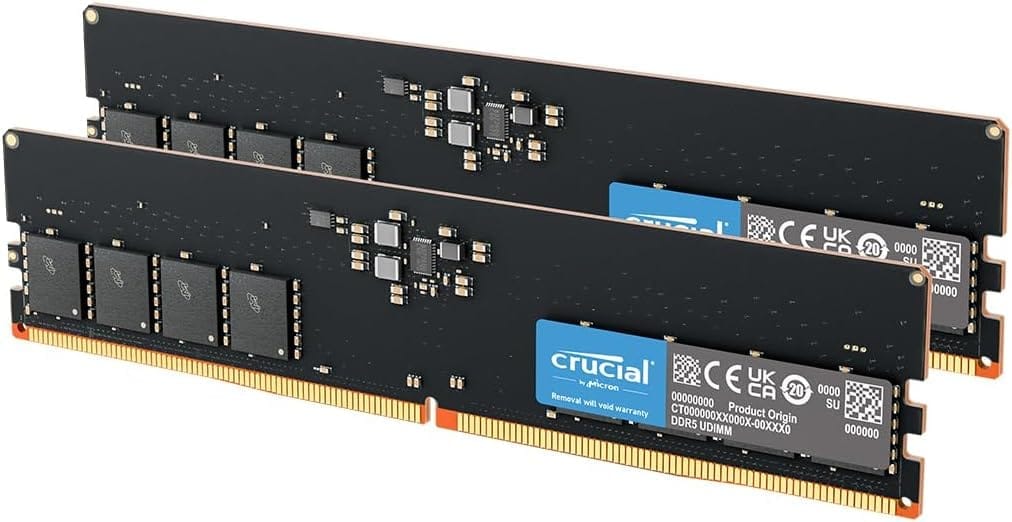
DDR5 at 5600 MHz offers much higher bandwidth than DDR4, so data flows more quickly between RAM and other components such as the processor and graphics card.
A 16 GB kit (2×8 GB) is more than sufficient for modern games and standard multitasking tasks. Fortnite, Cyberpunk 2077 or even software such as Discord, Spotify and browsers open in the background have no trouble running simultaneously with this capacity.
Choosing a 2×8 GB kit also allows you to take advantage of dual-channel, which doubles bandwidth compared to a single module. This translates into enhanced performance in games and applications.
5. Affordable, high-performance storage
With AAA titles becoming increasingly space-hungry and loading times quickly becoming frustrating, it’s essential to invest in a fast, reliable solution. Here are the choices I made for my configuration.
5.1 A high-performance NVMe SSD for Fortnite
For my operating system and applications, I opted for the Crucial T700 1TB M.2 NVMe SSD with integrated heatsink. This SSD is a real jewel of technology, making full use of the PCIe 5.0 on my ASUS ROG STRIX Z790-E GAMING WIFI motherboard.
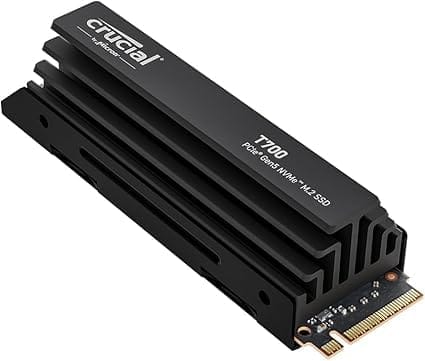
With read speeds of up to 11,700 MB/s and write speeds of up to 9,500 MB/s, start-up and loading times are virtually non-existent. Opening a game or launching an application is a snap, even for the heaviest software. The included heatsink is a significant plus, maintaining optimum performance and preventing overheating during intensive use.
5.2 A SATA SSD for maximum game storage
To meet my space requirements, especially for my games library, I’ve added a Crucial MX500 in 4Tb version. This SATA SSD is perfect for storing large amounts of data without breaking the bank. Admittedly, it’s not as fast as an NVMe SSD, but with read speeds of up to 560 MB/s, it’s still a top performer for less demanding games.
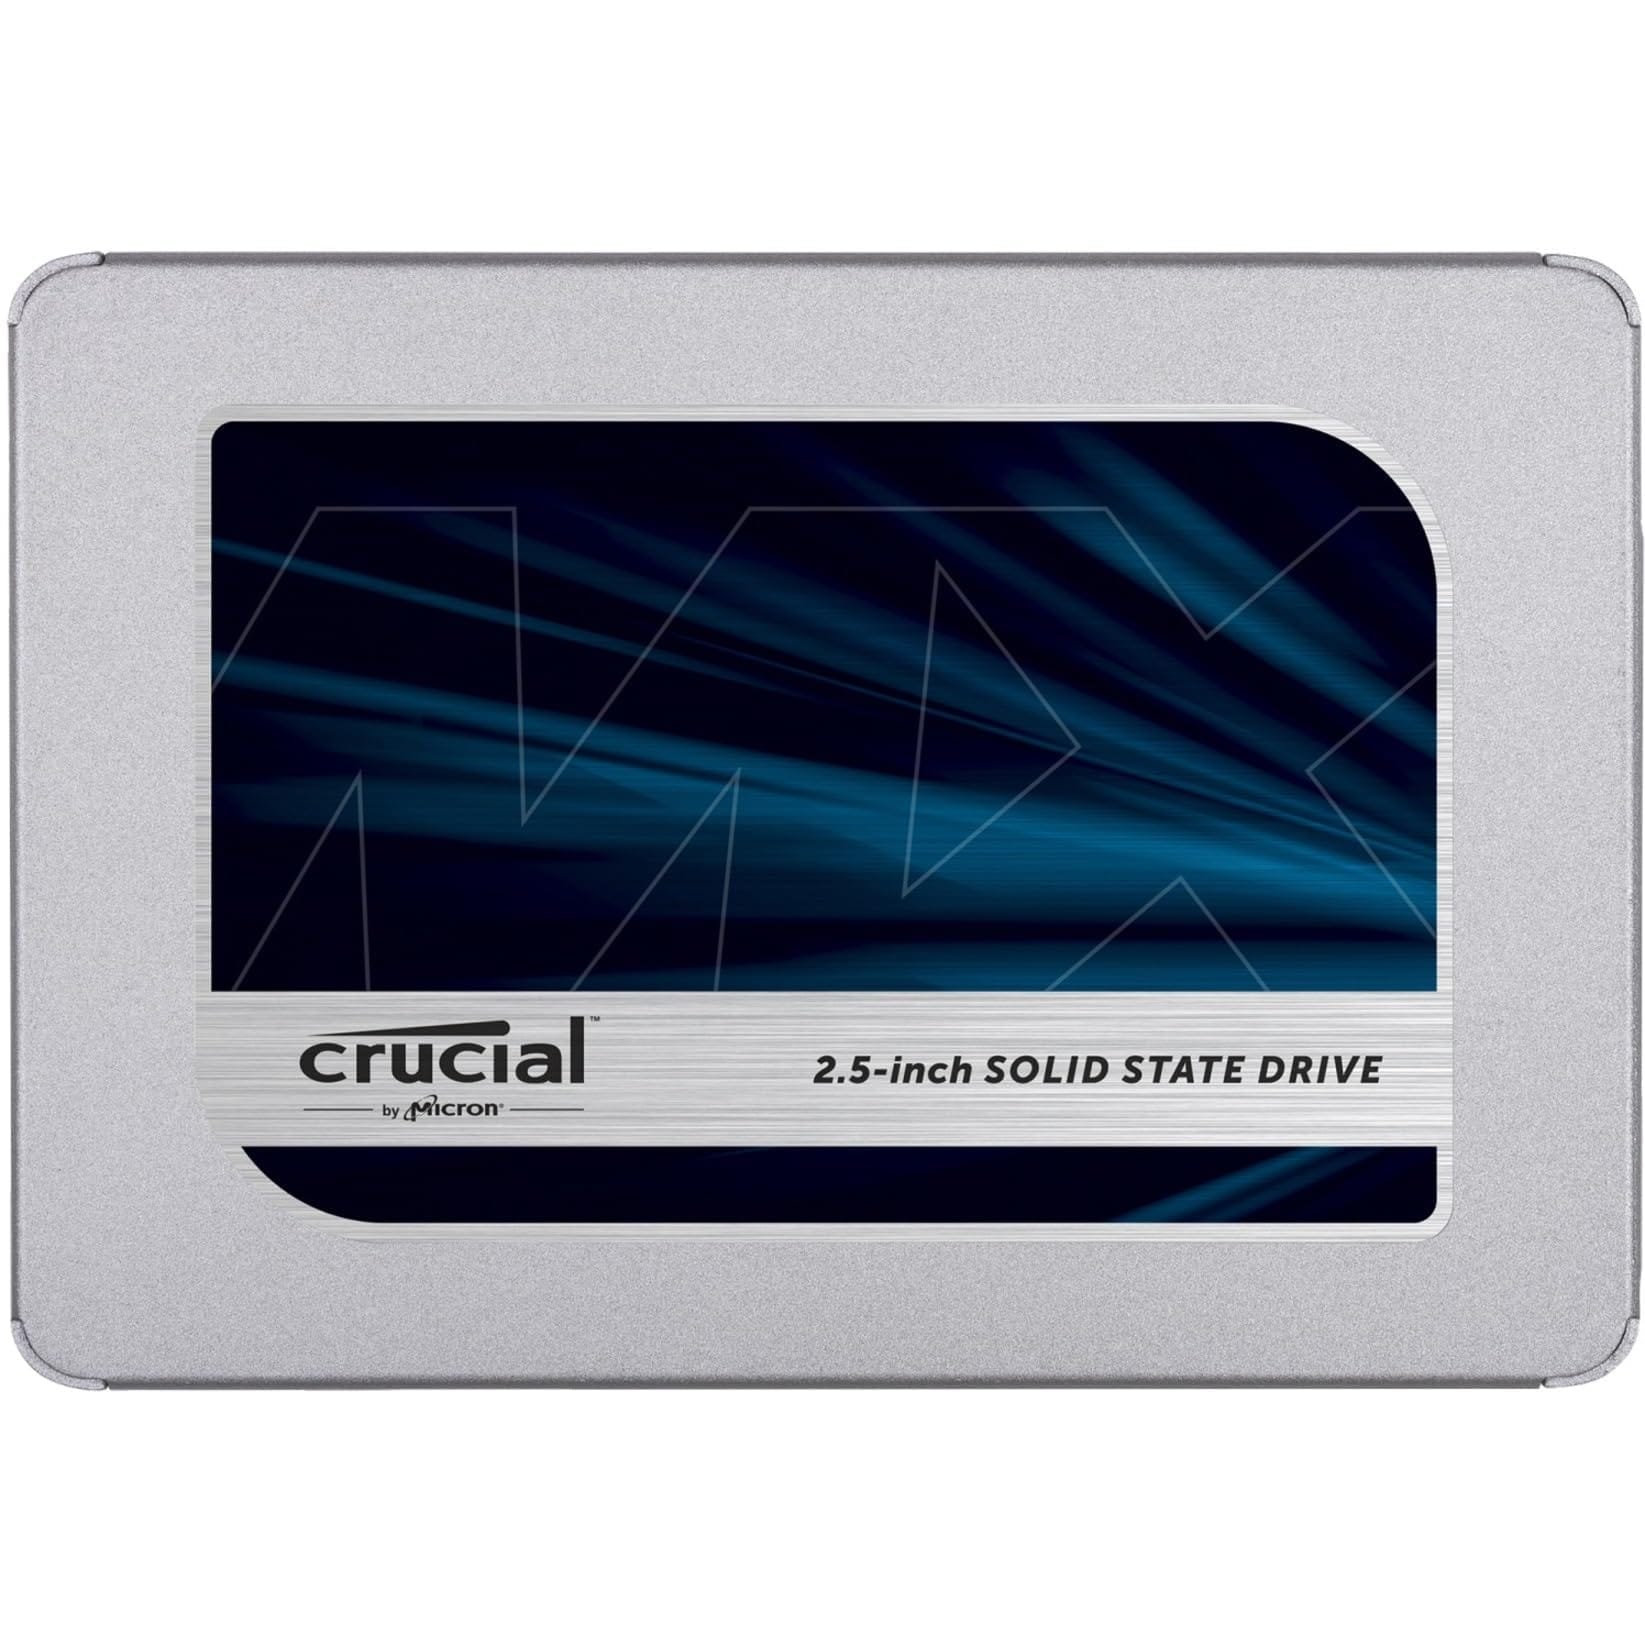
With its 4TB capacity, I can install dozens of games and still have room for large files such as videos or creative projects. This capacity means I’m not constantly juggling installs and uninstalls, which is a welcome comfort.
See our comparison of the best NVMe SSDs and our selection of SATA SSDs.
6. The graphics card: an RTX 4060 for Ultra gaming
In a gaming PC, the graphics card takes care of game graphics, textures, shadows and, of course, the FPS count. If you want to play Fortnite in ultra quality, with constant FPS and impeccable fluidity, you need a graphics card capable of meeting these requirements. For my configuration, I chose Gigabyte’s RTX 4060 EAGLE OC 8GB GDDR6.
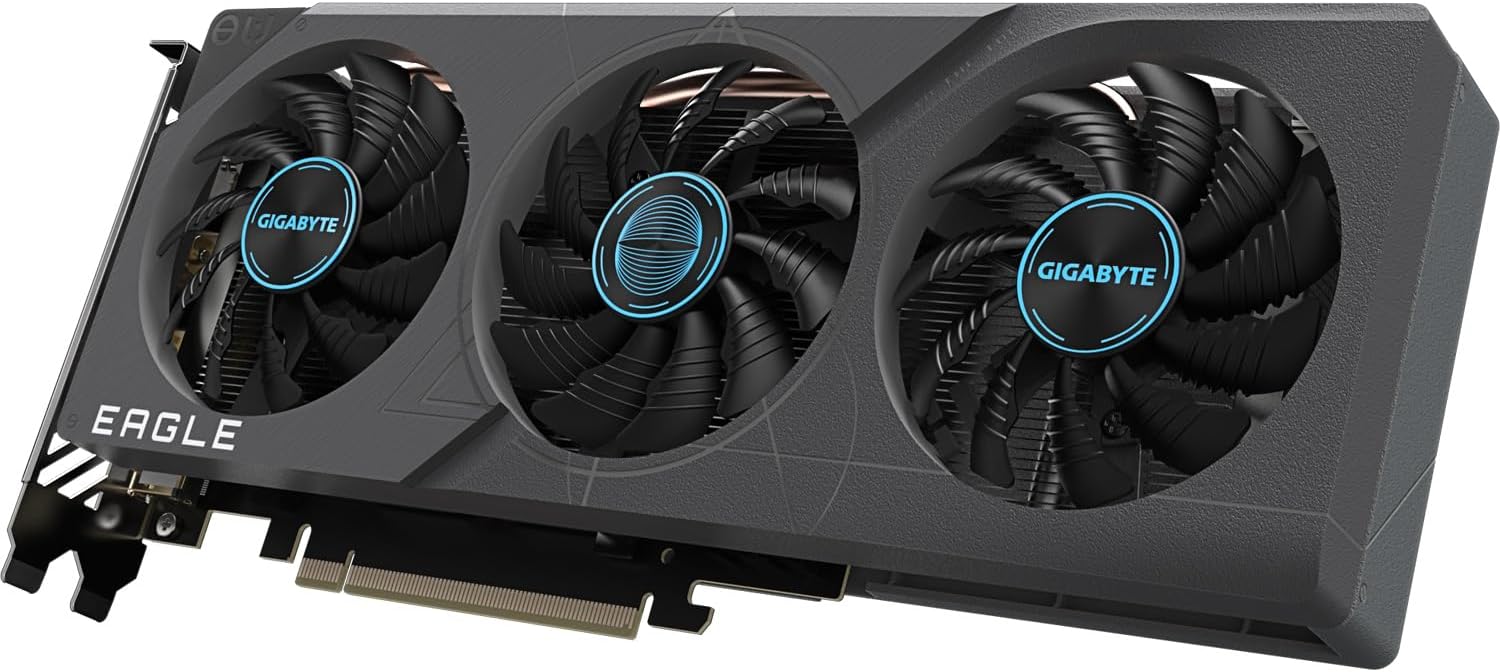
The RTX 4060 is designed to deliver solid performance in 1080p Ultra and even 1440p, thanks to NVIDIA’s latest-generation Ada Lovelace architecture. It offers an excellent balance between power, energy efficiency and budget.
The Gigabyte EAGLE OC is distinguished by its Windforce cooling system. With its three semi-passive fans, this solution keeps temperatures low, even during long gaming sessions, while remaining silent.
Beyond Fortnite, the RTX 4060 is also an excellent graphics card for :
- Other modern games: Call of Duty, Apex Legends, Cyberpunk 2077 (with DLSS) run in high quality with no problems.
- Streaming and content creation: Its NVIDIA NVENC encoder allows you to stream or record your games in high quality with minimal impact on performance.
7. Feeding, a necessary life cycle calculation
The power supply is the lifeblood of your gaming PC. If it’s too weak, it could lead to crashes or untimely reboots. Too powerful and it could be an unnecessary investment. With all the components I’ve chosen, here’s the precise calculation to determine the power required.
| Component | Estimated power consumption (W) |
|---|---|
| Processor: Intel Core i5-14600K | 125 W (Base) – 253 W (Boost) |
| Graphics card: RTX 4060 | 115 W |
| Motherboard: ASUS ROG STRIX Z790-E | 50 W |
| RAM: Crucial 16 GB DDR5 | 10 W |
| Storage: Crucial T700 1 TB NVMe | 8 W |
| Storage : Crucial MX500 4Tb SATA | 4 W |
| Fans (Noctua NH-D15 + case) | 10 W |
| Peripherals (USB, RGB, etc.) | 15 W |
Estimated total: approx. 350 W under normal load
When boosting or overclocking, the total can reach up to 450 W, depending on the components used simultaneously.
When choosing a feed, it is important to consider :
- A safety margin of 30% to 40% for peak consumption.
- Energy efficiency: An 80+ Bronze, Gold or Platinum-certified power supply guarantees greater efficiency, reduces heat and consumes less electricity.
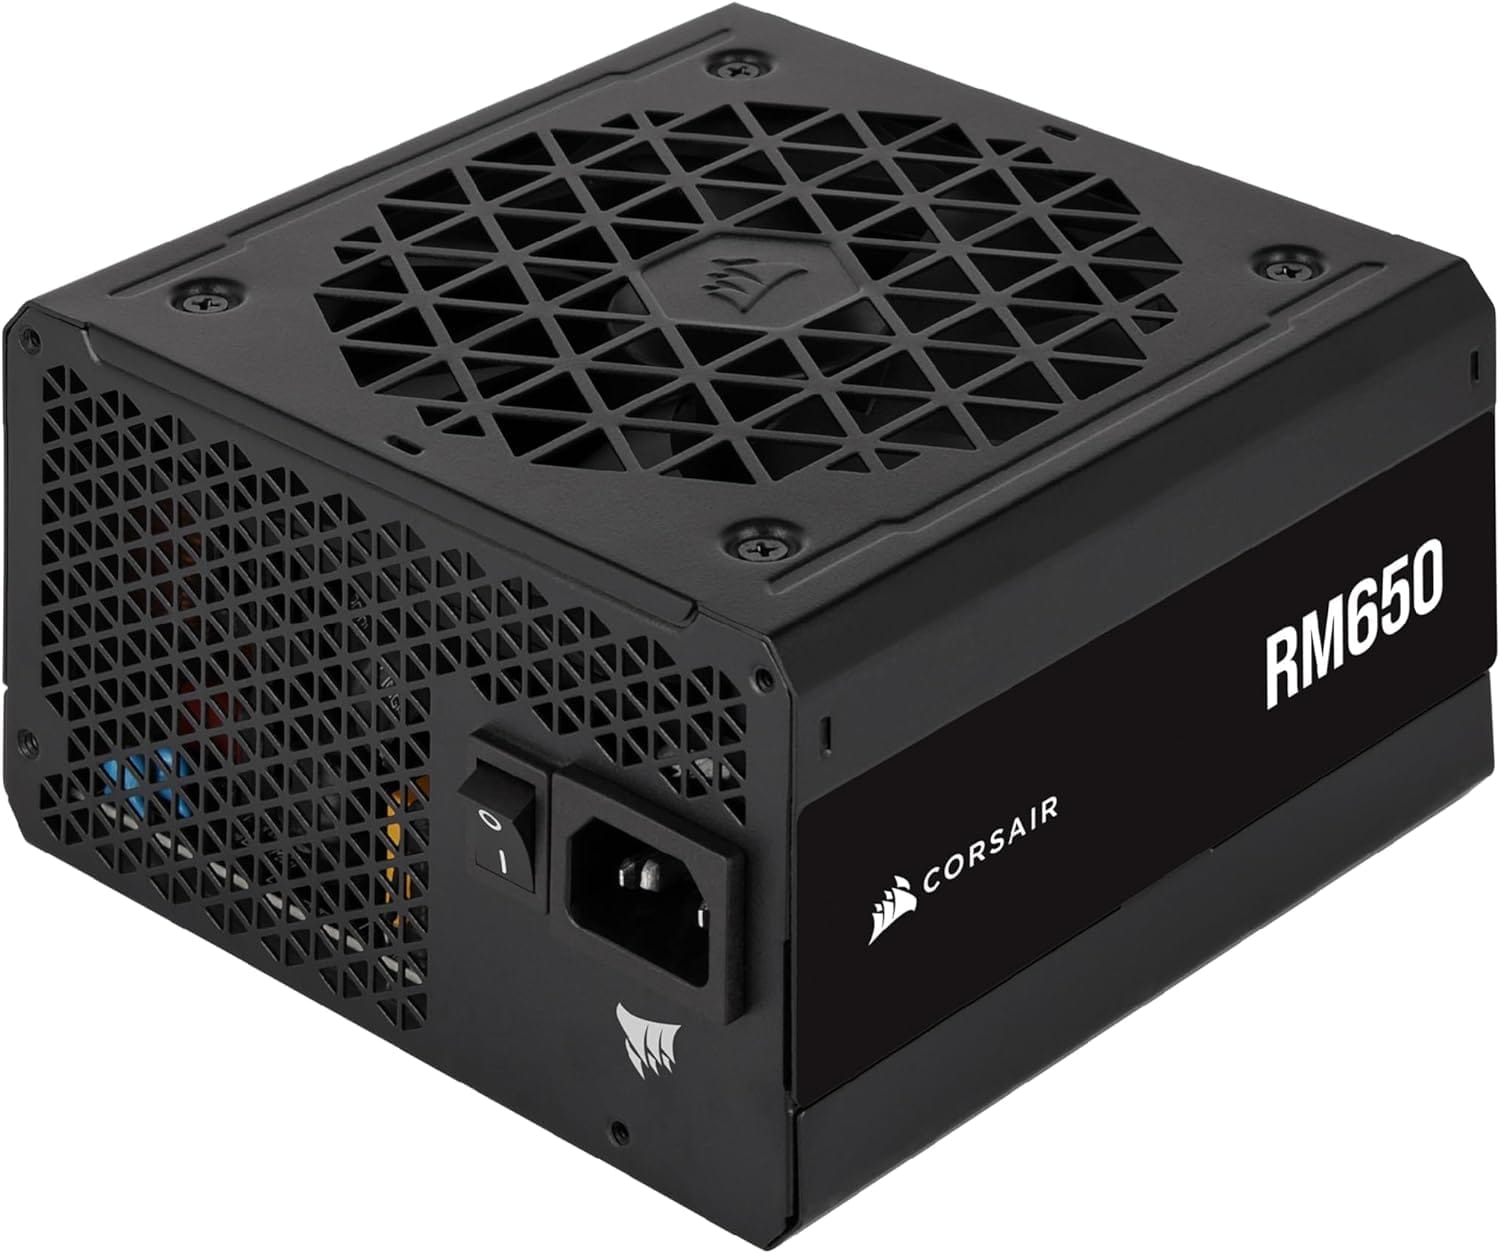
With an estimated total of 450 W at full load, I chose the CORSAIR RM650, a fully modular, 80 Plus Gold-certified 650 W power supply that ticks all the boxes for a high-performance, long-lasting PC.
Read my article on how to calculate the power requirements of an ATX power supply.
Discover our selection of the best power supplies (PSUs) for assembling your PC.
8. A full-tower box to accommodate my configuration
The Thermaltake CTE C750 Air is a full-tower E-ATX case that ticks all the boxes for a high-performance, scalable gaming configuration. With its modern design, generous space and optimized airflow, it perfectly meets the requirements of my configuration.
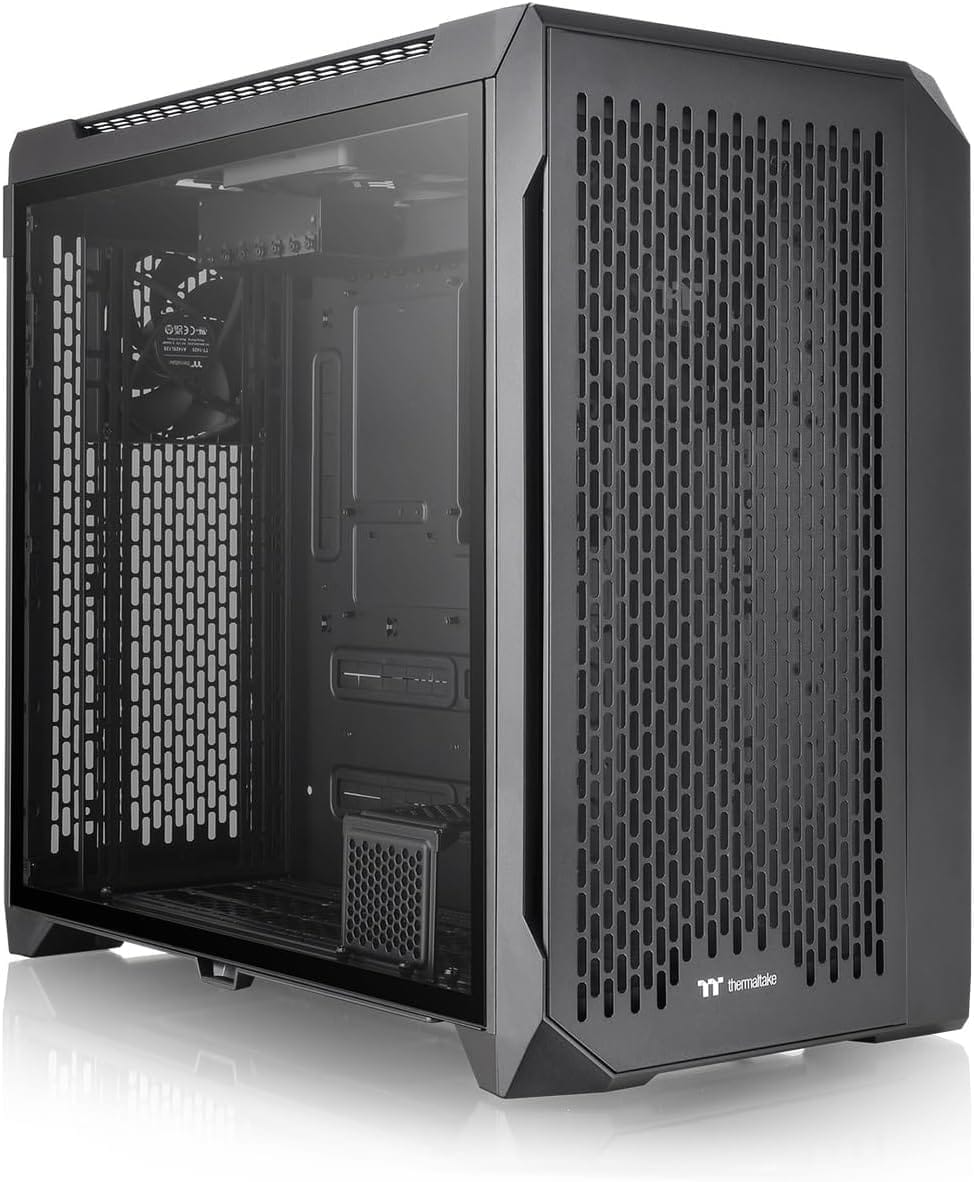
This case is the Rolls-Royce of full-towers. It has been designed to offer maximum space and flexibility, while optimizing cooling. With its generous dimensions, it’s ready to accommodate anything you can throw at it.
- For my RTX 4060: No need to worry about lack of space. This case can accommodate graphics cards up to 420 mm. In other words, your GPU won’t feel cramped.
- For my Noctua NH-D15: Even with this imposing ventirad, there’s still plenty of room. With a capacity for CPU cooling up to 190 mm, this case is ready for the largest heat dissipation systems.
Practical application: How to assemble your gaming PC?
Now that you’ve carefully selected your components, it’s time to move on to the most exciting stage of all: assembling your gaming PC. This phase may seem daunting, but believe me, nothing beats the satisfaction of assembling a machine yourself that combines power, style and efficiency. In this section, I’ll guide you step by step, from the first screws to the first boot-up, with tips to make sure everything goes like clockwork. Ready to dive in? Let’s get started!
1. Unpack motherboard and insert processor
Your Gaming PC is taking shape. The first step is to prepare your motherboard and install the processor. It’s a delicate operation, requiring a little patience and a lot of care. Here’s how to proceed.
Start by removing the motherboard from its packaging, always on a clean, uncluttered surface. Ideally, use the antistatic bag supplied in the box to place it on the surface. This protects your hardware from electrostatic discharges that could damage it.
Take the time to examine your motherboard. Identify the processor socket (LGA 1700 in my case) and familiarize yourself with the other slots: RAM, M.2 ports, power connectors, etc.
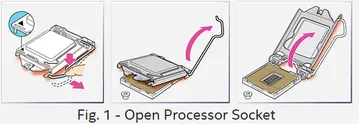
Installing the processor using the coder
Gently lift the socket lever. Never force it: it is designed to release easily.
Remove the protective plastic cover, if present. Keep it in a safe place, as you may need it for returns or updates.
The processor is fitted with a coding device, i.e. a small marking that ensures it can only be installed one way. On my Intel Core i5-14600K, these are small triangles engraved on one corner of the processor and socket.
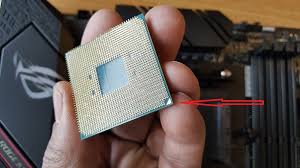
Locate these triangles and align them carefully.
Hold the processor by the edges, without touching the gold contacts (pins). This prevents fingerprints and damage.
Place it gently on the socket, aligning the markings. It should lie perfectly flat without needing to be forced.
Once in place, gently pull down the socket lever. It may take a little pressure to lock the processor in place, but this is normal.
2. Fix the motherboard in the case
Now that your processor is installed on the motherboard, it’s time for the next step: securing the motherboard in the case. This step requires a little patience, but with the right lighting and the right tools, everything goes smoothly.
Start by removing the side panels to gain access to the interior. Most enclosures use easy-to-remove hand screws or Phillips screws.
Lay the box flat on a stable surface for comfortable working.
Take the I/O panel supplied with your motherboard (the little metal plate that corresponds to the rear ports).
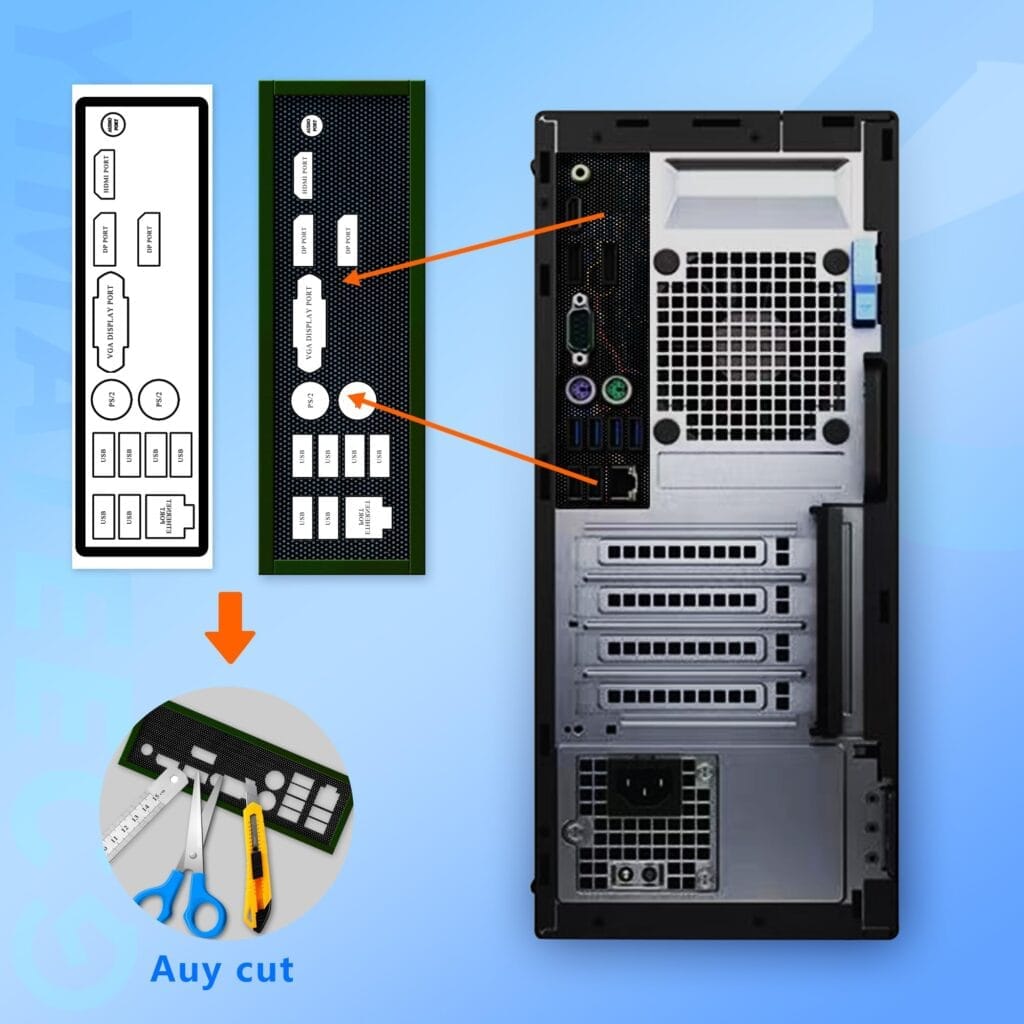
Clip it onto the back of the case, in the opening provided. Make sure it clicks into place: you should hear a “click”. Be careful not to cut yourself on the sometimes sharp edges.
The spacers (small metal columns screwed into the case) must match the mounting holes on your motherboard.
If not, use pliers or a screwdriver to move or add the spacers supplied with the case. This will ensure that the motherboard is properly supported and avoid any risk of short-circuiting.
- Gently place the motherboard in the case, tilting it slightly to insert the rear ports into the I/O panel.
- Once aligned, lower it until the motherboard mounting holes match the spacers.
Use the screws supplied with the case to secure the motherboard. Start with a screw in the center to stabilize the whole, then fasten the others.
Don’t overtighten, just enough to hold the card in place without damaging it.
3. Positioning and securing the ventirad
Now that the motherboard is securely installed in the case, the next step is to ensure that the processor stays cool, even under intense load.
First of all, prepare your hardware. Make sure you have everything you need: socket mounts, thermal paste and, of course, the ventirad itself.
Installation begins with the application of thermal paste. This ensures optimum heat transfer between the processor and the ventirad. A small amount, equivalent to a grain of rice, applied to the center of the processor is sufficient. There’s no need to spread it, as the ventirad will take care of this when it’s attached.
Then fit the mounting system. Attach the spacers and metal support arms, following the manufacturer’s instructions. Once this step is complete, carefully position the vraddle on the processor. Take care to align the mounting arms with the brackets already installed.
Start with one screw, then gradually tighten both sides alternately. This ensures even pressure on the processor, essential for perfect contact. Once the heatsink is securely in place, refit the fans. Make sure they are correctly aligned, so that air flows towards the rear or top of the case.
Finally, connect the fan cable to the CPU_FAN connector on the motherboard.
4. Place the other components: NVMe SSD, RAM, GPU
With the motherboard installed and the cooling unit in place, your PC starts to look like a real machine. The next step is to add the other essential components: the SSD, RAM and graphics card (GPU).
Remove your RAM strips from their packaging, holding them by the edges only. Avoid touching the connectors to avoid damaging them.
- Insert strips
- Open the RAM slot latches.
- Align the clip with the slot notch. This notch acts as a locator to prevent misalignment.
- Push firmly but gently until you hear a “click” indicating that the clip is securely in place.
Most modern motherboards have several M.2 SSD slots. Find the one that supports PCIe 4.0 or 5.0 to maximize performance.
- Mount the NVMe SSD
- Remove the fixing screw at the end of the M.2 slot.
- Insert the SSD at a slight 30° angle. Align the contacts and push gently until it clicks into place.
- Lower the SSD horizontally and secure it with the screw.
- Locate the main PCIe slot (usually the one closest to the processor).
- Remove the metal brackets corresponding to the size of your graphics card from the back of the case.
- Insert graphics card
- Align the graphics card with the PCIe slot and gently push it in until you hear a “click”. This means the card is locked in place.
- Secure the board to the case using the screws supplied.
5. Position and connect power supply
The power supply is one of the most important components of your PC. It provides the energy needed to power all the other components. In this step, I’m going to install the Corsair RM650, a 650W modular power supply, ideal for my configuration.
Identify the location for the power supply, usually at the bottom of the case, at the rear.
- Slide the power supply into its compartment and secure it with the screws supplied on the rear of the case.
With a modular power supply like the Corsair RM650, you can connect only the cables you need, simplifying management and reducing space requirements.
- Cables to connect
- ATX 24-pin: This main cable supplies power to the motherboard. Connect it to the motherboard’s 24-pin ATX connector.
- EPS 8-pin (CPU): This cable supplies power to the processor. It plugs into the 8-pin connector located near the processor on the motherboard.
- PCIe 6+2 pin: Required to power the graphics card. Connect it to the connector on your RTX 4060.
- SATA and Molex: These cables supply power to peripherals such as SSDs, HDDs, and any fan or LED controllers.
- Connect cables to power supply
- Connect the necessary cables to the corresponding modular power supply ports. Each port is clearly labeled to avoid mistakes.
You’re now at a key stage in the assembly process: soon it will be time to start up your machine and watch all that work come to life!
6. Connect motherboard and case
Every motherboard has a dedicated area called the front panel header. These are pins grouped together at the bottom of the motherboard, often labeled (PWR, HDD_LED, RESET, etc.).
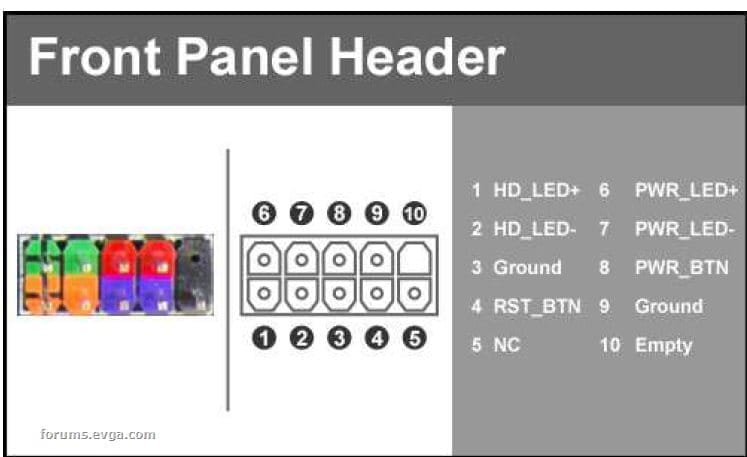
Consult your motherboard manual to identify the pins corresponding to Power SW, Reset SW, HDD LED, and Power LED.
For LEDs, respect the polarity: the cable marked with a + or a distinct color goes on the positive pin. If you connect them the wrong way round, the LED won’t work.
Connect USB connectors
- USB 2.0 and 3.0
- Locate the USB headers on the motherboard. They are often labeled USB_1, USB_2, or USB3.0.
- Plug in the corresponding connectors on the housing, aligning them with the notch on the header to avoid misalignment.
- USB-C (if available)
- If your case has a USB-C port, connect it to the dedicated header on the motherboard, often labeled USB-C or USB 3.2 Gen2.
Connecting front audio
- Connect cable
- Connect the HD_AUDIO cable from the box to this header. Align the notch to avoid any error.