
One of the most common factors slowing down a computer is the number of applications that launch automatically when Windows starts up. These programs, which you don’t use systematically, consume resources as soon as you switch on your PC, which can considerably lengthen start-up time and reduce your system’s overall performance. In this article, I’ll show you how to disable them.
Disable applications that launch at Windows startup
- Why disable startup applications?
- Disable startup applications from Settings
- Disable startup applications from the task manager
Why disable startup applications?
Every application that launches on start-up uses up some of your computer’s RAM and processing power. The more applications you have running automatically, the harder your system has to work. By deactivating non-essential applications, you free up resources that can be used by the programs you actually use.
Disable startup applications from Settings
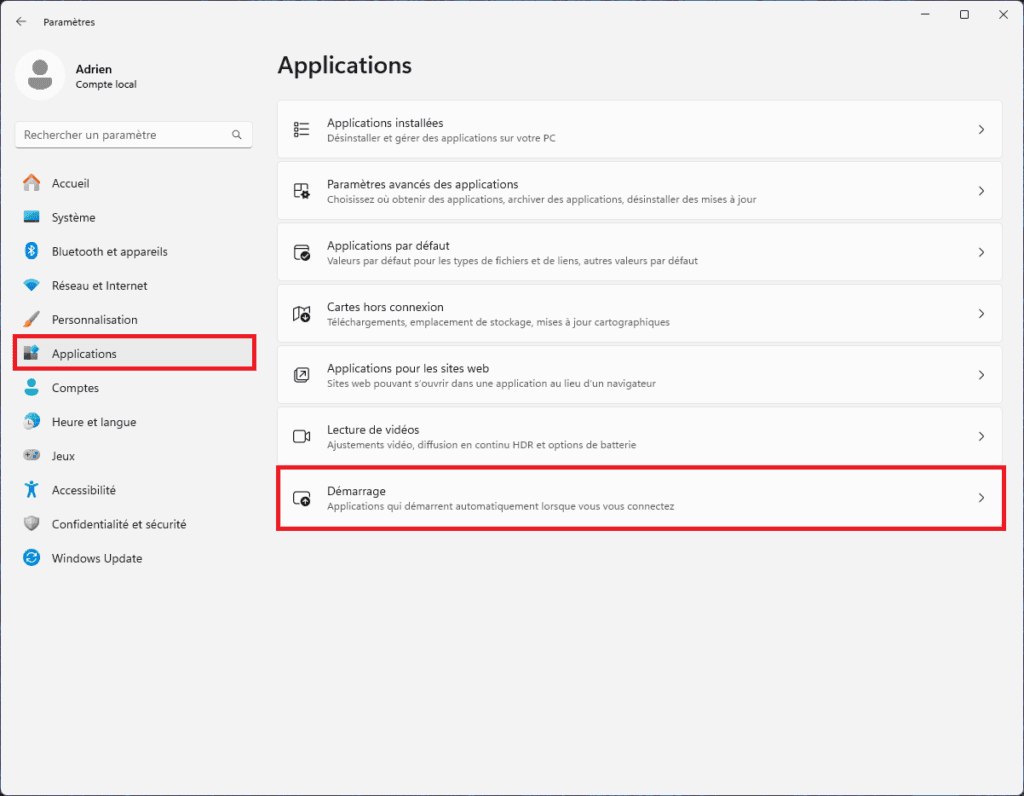
- Enter Windows 11 Settings.
- In Applications, click on Startup.
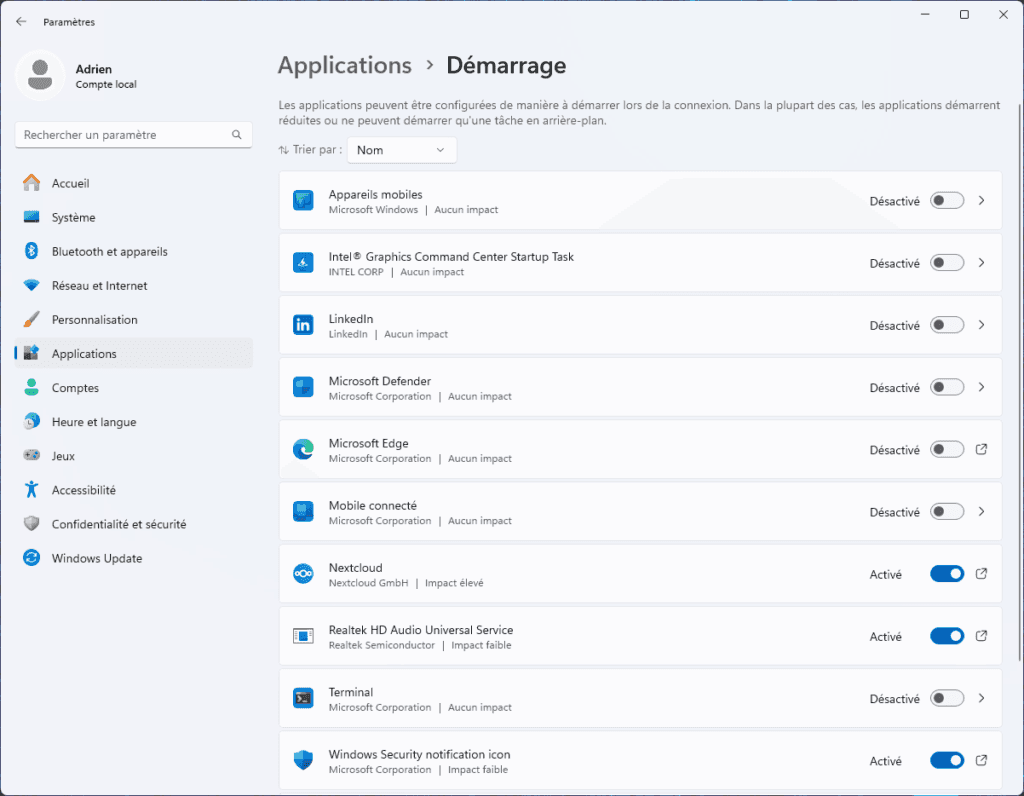
- Simply deselect applications that you don’t use and that are not essential to the system.

Disable startup applications from the task manager
- Open the Task Manager by pressing
Ctrl + Alt + Deleteto open it directly.
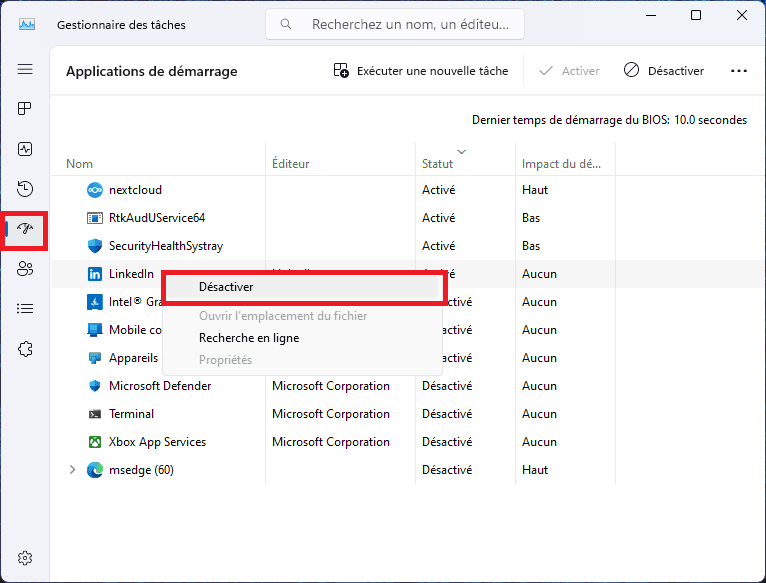
- Once the Task Manager is open, click on the Startup tab.
- Select an application that you no longer wish to be automatically launched when Windows opens, then click on the Disable button in the bottom right-hand corner of the window.
And that’s it! With just a few clicks, you can optimize your system’s start-up and boost performance. Now it’s up to you!
To discover more tips and tricks on how to optimize your PC, keep following our computer blog. We regularly share practical information to help you get the most out of your technology.
Did you find this article helpful?
Share it so others can benefit from it.
Learn more about the author
