
In this guide, you’ll learn how to run macOS 15.3 on a Windows 11 PC using VMware. Apple prohibits the installation of macOS on non-Apple hardware via itsEULA license, but technically these restrictions can be circumvented.
The aim here is not to hack macOS, but to prove two things:
- Installing macOS on a PC is totally feasible, despite Apple’s restrictions.
- These restrictions are primarily commercial, not technical.
This installation is also of practical interest. Safari is the second most used browser in the world and to enrich my article How to set Google or another search engine as default on PC, it is essential for me to have access to Safari under macOS since Safari users mainly use this system and its behavior is not the same under Windows.
Prerequisites for installing macOS on a Windows PC :
- VMware Player or Workstation.
- Auto Unlocker for macOS.
- The macOS ISO of your choice (.torrent).
- Enable virtualization in BIOS.
- VMware Tools
To achieve this, we’re going to use VMware and modify the virtualized processor ID to make macOS believe it’s running on Apple hardware.
In this article
Download VMware to install macOS in 2026
VMware Workstation or Player is virtualization software that lets you run macOS on a Windows PC.
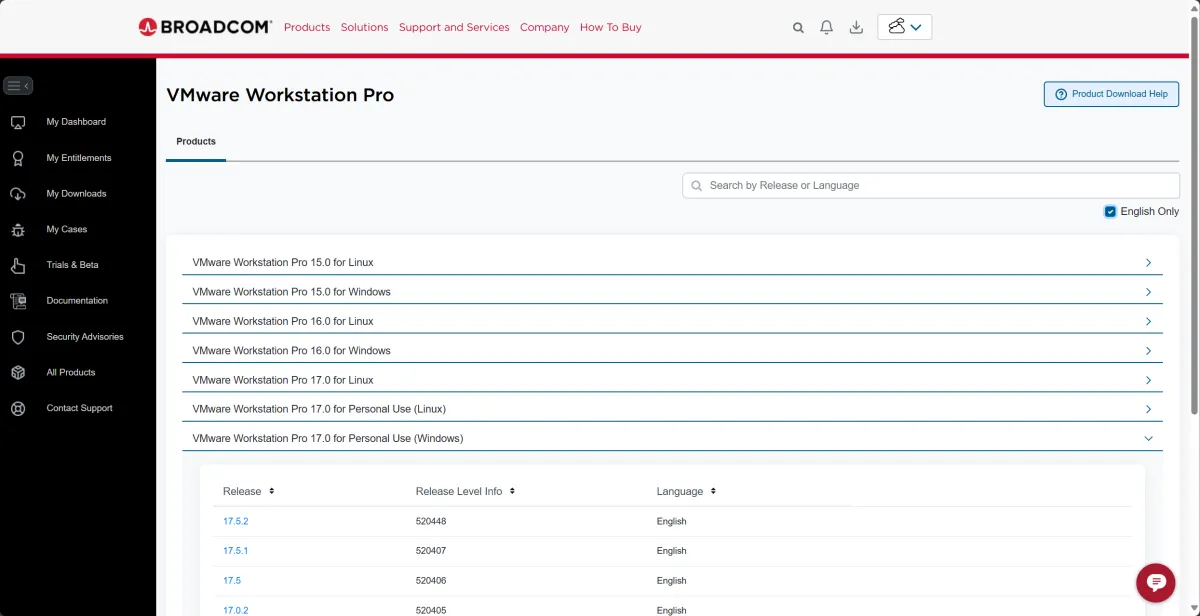
Since the acquisition of VMware by Broadcom in May 2022, the distribution policy for VMware Workstation Pro has changed. After being offered as a paid version, it is now free for private users ( Free Personal Use). The program download (approx. 680 MB) is available after registration on the Broadcom website.
- Install VMware by following the on-screen instructions.
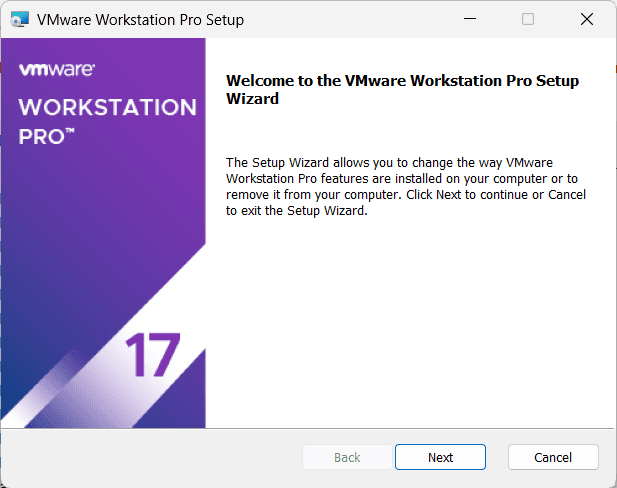
- Once installation is complete, launch VMware.
Unlock VMware to configure macOS on Windows
By default, VMware does not support macOS. To activate this feature, we need to use Auto Unlocker.
- Download Auto Unlocker from GitHub.
- Extract the archive and run Auto-Unlocker.exe.
- In the interface, select the VMware installation location.
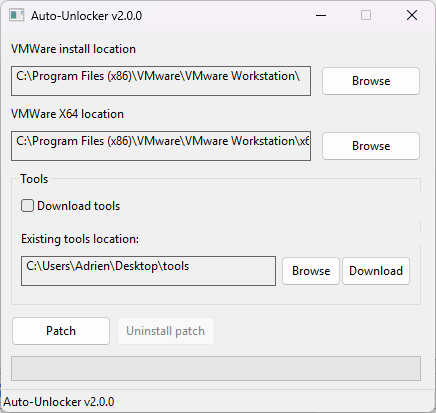
- Click Patch to apply changes.
- When finished, restart VMware.
Create a virtual machine for macOS
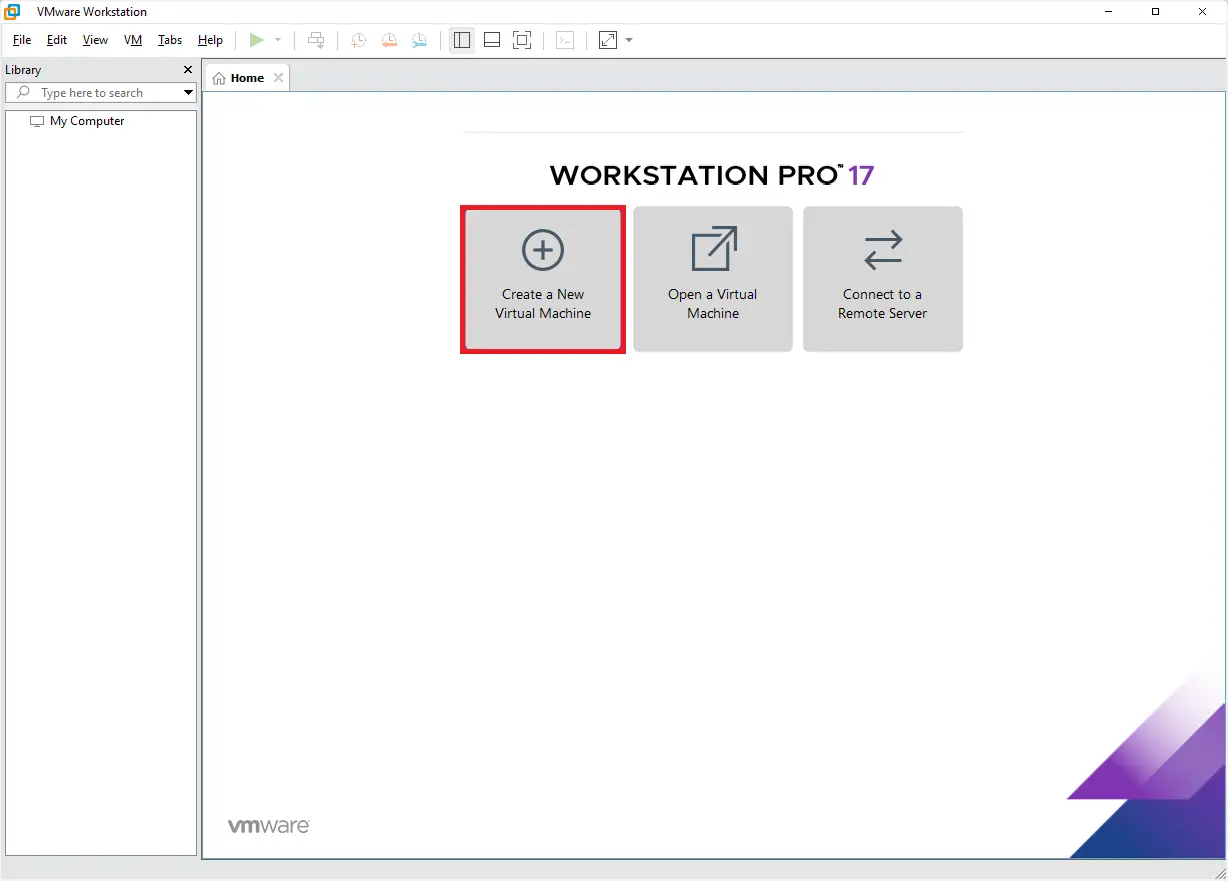
- Click on Create a New Virtual Machine.
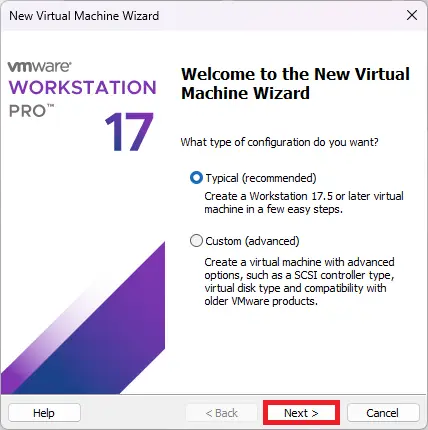
- Select Typical (recommended) and click Next.
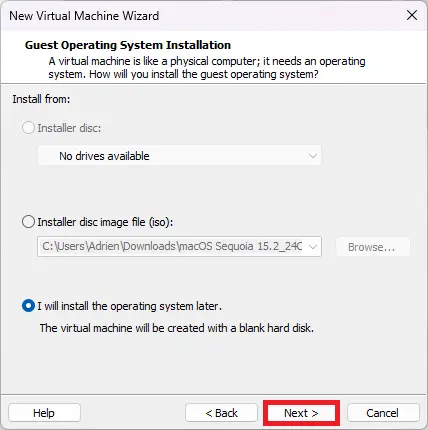
- Select I will install the operating system later and click Next.
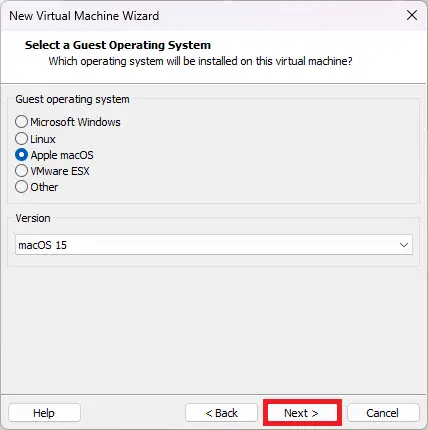
- Choose Apple macOS as operating system and select the corresponding version (macOS 15 in my case).
- Give your virtual machine a name and choose a storage location.
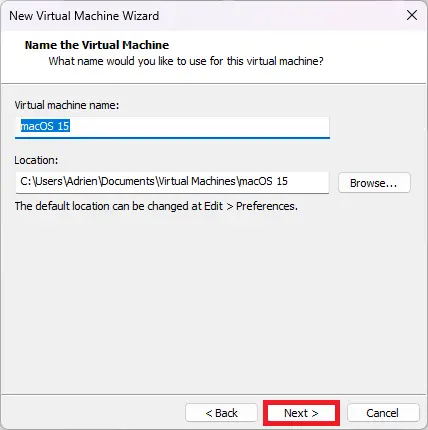
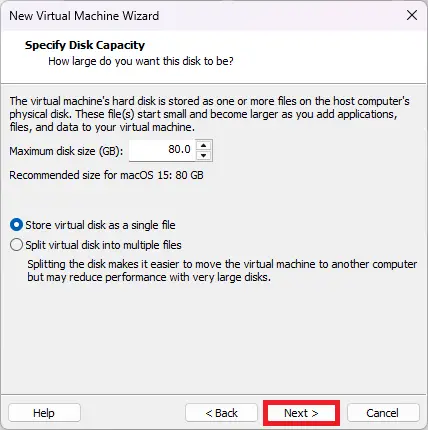
- Set a disk size of 80 GB (or more).
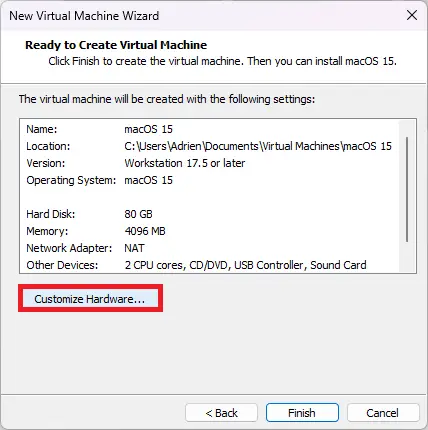
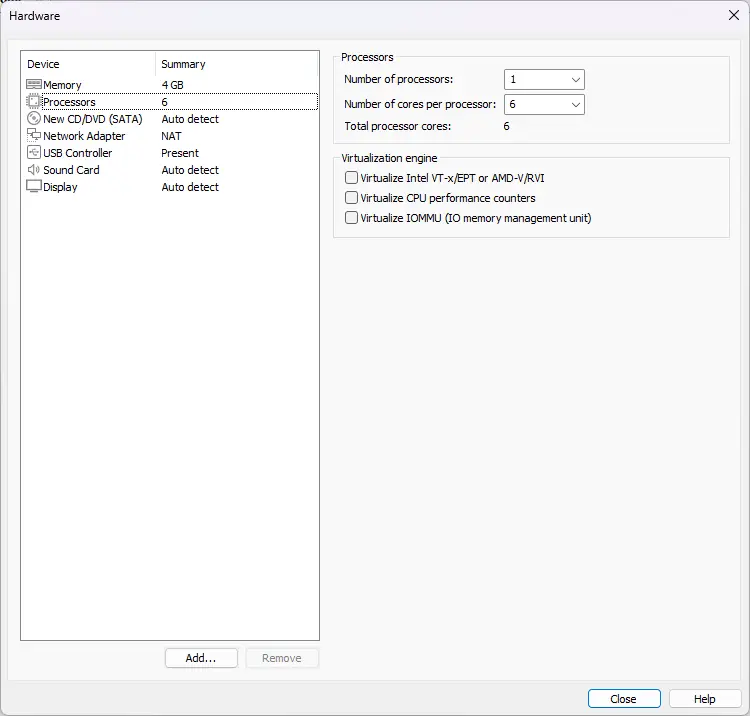
- Click on Customize Hardware… to adjust the configuration.
- Adjust memory to 4 GB (minimum recommended) or more.
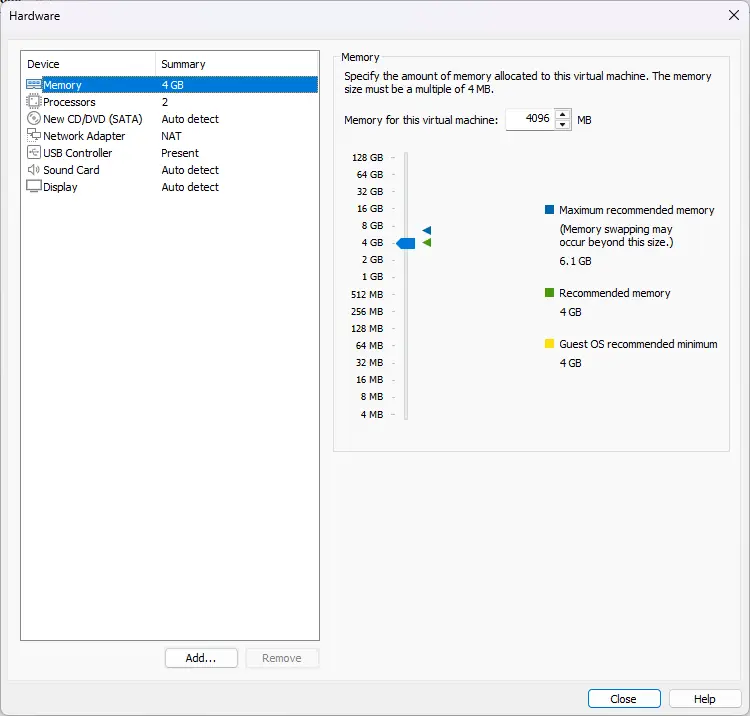
- Allocate an appropriate number of processor cores to your configuration.
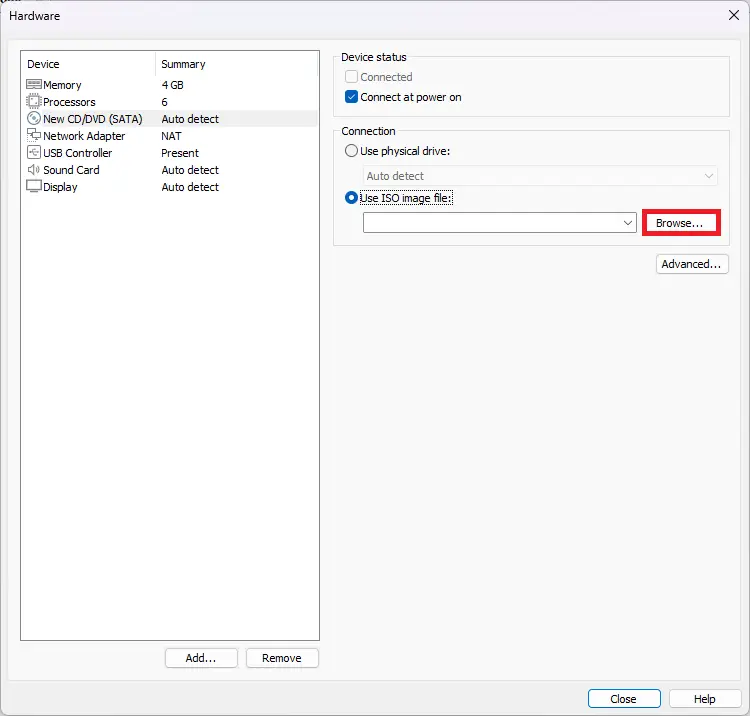
- Add the downloaded macOS ISO image.
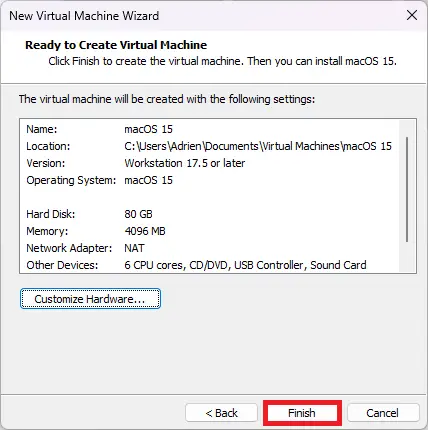
- Finally, click Close then Finish, but do not open the virtual machine.
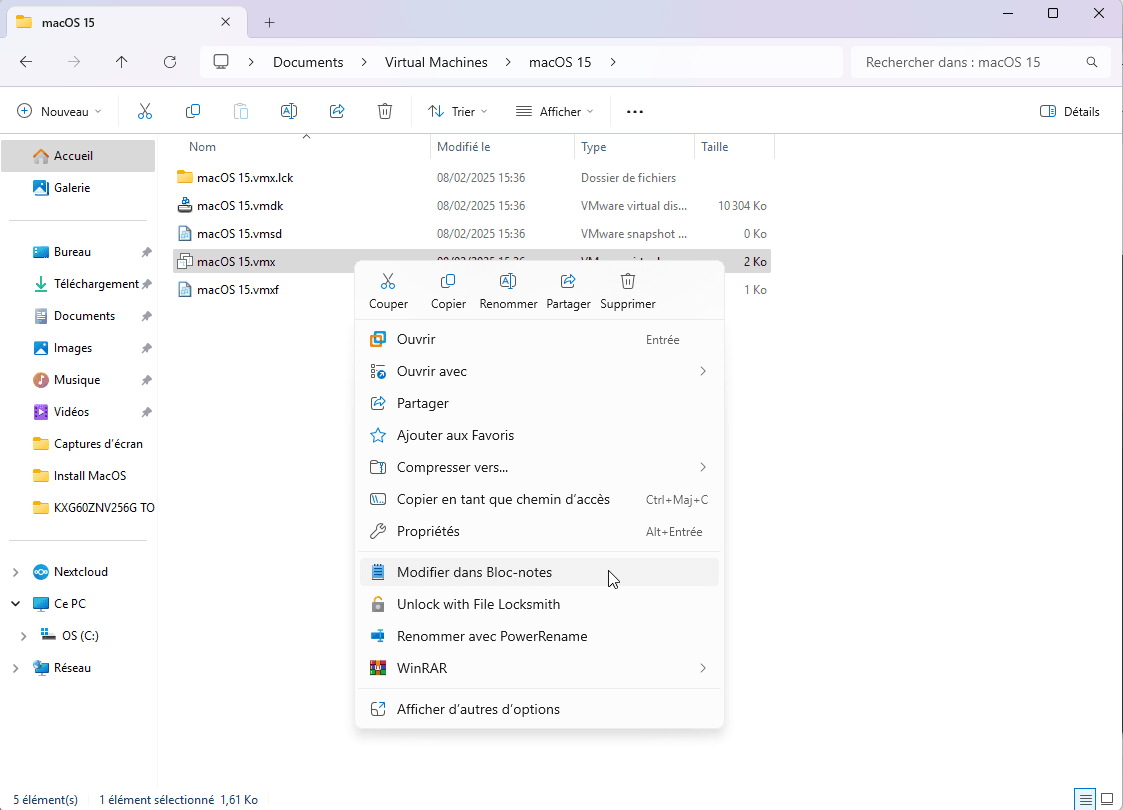
- Go to the folder where your virtual machine is stored, in our case :
C:\Users\Adrien\Documents\Virtual Machines\macOS 15\macOS 15.vmx- Right-click on the
.vmxfile and select Open with > Notepad.
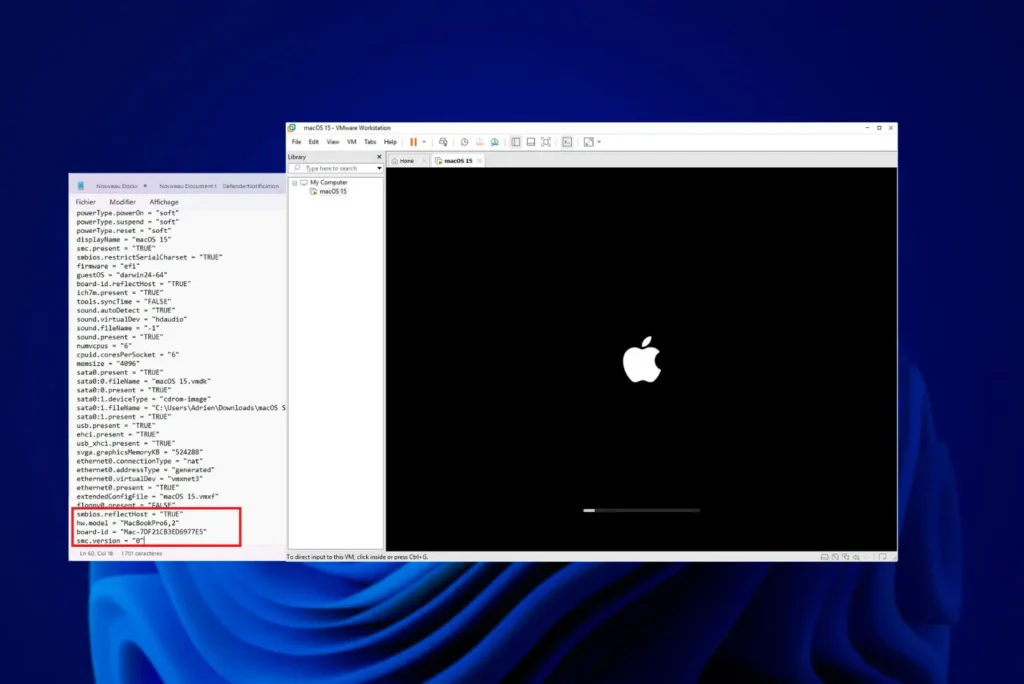
- Add the following lines according to your processor (CPU):
For Intel CPUs :
smbios.reflectHost = "TRUE"
hw.model = "MacBookPro6,2"
board-id = "Mac-7DF21CB3ED6977E5"
smc.version = "0"
For AMD CPUs :
smc.version = "0"
cpuid.0.eax = "0000:0000:0000:0000:0000:0000:0000:1011"
cpuid.0.ebx = "0111:0101:0110:1110:0110:0101:0100:0111"
cpuid.0.ecx = "0110:1100:0110:0101:0111:0100:0110:1110"
cpuid.0.edx = "0100:1001:0110:0101:0110:1110:0110:1001"
cpuid.1.eax = "0000:0000:0000:0001:0000:0110:0111:0001"
cpuid.1.ebx = "0000:0010:0000:0001:0000:1000:0000:0000"
cpuid.1.ecx = "1000:0010:1001:1000:0010:0010:0000:0011"
cpuid.1.edx = "0000:0111:1000:1011:1111:1011:1111:1111"
smbios.reflectHost = "TRUE"
hw.model = "MacBookAir6,2"
board-id = "Mac-7DF21CB3ED6977E5"
These settings allow macOS to detect the virtual machine as a real Mac.
smc.version = "0": Disables a Mac-specific control chip (System Management Controller).cpuid.0.eax, etc. Modify the processor’s identity to make it look like a Mac.smbios.reflectHost = "TRUE": Enables the VM to use certain information from the real PC.hw.model = "MacBookAir6,2": Makes the virtual machine look like a MacBook Air.board-id = "Mac-7DF21CB3ED6977E5": MacBook Air motherboard identifier.
⚠️ Some processors (AMD in particular) are still poorly supported by this method. For example, I was able to install macOS 12 (Monterey) with a Ryzen 5 but not macOS 14 (Sonoma) using the same method.
Apple continues to restrict access to macOS in order to maintain total control over its ecosystem and applications, by requiring the purchase of a Mac and limiting the development of new applications and drivers.
If you encounter a critical error when starting the macOS virtual machine, it’s probably because a line already exists in the file.
If you get a critical error after installation, your CPU is probably not supported (try an earlier version of macOS).
Install macOS Sequoia on VMware Workstation
Installing macOS Sequoia on VMware Workstation lets you run the macOS system in a virtual environment, which is particularly useful for developers, testers or anyone wishing to explore macOS without owning a Mac. Follow the installation procedure once the VM has been configured.
- Start the macOS 15 virtual machine and wait for the Apple logo to appear in the loading bar.
- When the language selection screen appears, choose French (or any other language of your choice).
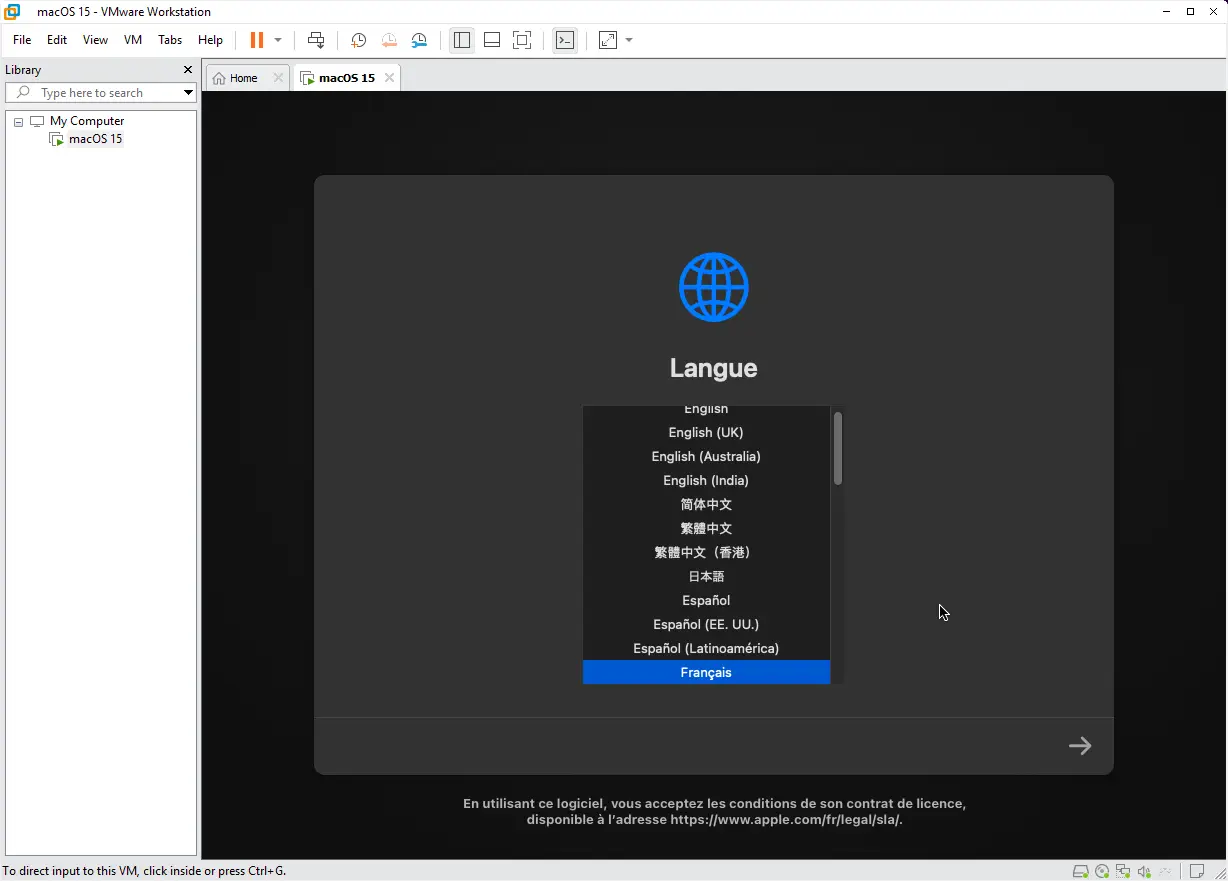
- Click on the arrow to continue.
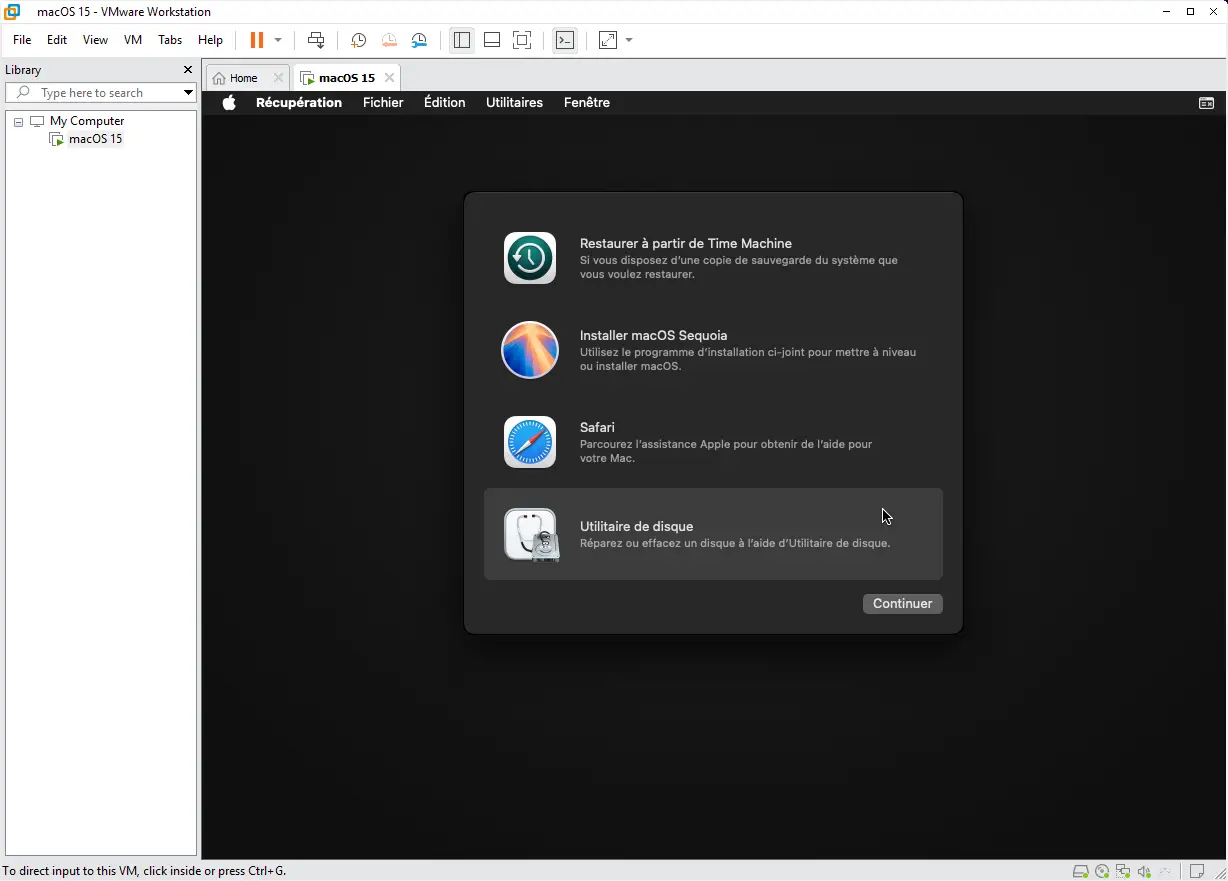
Before installing macOS, you need to format the virtual hard disk.
- From the macOS Utilities menu, select Disk Utility and click Continue.
- In the list of storage devices, select VMware Virtual SATA Hard Drive Media.
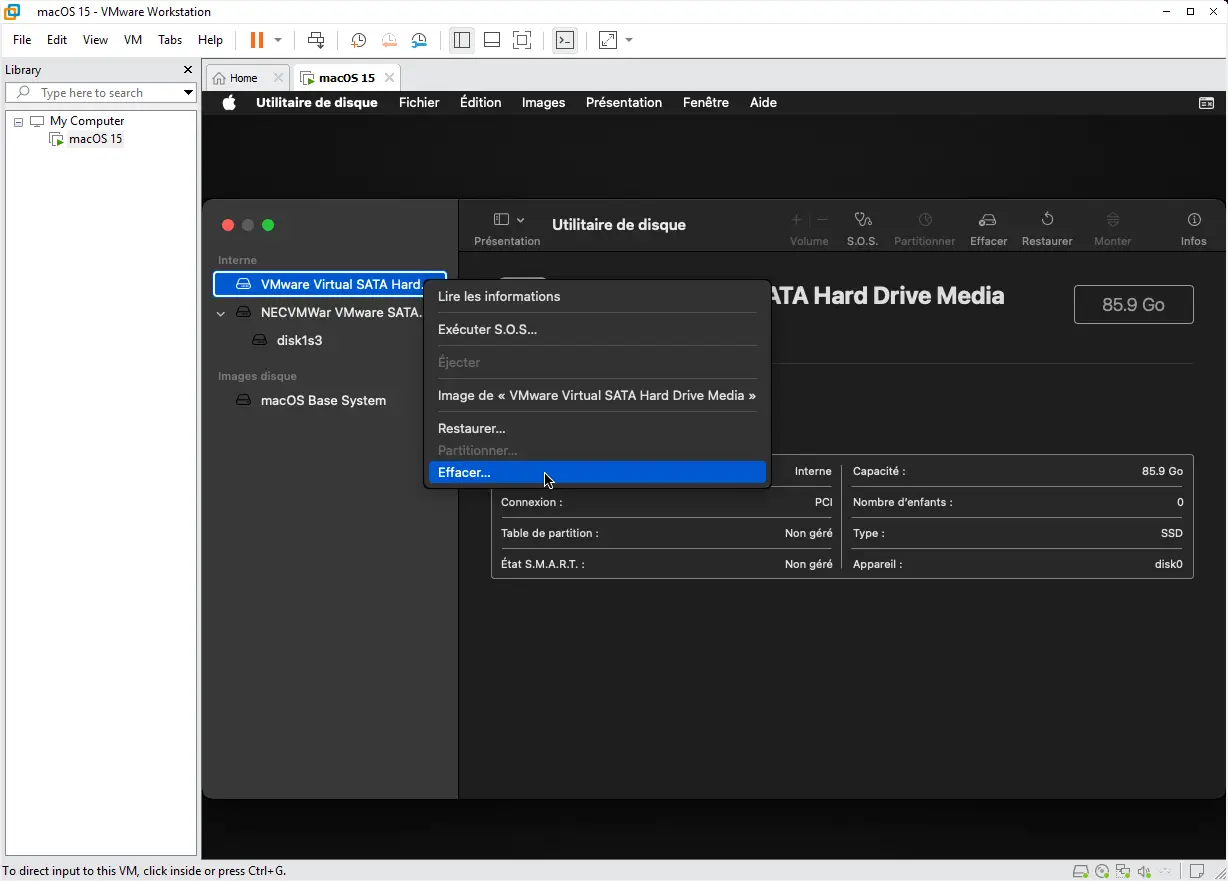
- Click on Clear and set the following options:
- Diagram: GUID partition table
- Name: macOS 15
- Format: APFS
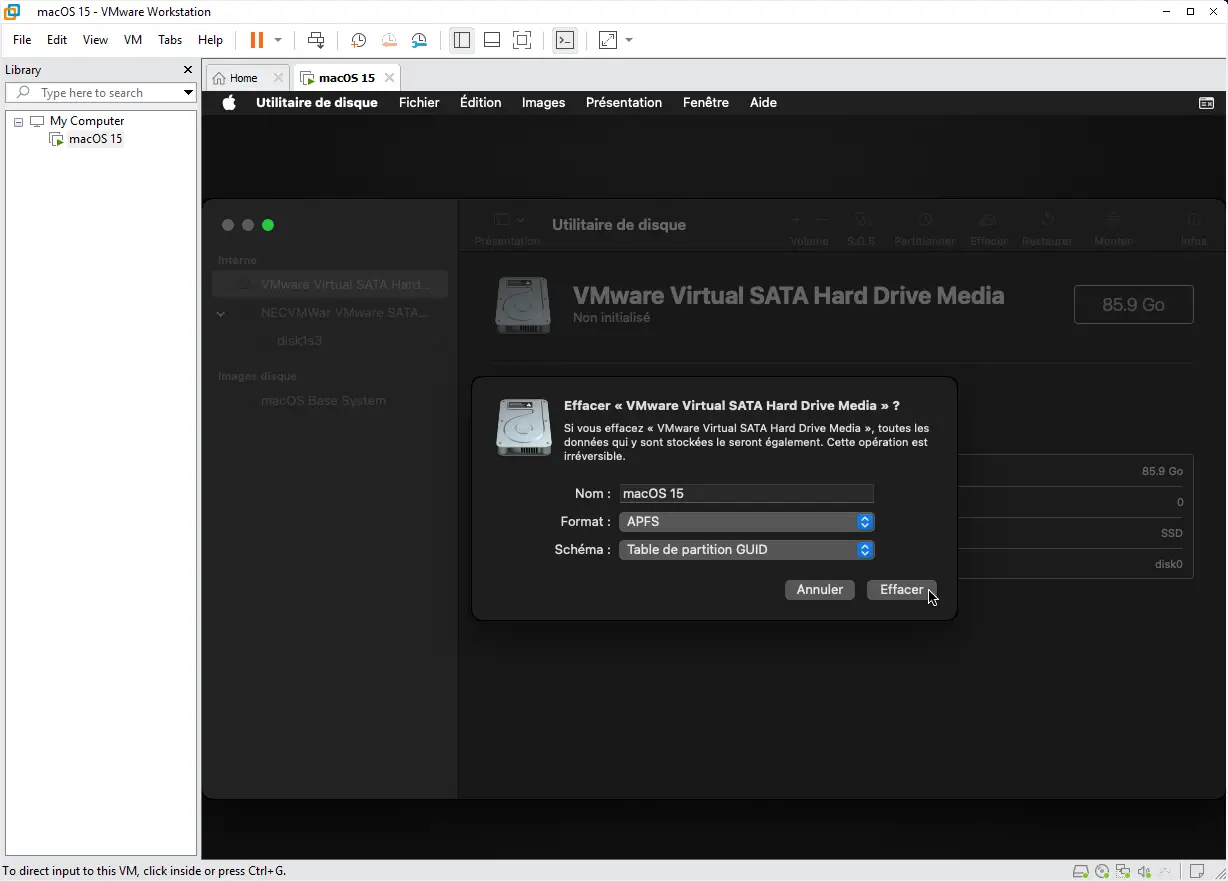
- Click Clear, then OK when formatting is complete.
- Then close Disk Utility to return to the main utilities menu.
- Back to the utilities screen, click on Install macOS Sequoia and Continue.
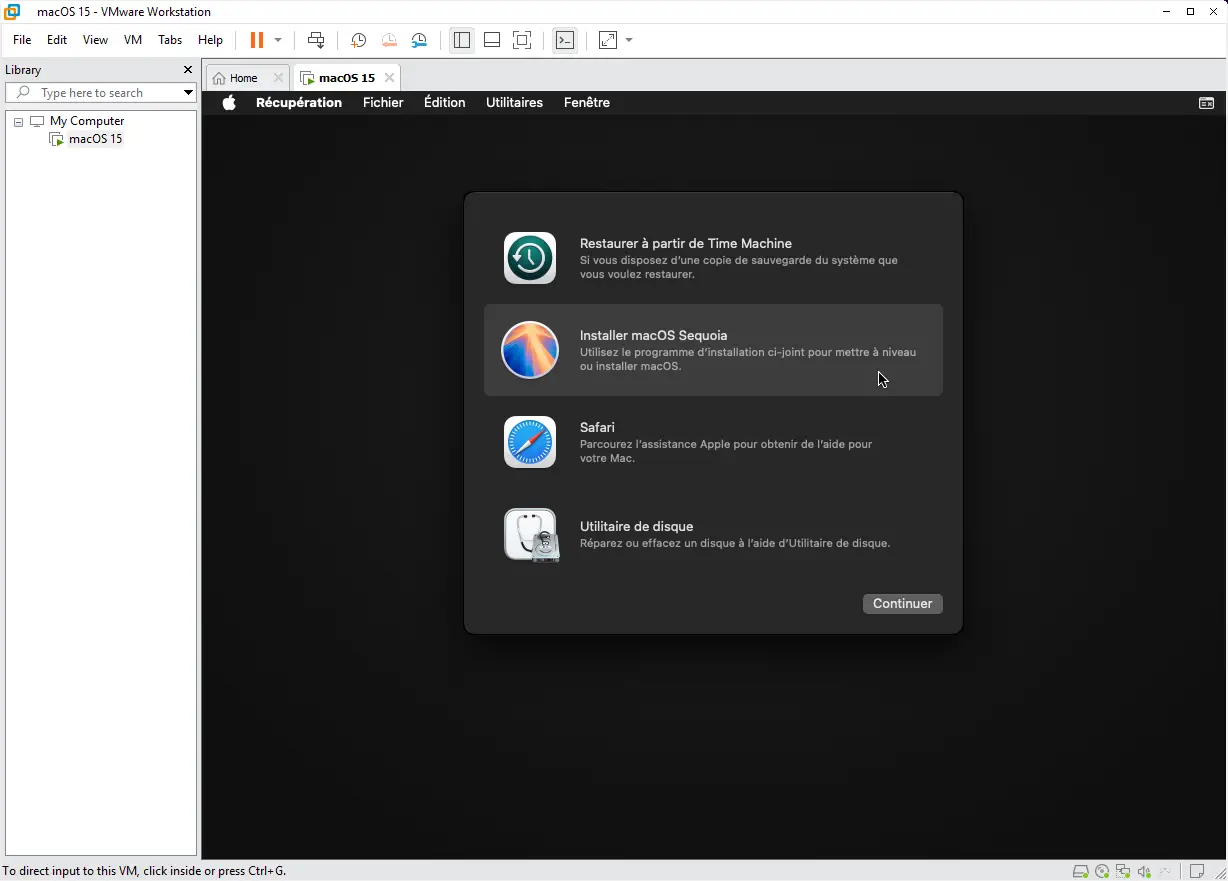
- Accept the license agreement.
- Select the macOS 15 disk you formatted in the previous step.
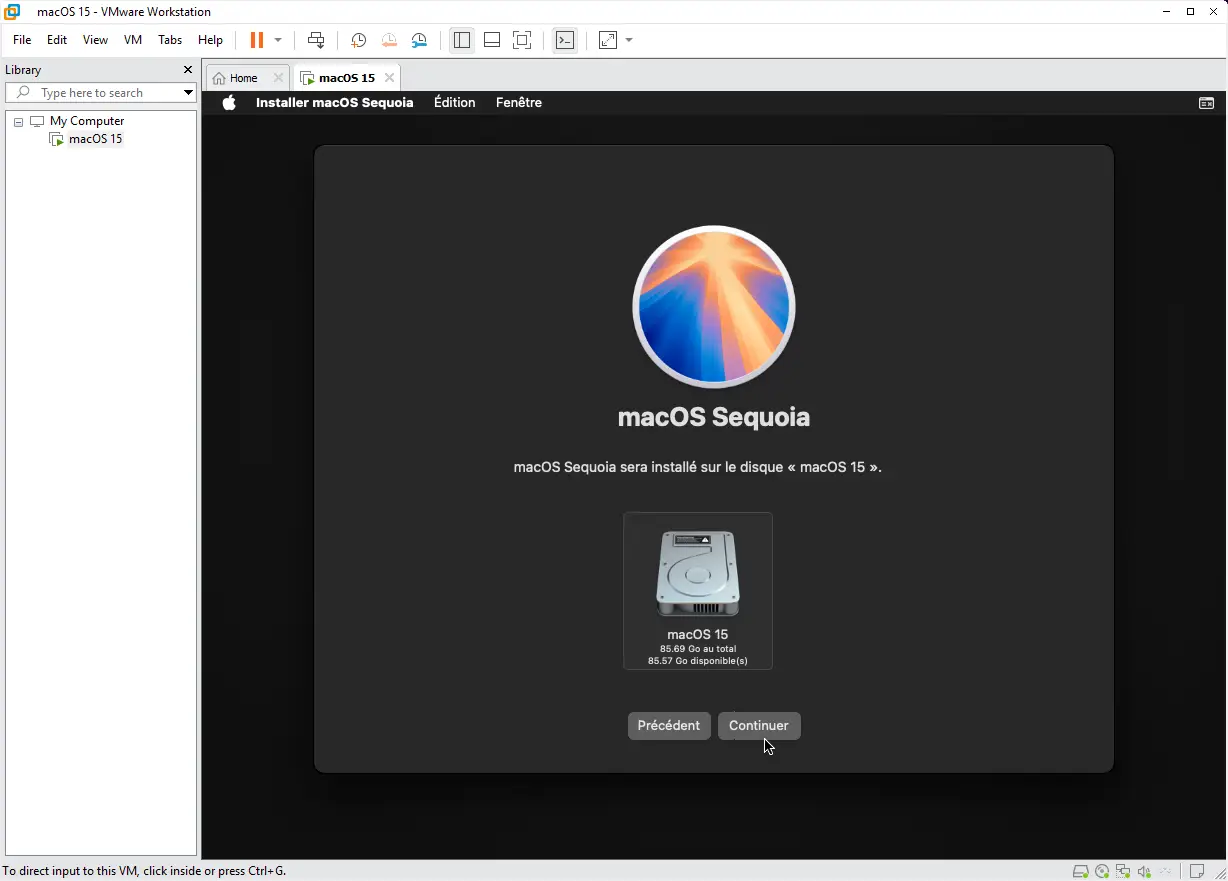
- Click on Continue.
- Installation begins, and may take several minutes depending on your PC’s performance and allocated resources.
Virtualization adds extra load to the processor, limits access to resources (RAM, GPU) and prevents certain native macOS optimizations.
- When finished, the VM restarts automatically.
- Follow the initial macOS configuration steps (no changes here).
Add Assistouest to your preferred sources on Google so you can find our guides faster when you search for an IT solution.
Optimize MacOS on VMware with VMware Tools
Installing macOS on VMware Workstation allows you to use macOS in a virtual environment. However, without VMware Tools, performance is limited: the mouse is imprecise, the display is frozen at a low resolution and drag & drop doesn’t work. Installing VMware Tools on virtualized macOS considerably improves the user experience by enabling :
- Better cursor management and overall performance.
- Video memory is increased to 128 MB.
- Dynamic display resolution,
- Drag-and-drop between host and VM,
- Clipboard sharing,
There are two ways to download VMware Tools:
- From Archive.org: Download the VMware Tools ISO.
- With Auto Unlocker: If you’re using Auto Unlocker, a darwin.iso file is already generated in the Tools folder.
- Once you’ve found or downloaded the right files,stop the virtual machine and open the VM settings(VM > Settings).
- In the CD/DVD (SATA) tab, select Browse and choose darwin.iso.
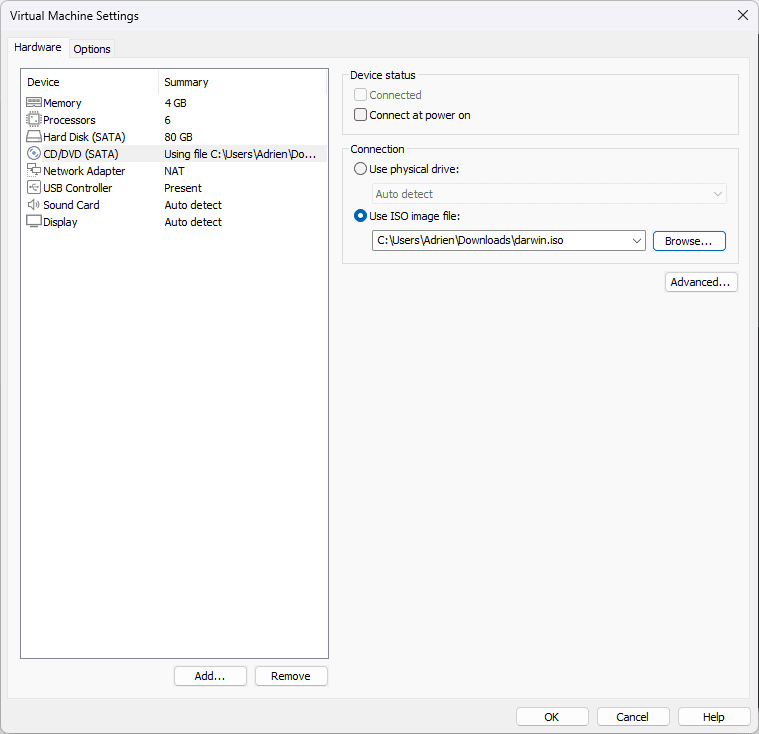
- Check the Connect at power on option.
- Start the VM.
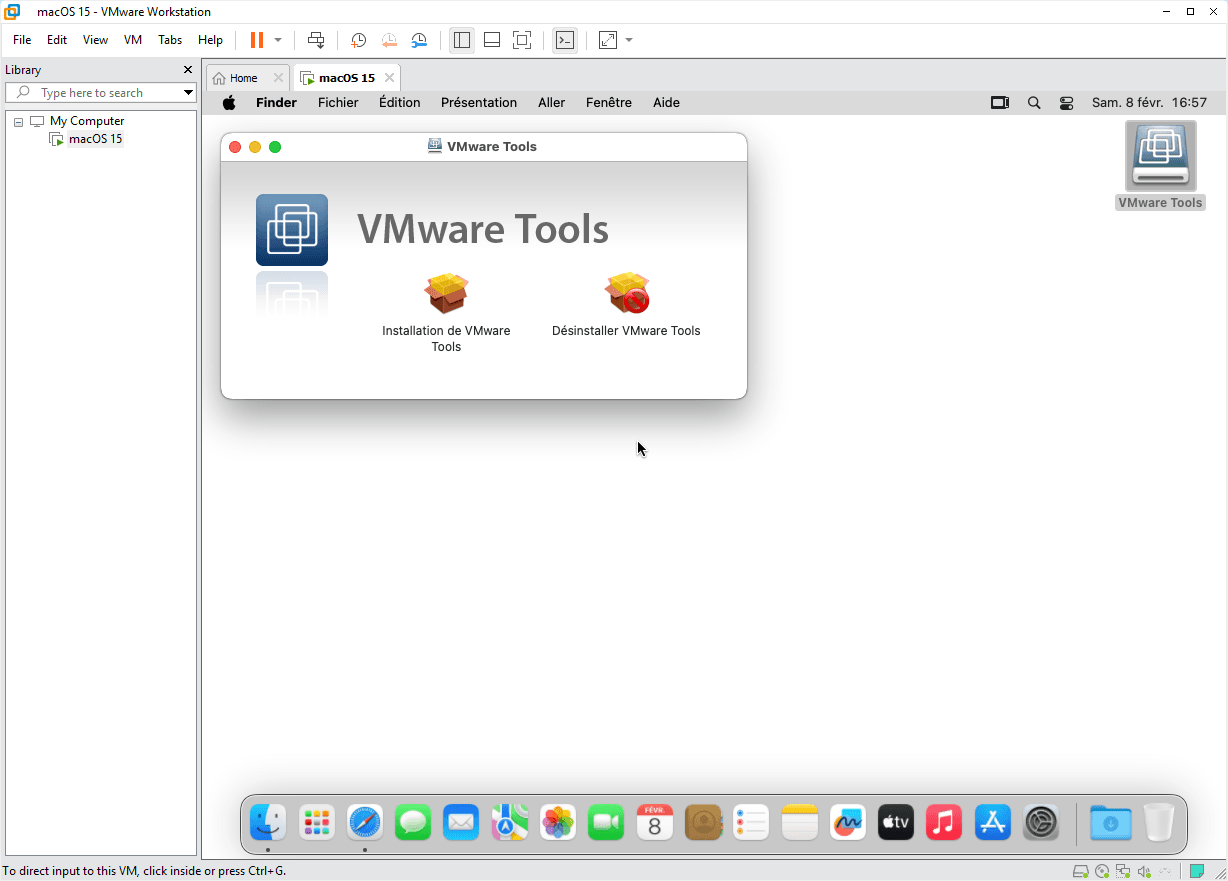
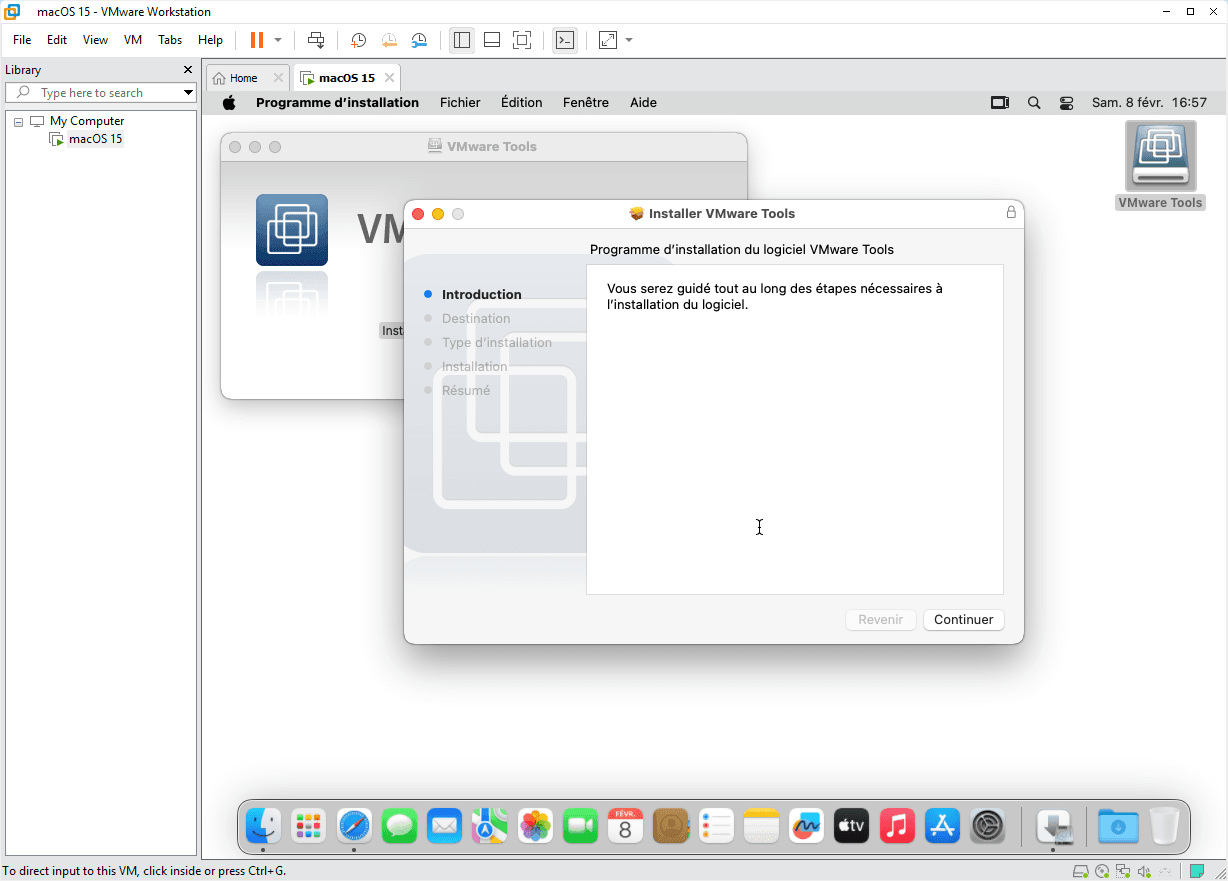
- Once macOS is booted, open Finder and select the VMware Tools disk.
- Double-click on VMware Tools Installation.
- Click Continue, accept the conditions and install.
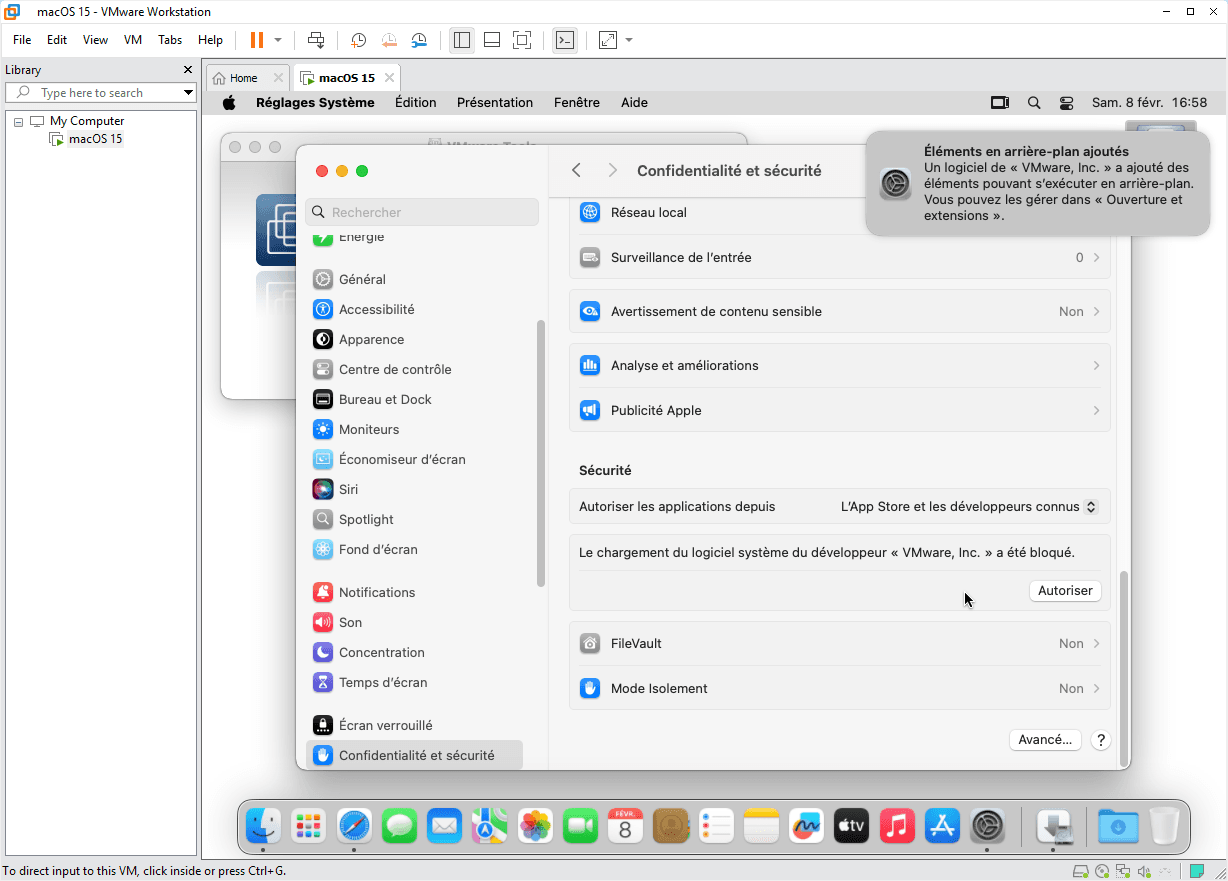
After installation, macOS blocks unsigned extensions by default.
- Go to System Settings > Privacy & Security.
- At the bottom, a message says VMware system software loading has been blocked.
- Click on Authorize, then Restart VM.
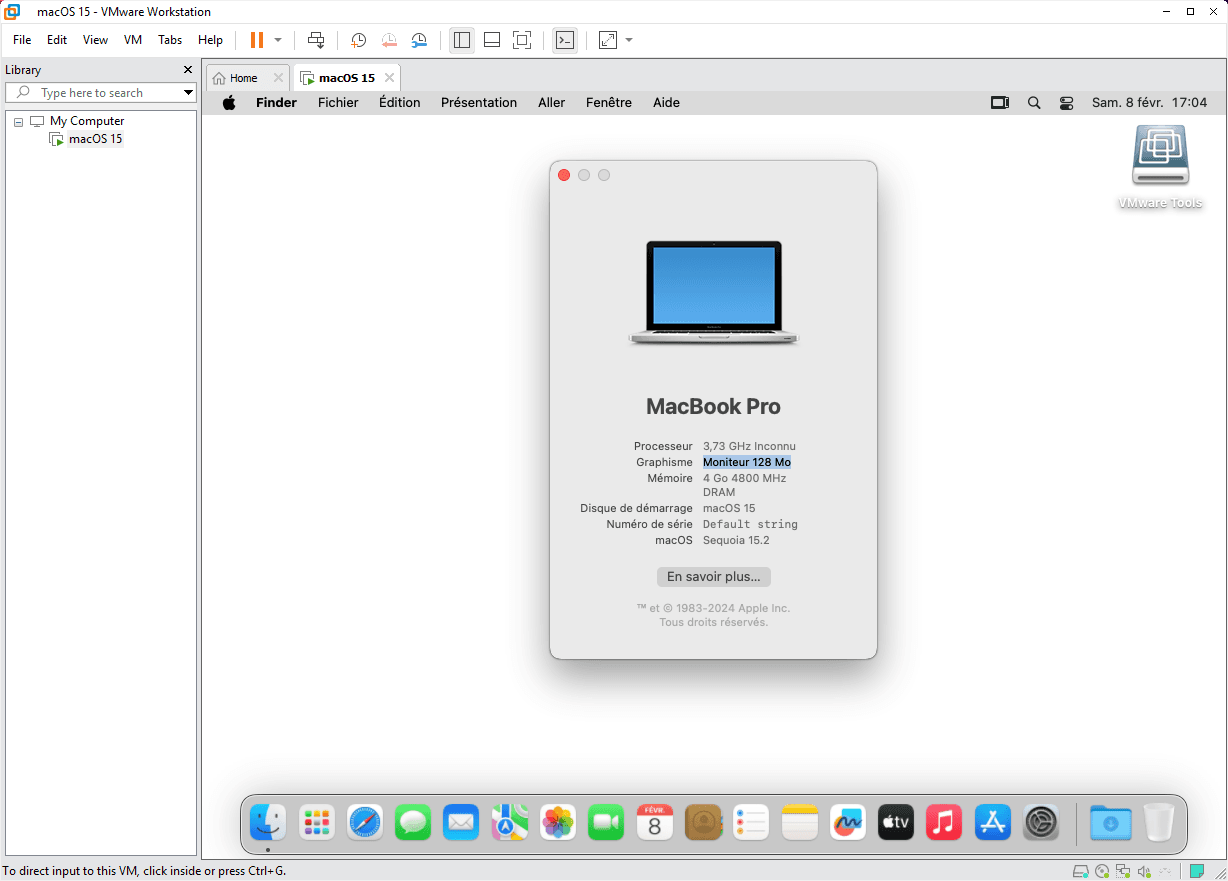
After reboot :
- Screen resolution is adjustable in System Settings > Monitors.
- Video memory is increased to 128 MB.
- The cursor is no longer captive and can move freely.
- Drag-and-drop between host and VM works.
- The clipboard is shared.
? Well done! You’ve reached an important milestone by successfully virtualizing macOS. You can now test applications, configure development tools or customize your environment without constraint.