As part of a criminal investigation or cybercrime case, the analysis of digital media is a key step in identifying tangible evidence. Supported by digital forensic experts, the police apply rigorous protocols to extract, analyze and preserve the data contained on a hard disk. This process must guarantee the integrity of the information, while respecting the chain of evidence. But how do these specialists go about investigating a hard disk without altering the evidence? This article explores the different stages of forensic acquisition and the tools used by investigators to trace a suspect’s digital history.
⚠️ Warning: This article is an introduction, not an official guide to forensic investigation.
The forensic analysis of a hard disk is a complex discipline that follows strict protocols when carried out in a forensic context. This article aims to explain, in an accessible and practical way, the main steps and general principles used by digital forensic experts. It is by no means an official guide to carrying out a real forensic investigation.
Specialized investigators use a variety of software and techniques adapted to the needs of each investigation, and must comply with legal procedures to guarantee the integrity of evidence. If you’d like to learn more about the subject or advance in this field, it’s advisable to take a course in digital forensics and refer to the standards in force.
How do forensic experts investigate a hard drive?
- What is forensic analysis?
- Forensic disk image acquisition under Windows
- FTK Imager forensic analysis report
- Forensic disk image analysis
- Is it possible to compromise a forensic analysis?
What is forensic analysis?
Forensic analysis is the discipline of examining computer systems, digital media or networks to identify, collect, preserve and analyze evidence in the event of a security incident or forensic investigation. It relies on strict methodologies to ensure data integrity and admissibility in a court of law. This process can be applied in a variety of contexts, from cybercrime and data theft to fraud and breaches of confidentiality.
This analysis follows several stages: the collection of digital evidence, its preservation to prevent alteration, its detailed examination to identify relevant elements and finally its interpretation within the framework of an investigative report. Specialized tools are used to extract and examine traces left on hard disks, volatile memory, system logs and network communications. These investigations can reveal suspicious activities, the chronology of events and sometimes even reconstruct deleted files.
That’s exactly what spy films are all about.
When an agent inserts a USB stick into a computer to recover data, it creates a forensic disk image, i.e. a bit-by-bit copy of the hard disk. This captures all stored data, including data that has been deleted but is still recoverable, hidden files and metadata for further analysis.
Once the disk image has been created, it can be studied offline using specialized software such as Autopsy or FTK (Forensic Toolkit), which we’ll look at in this practical guide. These tools can be used to search for traces of activity, recover deleted files, examine system logs and even analyze stored passwords. In espionage scenarios, this analysis would enable the agent to retrieve confidential documents, encrypted communications or evidence of compromise.
Forensic disk image acquisition under Windows
Acquiring a forensic disk image is a key step in digital forensics. It consists in making an exact, bit-by-bit copy of a storage medium in order to analyze its contents, while preserving the integrity of the original data. This methodology is essential when investigating cybersecurity incidents, fraud or post-mortem analysis of a compromised system.
Within a legal framework, the use of a write blocker (hardware or software) is imperative to prevent any modification of source data. This precaution guarantees the admissibility of digital evidence in court.
This guide describes how to acquire a disk image using FTK Imager, a forensic tool commonly used to capture and analyze digital media.
- Download and install FTK Imager from the official Exterro website.
- Run FTK Imager in administrator mode to access physical devices.
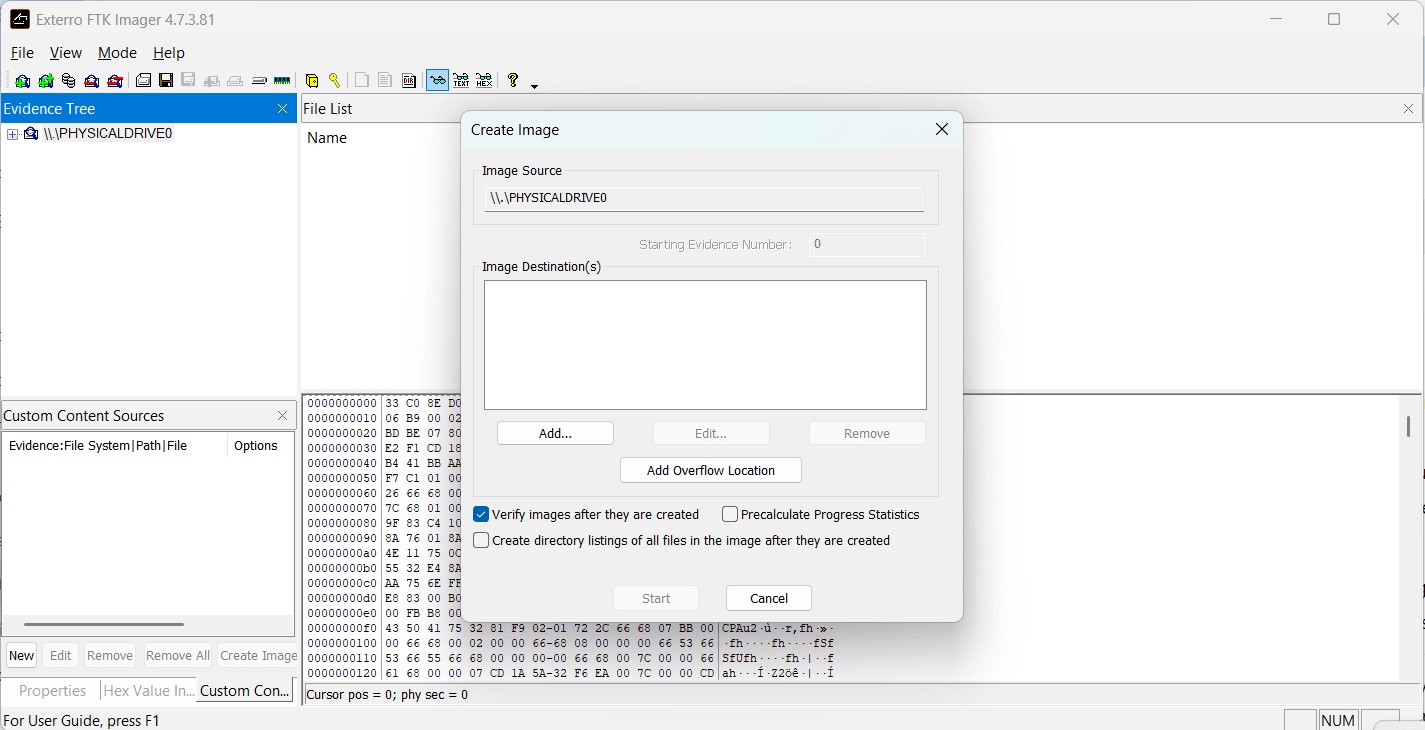
- Launch FTK Imager.
- Go to File > Add Evidence Item.

- Select Physical Drive to capture the entire disk.
- Select the source disk from the list and click Next.
- Select the desired image format:
- E01 (EnCase Image Format): recommended format for compression and automatic generation of MD5/SHA1 fingerprints.
- RAW (dd): uncompressed raw format, used for analysis under Linux.
- Click on Next.
- Set backup location on external storage media.
- Image verification: Check the Verify images after they are created option to ensure the integrity of captured data.
- Start acquisition by clicking on Start.
The operation may take several hours, depending on the size of the disc and the type of format chosen.
FTK Imager forensic analysis report
Once acquisition is complete, a detailed report is generated and stored in the chosen destination folder. This report, created automatically by FTK Imager, contains essential information about the captured disk image:
Created By: Exterro® FTK® Imager 4.7.3.81

Case Information:

Acquired using: ADI4.7.3.81
Case Number: [Not Provided]
Evidence Number: [Not Provided]
Unique Description: SSD500Go - TOSHIBA SATELLITE C55-A-15E
Examiner: Assistouest Informatique
Notes: RMM Tactique Amidaware
Information for: D:TRACETHOSHIBASAT_AMIDAWARE

Physical Evidentiary Item (Source) Information:

Source Type: Physical

Drive Geometry:

Cylinders: 58,369
Tracks per Cylinder: 255
Sectors per Track: 63
Bytes per Sector: 512
Sector Count: 937,703,088
Physical Drive Information:

Drive Model: SABRENT SCSI Disk Device
Drive Serial Number: DB9876543214E
Drive Interface Type: SCSI
Removable drive: False
Source data size: 457,862 MB
Sector count: 937,703,088
Computed Hashes:

MD5 checksum: ac565393b5b32dc2d79257319214a9d2
SHA1 checksum: 60fc04837a76f6aadf5693835bf9d663b618f788
Image Information:

Acquisition started: Mon Feb 24 16:40:28 2025
Acquisition finished: Mon Feb 24 17:23:35 2025
Segment List:

D:TRACETHOSHIBASAT_AMIDAWARE.E01
D:TRACETHOSHIBASAT_AMIDAWARE.E02
...
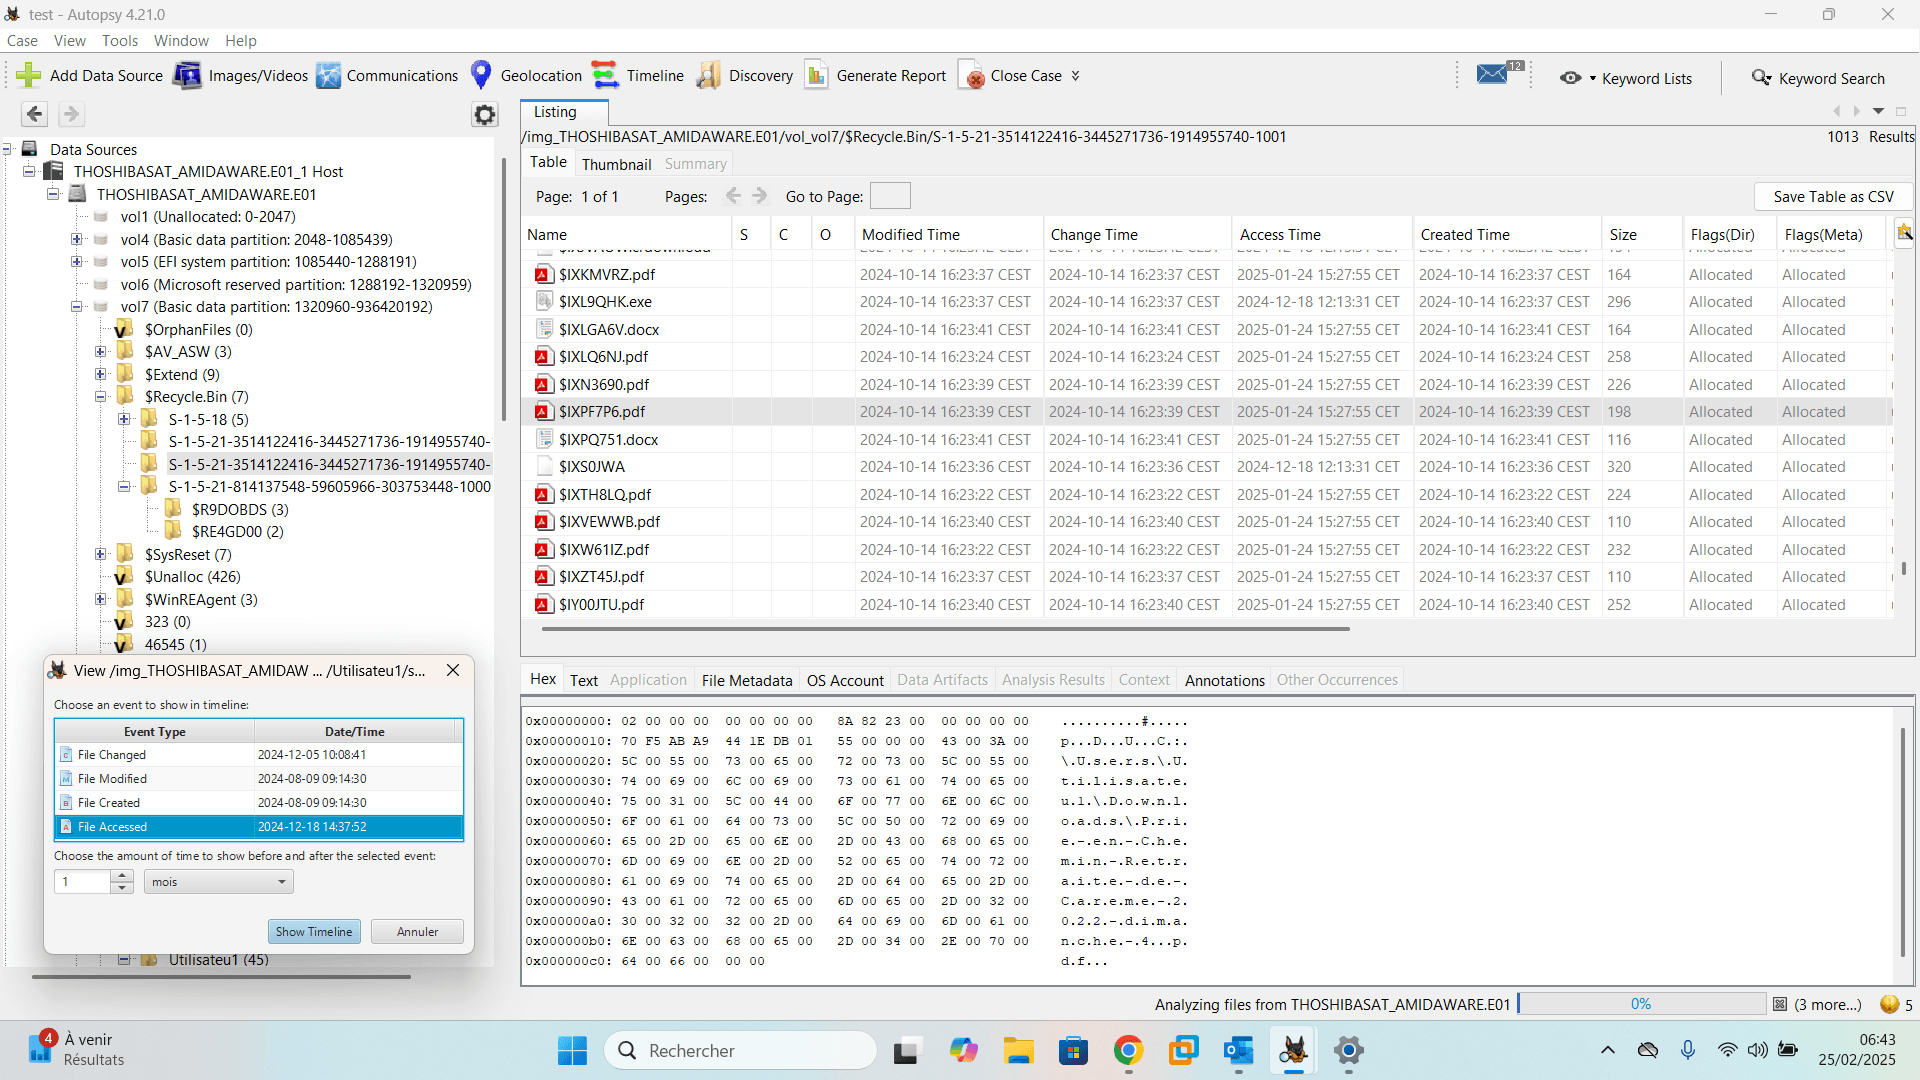
Forensic disk image analysis
Analyzing a forensic disk image is an essential step in extracting, examining and interpreting the data contained in a digital medium. The aim is to identify elements relevant to an investigation, whether this involves recovering deleted files, investigating suspicious activity or extracting digital evidence.
Autopsy is an open-source forensic tool widely used for disk image analysis. It offers an intuitive graphical interface based on The Sleuth Kit (TSK), a set of powerful modules for exploring file systems, analyzing metadata, extracting digital artifacts and identifying traces of activity.
Autopsy is available free of charge and is compatible with Windows, Linux and macOS. To install :
- Download Autopsy from the official website.
- Install the software by following the installation wizard.
- Once installation is complete, launch Autopsy and create a new forensic case to begin analysis.
Autopsy’s main features for forensic analysis
Autopsy is a complete forensic tool for in-depth analysis of a disk image as part of a digital investigation. It offers an intuitive interface and integrates several specialized modules to facilitate file system exploration, deleted data recovery and digital artifact extraction.
- File system analysis: support for NTFS, FAT, EXT and HFS+ formats, distinction between visible and hidden files, access to metadata and system logs.
- Deleted file recovery: analysis of disk sectors, reconstitution of deleted files and recovery of documents, images, videos or archives as long as they have not been overwritten.
- Extraction of system artifacts: browsing history, event logs, recently executed programs and network connections to trace actions performed on a device.
- Metadata analysis: extraction of hidden information from files, such as EXIF image data, document modification dates and access permissions.
- Advanced search and indexing: search engine to identify keywords in files, e-mails and system logs, with automatic extraction of textual content.
- Analysis of multimedia files: detection of explicit content, extraction of thumbnails and analysis of image and video metadata.
- Mapping of digital interactions: identification of connections to remote servers, exchanges on social networks and messaging logs to trace suspicious communications.
- Forensic report generation: production of detailed reports in PDF, HTML or CSV, including artifacts identified, modifications detected and chronology of events.
Thanks to these features, Autopsy can efficiently exploit a disk image to extract relevant information and reconstruct events that have taken place on a computer system.
Is it possible to compromise a forensic analysis?
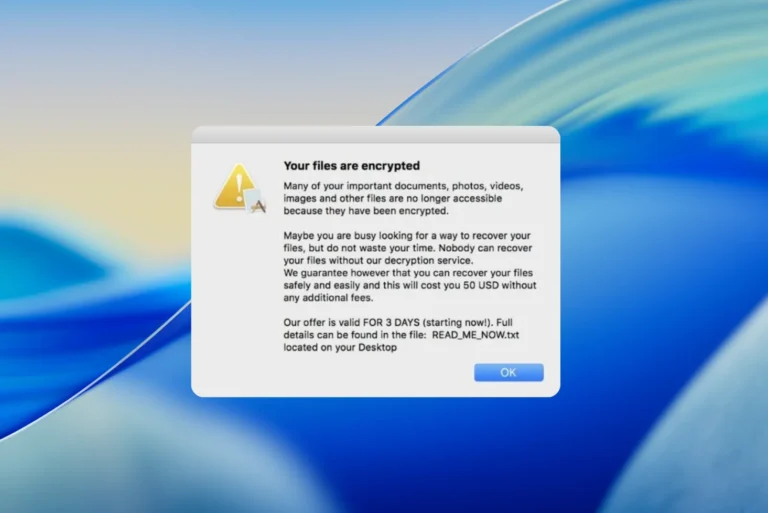
In the governmental, military, financial and industrial sectors, compromising a forensic analysis relies on techniques designed to prevent data recovery and erase all traces of digital activity. Unlike simple file deletion, which leaves exploitable fragments, it is necessary to use advanced methods such as secure data overwriting.
However, software erasure may not be sufficient if external system logs or backups exist elsewhere. This is why sensitive organizations sometimes use temporary systems such as OS Live (Tails, Whonix) which write nothing to disk, preventing recovery after use. Other methods include full media encryption with instant key deletion, rendering data totally unusable. Some highly secure infrastructures even feature self-destruct mechanisms, automatically deleting sensitive files in the event of unauthorized access.
Finally, when data protection must be absolute, the only infallible solution is physical destruction of the medium. A hard disk can be demagnetized, preventing the magnetic platters from being read, or shredded to destroy any possibility of accessing the data. In the case of SSDs, which store information in electronic form, only the destruction of the memory chips guarantees total deletion. Only this combination of techniques (erasure, encryption and hardware destruction) can render a forensic analysis totally inoperative.
Did you find this article helpful?
Share it so others can benefit from it.
Learn more about the author