Do you want to install Windows 11 on your computer or start from a clean slate? Before you begin, you need to create a bootable USB drive, a medium capable of launching the system installation without using the hard drive. In this article, I explain how to download the official Windows 11 ISO image, write it to a USB drive with Rufus, and then boot your PC from it to perform a full installation, a repair, or a clean reset.
Create a bootable USB drive to clean install Windows 11 on a PC
- What is a bootable USB drive?
- How to create a bootable USB key to install Windows on a PC?
- How to boot a bootable USB key?
What is a bootable USB drive?
A bootable USB key is just like any other USB key, containing the files needed to boot a computer and install or run an operating system without having to go through the computer’s hard disk. It is used to boot the computer directly from the USB key, which can be useful in a number of scenarios, such as :
- Installing an operating system: Bootable USB sticks are often used to install operating systems such as Windows, Linux or macOS on a computer.
- Repairing a system: In the event of problems with the main operating system, a bootable USB stick can be used to launch a repair environment (such as a lightweight Linux system or a version of Windows with computer troubleshooting tools).
- Launch a live system: Some Linux distributions allow you to boot and run a complete operating system directly from the USB stick, without installation on the computer. This can be useful for testing a system before installing it, or for diagnostic tasks.
Discover our selection of the best USB flash drives for creating a bootable installation key.
How to create a bootable USB key to install Windows on a PC?
To get started, you’ll need to have an operating system in ISO format and download the Rufus utility, which lets you burn an ISO onto a USB stick.
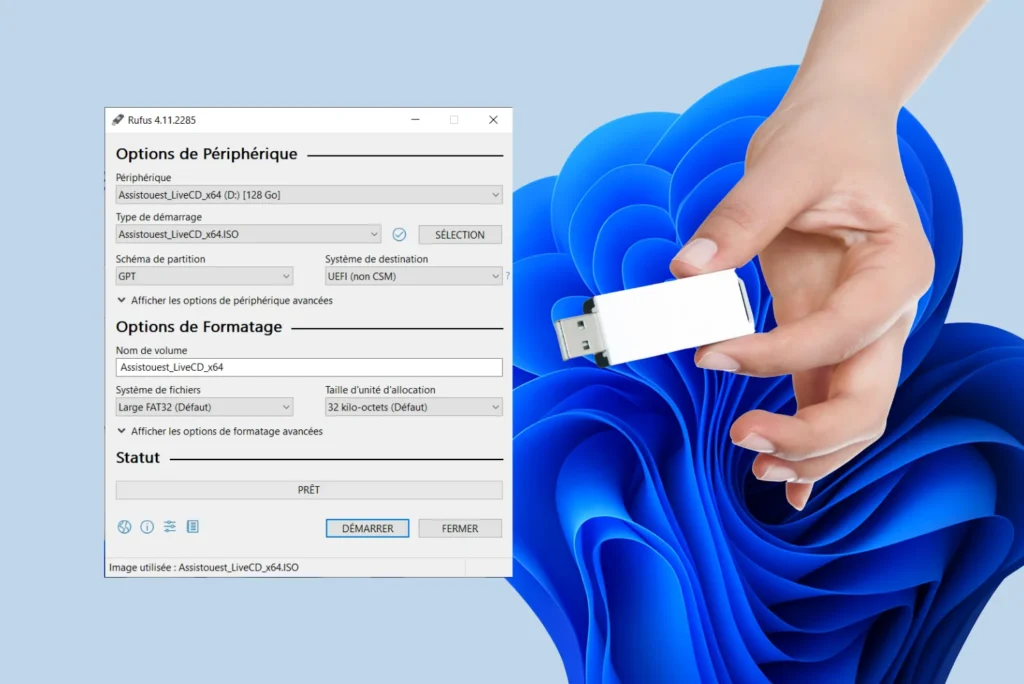
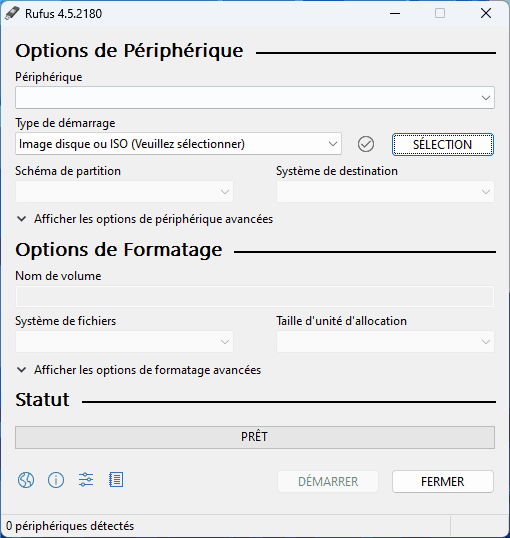
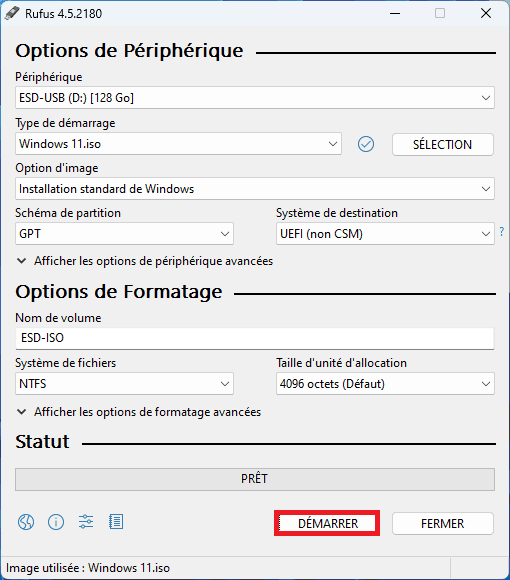
Open the utility, and you’ll come to this interface.
Insert a USB key of at least 8GB.
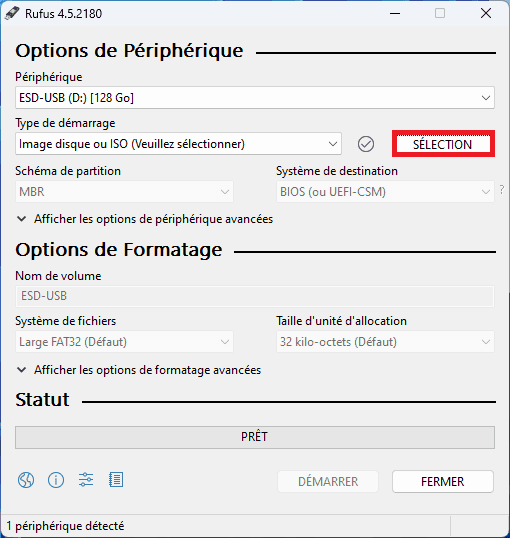
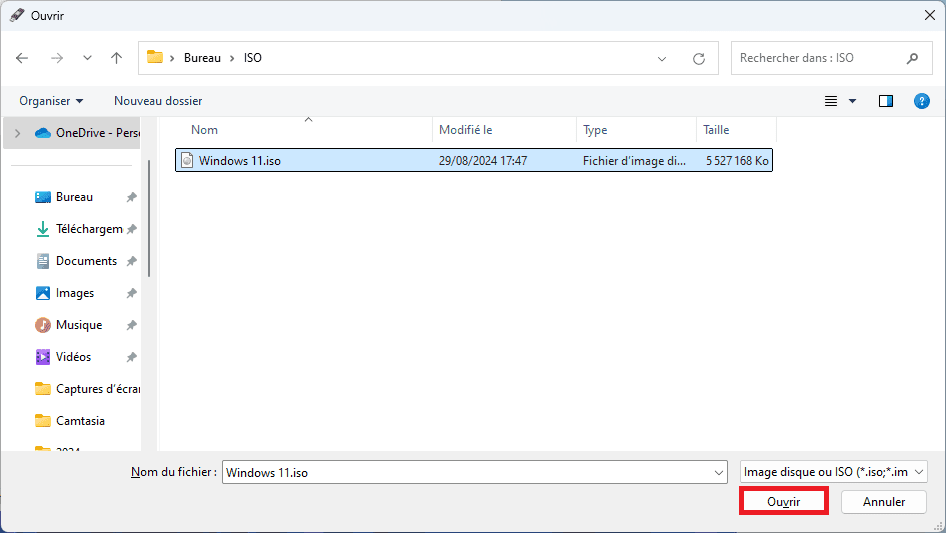
Then select your pre-downloaded ISO.
Then click on Start to start writing the ISO to your USB key.
With some operating systems, notably Windows, you will then be presented with a customization window (to facilitate and customize Windows installation).
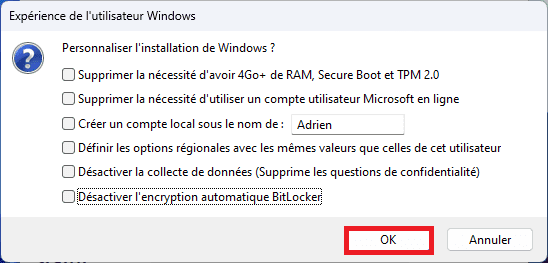
Select the customization options you require, then click OK.
You have now created your bootable Windows USB key 🥳
How to boot a bootable USB key?
To boot from a bootable USB stick, start by restarting your computer and accessing the BIOS or UEFI. Once in BIOS/UEFI, disable the Secure Boot option if enabled, as this prevents booting from a USB stick. Save your changes and reboot.
On restart, press the boot menu button to display the boot options. Then select your USB key from the list of devices. Your computer will then boot from the USB key.
Did you find this article helpful?
Share it so others can benefit from it.
Learn more about the author
