Hyper-V is one of Microsoft’s most advanced tools for creating and managing virtual machines. While it is natively offered in the Pro, Enterprise and Education editions of Windows 11, it is unfortunately absent from the Home edition. However, the necessary components are present in the system, simply disabled by default. Thanks to a PowerShell script, it is possible to activate Hyper-V, the type 1 hypervisor. In this guide, you’ll find out how to take advantage of native virtualization on Windows Home.
Installing and activating Hyper-V on Windows 11 Home with PowerShell
- Enabling Hyper-V on Windows Home Edition
- Explanation of Hyper-V packages for Windows 11 Home
- Why isn’t Hyper-V enabled by default on Windows Home?
Enabling Hyper-V on Windows Home Edition
Hyper-V does not appear in the features available on Windows Home, but the necessary files are indeed present in the system. Using PowerShell, it is possible to reactivate these components and install the hypervisor as on a Pro edition. Here’s the complete procedure.
- Open the Start menu and type PowerShell.
- Right-click on Windows PowerShell and select Run as administrator.
- Confirm the UAC prompt by clicking Yes, otherwise the script will not be able to modify the system components.
- Once you have opened PowerShell with the necessary rights, copy and paste the entire script below, then press Enter :
$file = "$env:TEMPHyper-V-Enabler.bat"

$scriptContent = @"
@echo off
pushd "%~dp0"
dir /b %SystemRoot%servicingPackages*Hyper-V*.mum >hyper-v.txt
for /f %%i in ('findstr /i . hyper-v.txt 2^>nul') do dism /online /norestart /add-package:"%SystemRoot%servicingPackages%%i"
del hyper-v.txt
Dism /online /enable-feature /featurename:Microsoft-Hyper-V -All /LimitAccess /ALL
pause
"@

Set-Content -Path $file -Value $scriptContent
Start-Process -FilePath $file -Verb RunAs
This code automatically generates a batch file in the Windows temporary folder, then executes it with sufficient privileges to activate Hyper-V.
To understand exactly what the manipulation does, we need only look at the two main steps integrated into the code.
Explanation of Hyper-V packages for Windows 11 Home
This command browses the Windows servicingPackages folder and installs each Hyper-V-related file (.mum).
These files are supplied by Microsoft in all editions of Windows, but they remain inactive until manually added to the system.
Dism /online /norestart /add-package:"%SystemRoot%servicingPackages%%i"
Once the packages have been installed, DISM officially activates the functionality.
Dism /online /enable-feature /featurename:Microsoft-Hyper-V -All /LimitAccess /ALL
This action prepares the services, configures the type 1 hypervisor and registers all virtualization components in Windows.
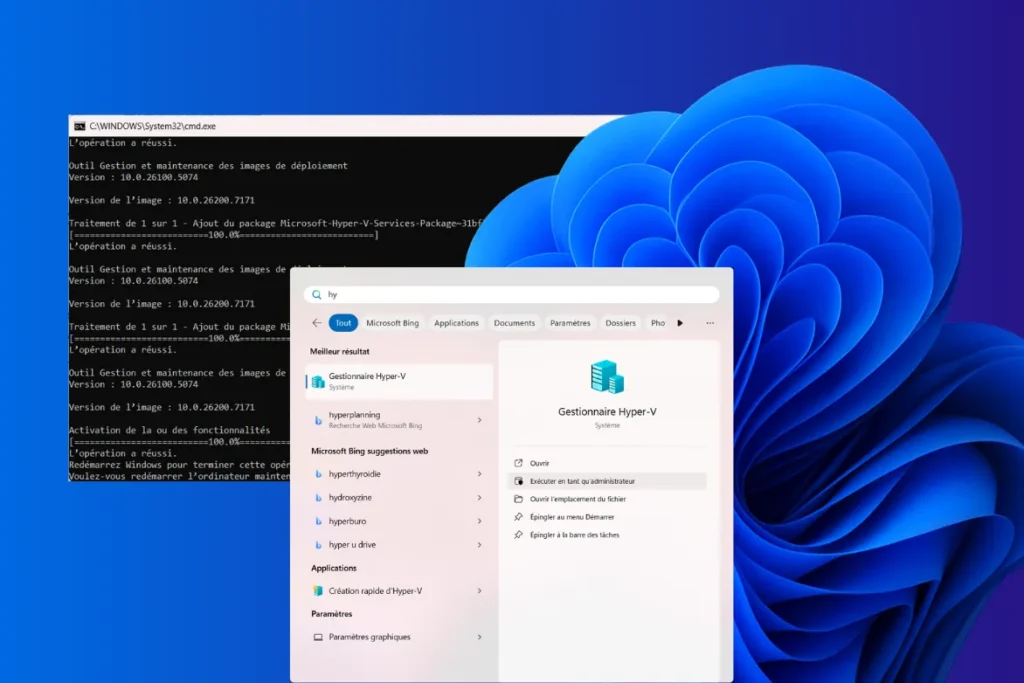
When the command prompt opens, let the process finish. You should see several lines confirming that packages have been added and features activated.
- At the end of the process, the script will ask you to restart your computer to finalize the installation. Press Y then Enter to restart immediately, or restart manually later.

This reboot is essential, as Hyper-V modifies the internal operation of Windows (activation of type 1 hypervisor at startup).
After rebooting, you can check whether Hyper-V is activated by opening it directly.
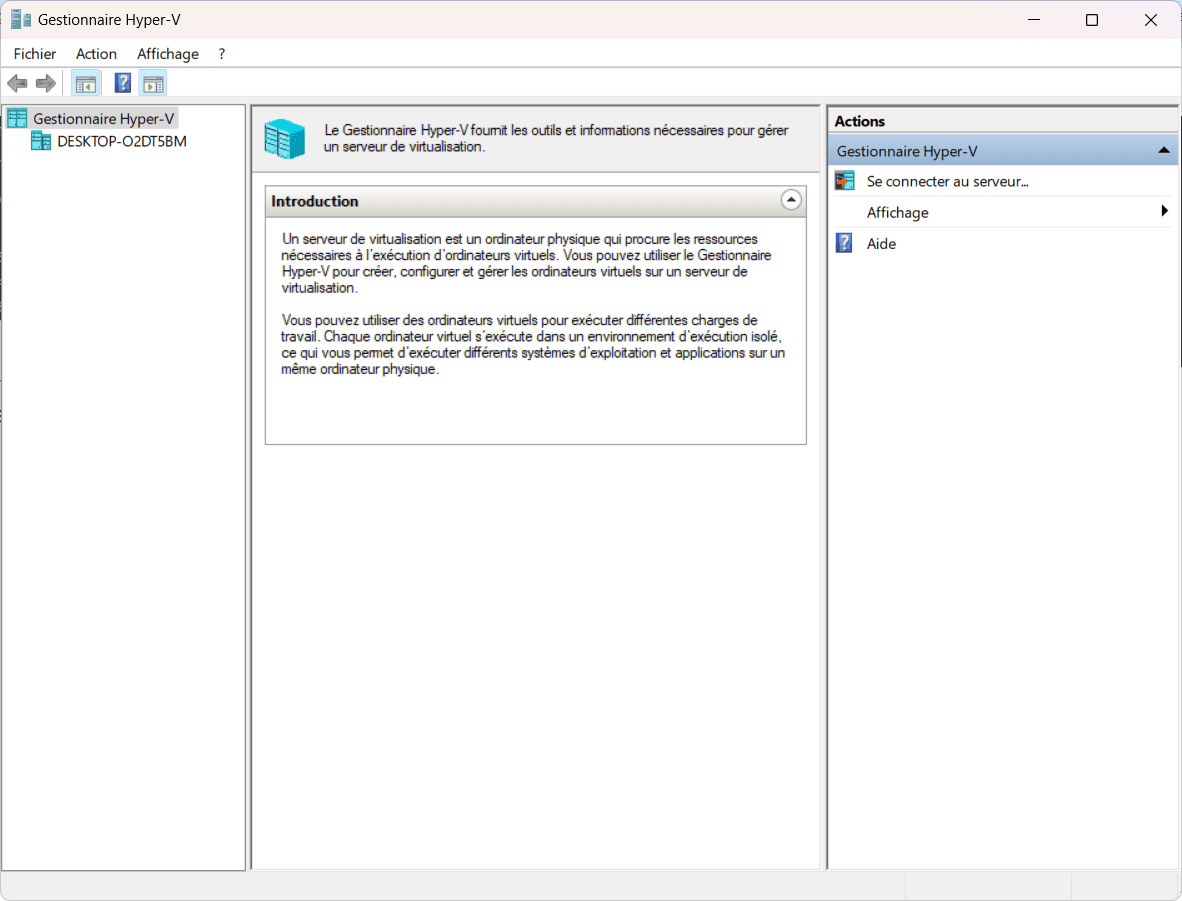
You now have access to the entire Hyper-V infrastructure: virtual machine creation, virtual network switches, VHDX disk management, VM import/export and all the features normally reserved for professional editions.
Find out how to activate hardware virtualization to accelerate virtual machine performance.

Why isn’t Hyper-V enabled by default on Windows Home?
Hyper-V is an advanced virtualization technology that transforms Windows into a true Type 1 hypervisor. Despite its presence in the system, Microsoft has chosen not to activate it in the Home edition.
Microsoft deliberately segments its Windows editions to offer different ranges adapted to different uses. The Home edition targets the general public, while the Pro, Enterprise and Education editions are aimed at professionals, system administrators or corporate environments. Hyper-V is one of the advanced features reserved for high-end licenses, enabling Microsoft to justify the price differential and structure its offering. The absence of Hyper-V in Windows Home is therefore not an oversight, but a choice designed to distinguish the editions.
Hyper-V meets specific needs found mainly in professional environments. For example, it can be used to deploy pre-production environments, test multiple operating systems or create isolated machines for development. In the home, this type of functionality is marginal. Microsoft considers that the majority of users do not need such an elaborate tool, which explains its absence from the Home Edition interface.
Hyper-V modifies system operation as a type 1 hypervisor
Activating Hyper-V transforms the inner workings of Windows. The hypervisor sits between the hardware and the system, and becomes the master layer. Windows then runs on top of this layer, as a privileged virtual machine. This type of architecture modifies processor, memory and hardware access management. An unsuspecting user may observe unusual behavior or limitations that he or she may not be able to explain. To avoid such situations, Microsoft prefers to keep the Home edition on the classic hypervisor-free operating mode.
Some applications require direct access to the hardware and don’t work properly when a hypervisor is active. This is particularly true of games with strict anti-cheat features, graphics software and specialized drivers that refuse to work when hardware virtualization is intercepted by Hyper-V. Many Windows Home users use their computers to play games, create multimedia content or run applications that rely on maximum compatibility. Enabling Hyper-V could disrupt these uses. This is one of the reasons why this feature is not automatically available in the Home edition.
Did you find this article helpful?
Share it so others can benefit from it.
Learn more about the author
