
Some programs can’t be uninstalled easily, while others leave behind useless files and registry entries that clutter up your system. If you’re looking to completely uninstall stubborn software on Windows 11 and remove all traces of it to free up space and optimize your PC, this article guides you step-by-step through the process, with the right tools for effective cleanup.
In this article
- Why are some programs difficult to uninstall?
- Attempting a basic uninstall from system settings
- Completely uninstall a stubborn program and clean up its tracks
- Standard or forced program uninstallation
- Removal of remaining files and registry keys
- Check for remaining hidden files
- How to use Revo Uninstaller to remove a program completely
- How do I manually remove any remaining traces?
- Cleaning the Windows registry of obsolete entries
- Check scheduled tasks and associated services
Why are some programs difficult to uninstall?
Some programs are particularly difficult to uninstall under Windows 11 due to various protection mechanisms. Some programs, such as antivirus software, system applications or certain background programs, lock their files to prevent accidental deletion. When an active process prevents deletion, Windows displays an error message indicating that the file is in use, rendering conventional uninstallation ineffective. It is then necessary to close the associated processes via the Task Manager or to go into Safe Mode to bypass this limitation.
Other software simply doesn’t offer an uninstall option in Windows settings or Control Panel. This is particularly the case with software installed without standard installation (portable applications), or software that has not been correctly registered in the Windows registry. In these cases, the user must manually search the program folder and delete files one by one, a tedious task which can leave residues in the system.
Some applications are problematic due to user rights restrictions or their potentially malicious nature. Some software requires administrator privileges to be removed, and if the user does not have these rights, uninstallation is blocked. Worse still, some malware or advertising programs protect themselves against removal by automatically recreating their files or modifying system permissions to prevent any intervention. In such cases, specialized tools such as Revo Uninstaller or an antivirus scan are required to force removal and clean up any traces left in the system.
Attempting a basic uninstall from system settings
The easiest way to remove a program from Windows 11 is via the system settings.
- Use the Windows keyboard shortcut + I to open Settings directly.
- In the left-hand side menu, click on Applications.
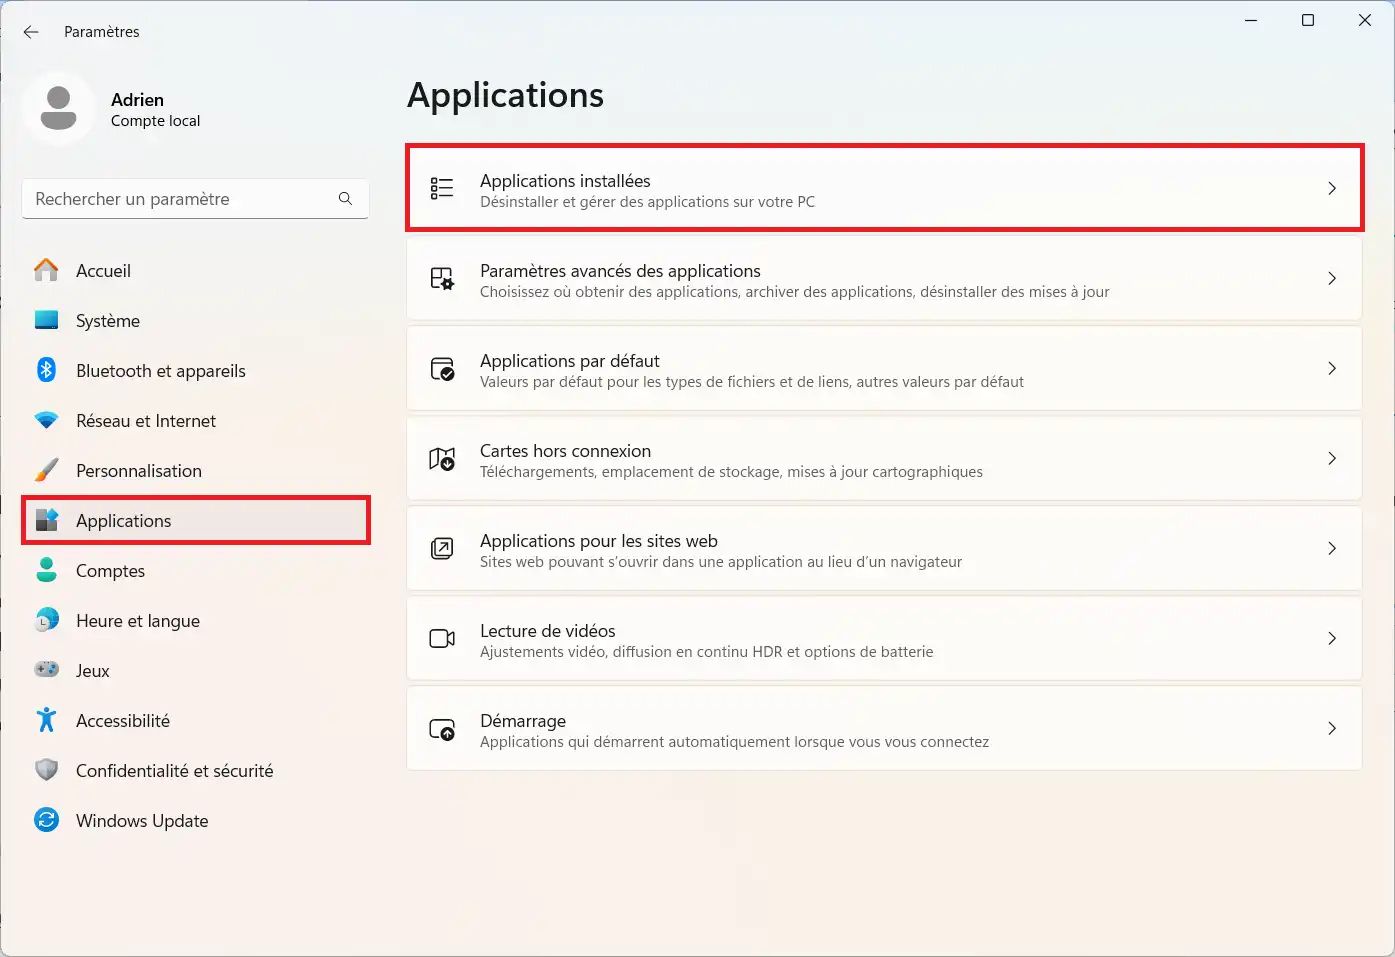
- Then select Installed applications to display the complete list of software on your PC.
- In the Installed applications section, use the search bar at the top to type the name of the program you wish to remove.
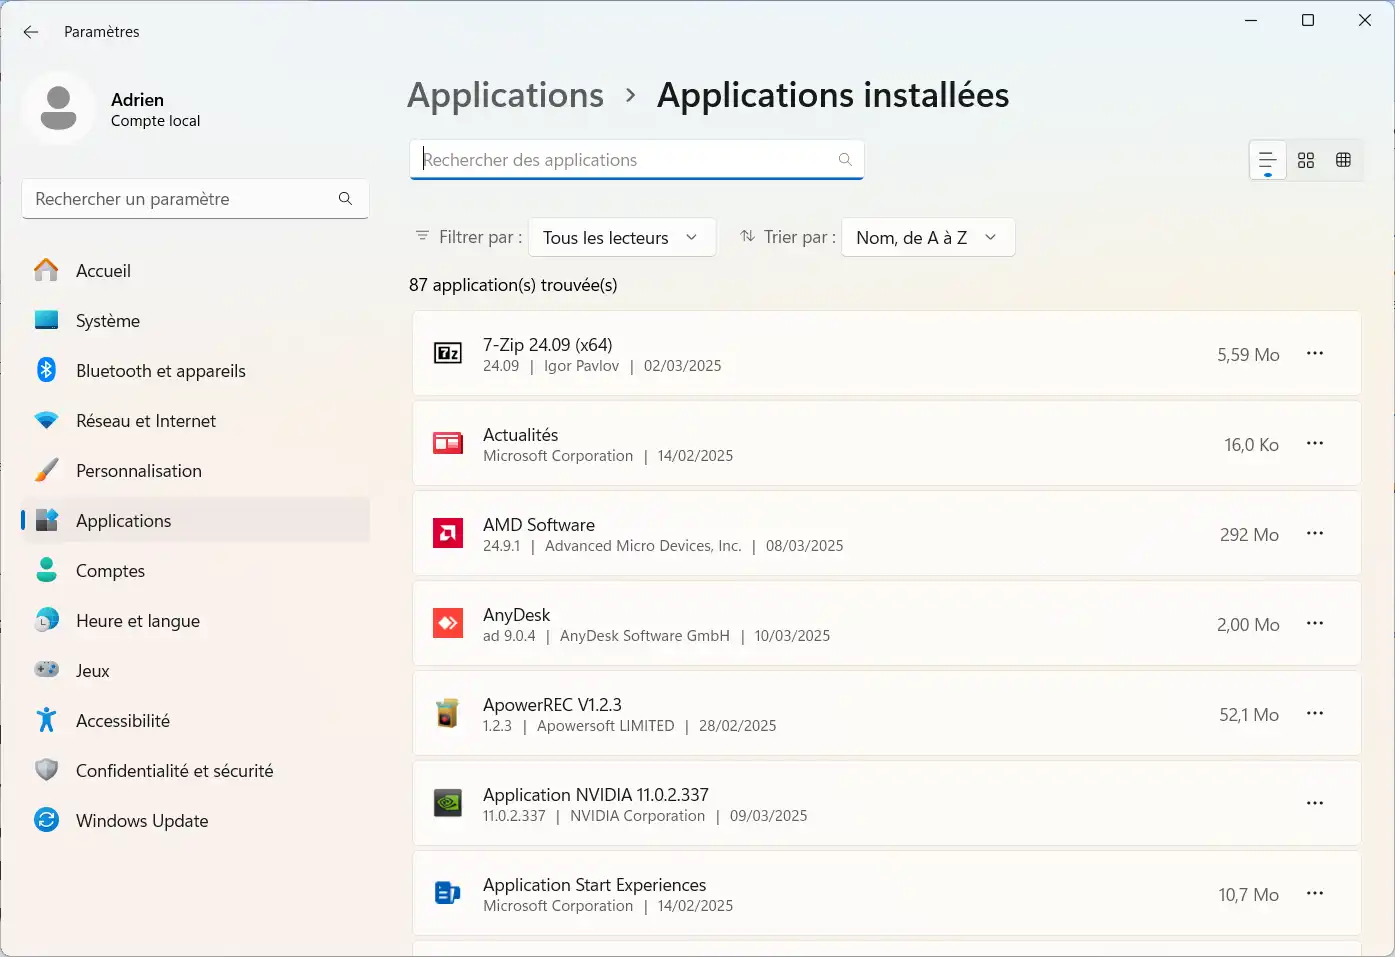
- If you don’t know the exact name, scroll down the list of installed applications to find it manually.
- Once you’ve located the program, click on the three
⋮dots to the right of its name. - From the drop-down menu, select Uninstall.
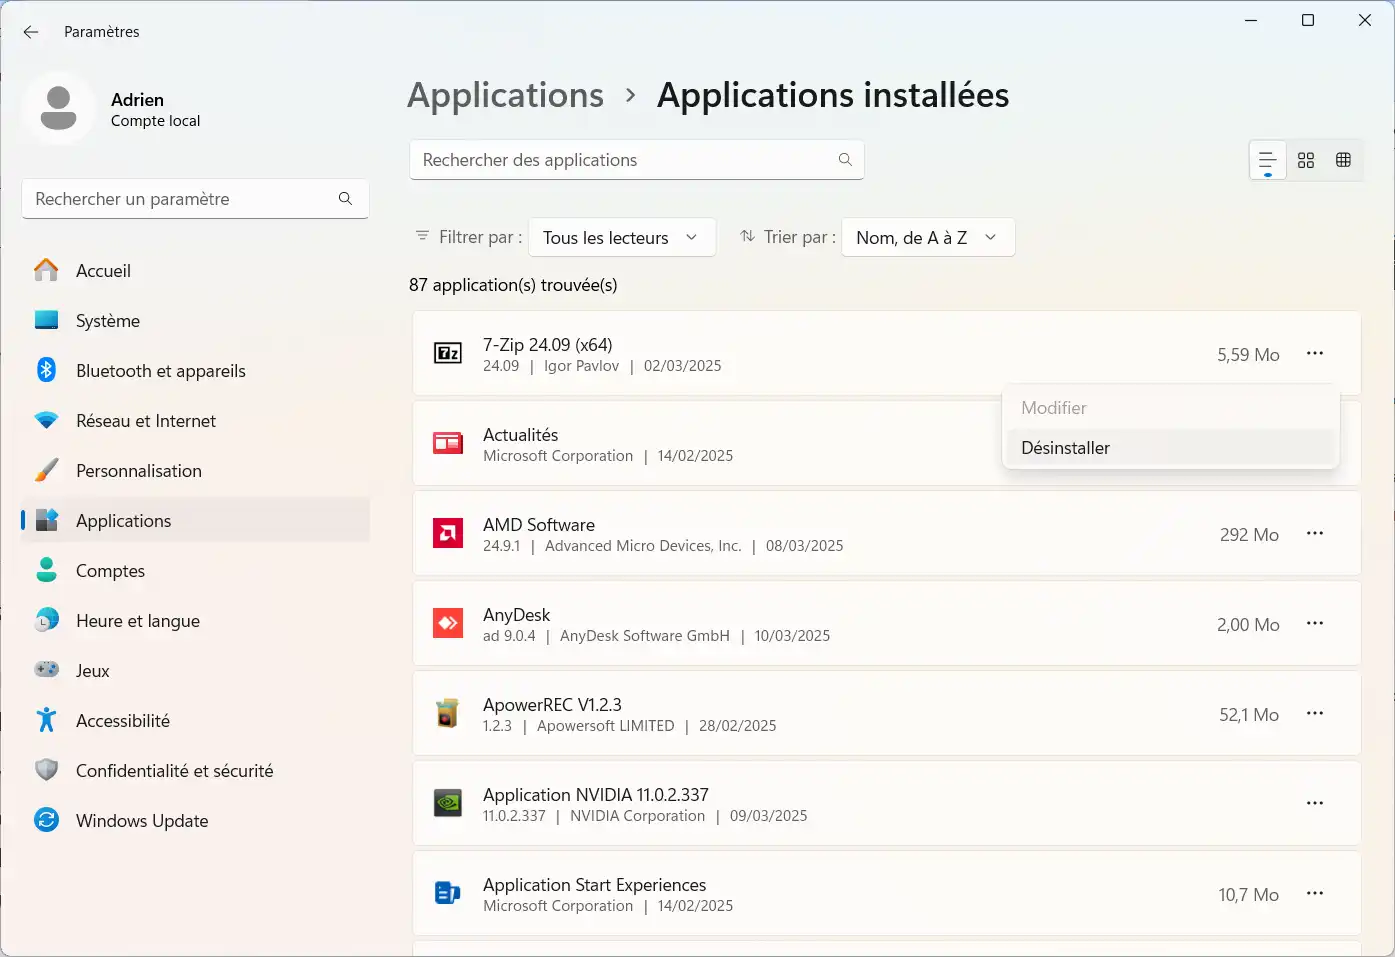
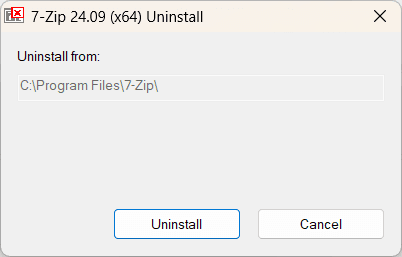
- A confirmation window appears: click Uninstall again to start the process.
- Depending on the software, a program-specific uninstall window may open.
- Follow the on-screen instructions to confirm and finalize the deletion.
- Some programs require you to restart your computer after uninstallation. If this is the case, restart your PC to apply the changes.
However, some recalcitrant software may refuse to uninstall, displaying an error message or blocking the process. In this case, a more advanced method is required.
Completely uninstall a stubborn program and clean up its tracks
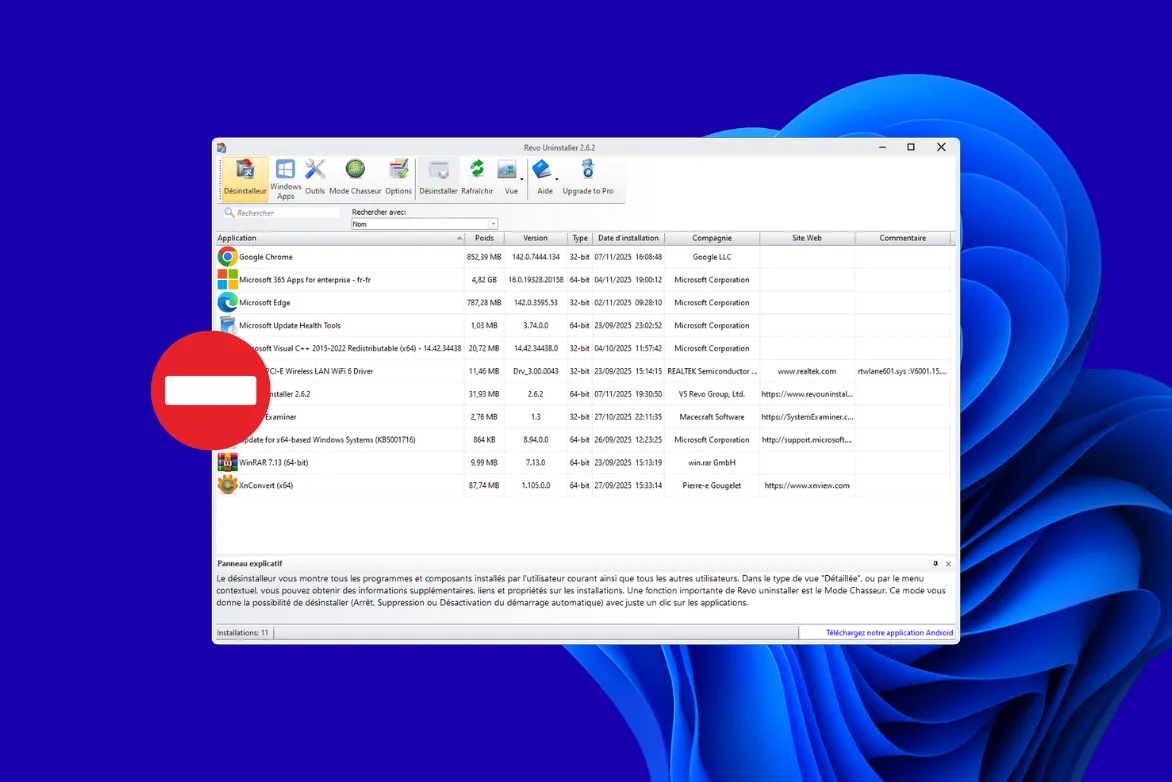
Revo Uninstaller specializes in the complete uninstallation of Windows programs, and is a more powerful alternative to the system’s built-in removal tool. Unlike the classic method, which often leaves behind residual files and useless registry entries, Revo Uninstaller thoroughly analyzes the system to completely remove software and clean up its traces. It offers several uninstall modes, including a forced mode for recalcitrant programs, and incorporates an advanced scanner to detect and eliminate hidden files.
Standard or forced program uninstallation
Revo Uninstaller offers two main methods for removing software: standard uninstallation and forced uninstallation.
The first is to run the program’s built-in removal tool, followed by a scan for any residual files. However, some recalcitrant programs refuse to uninstall normally, or do not provide a removal option. In such cases, forced uninstallation allows you to eliminate the program by manually identifying and deleting its associated files and registry entries. This method is particularly useful for applications which no longer appear in the list of installed programs, or which display errors during conventional removal.
Removal of remaining files and registry keys
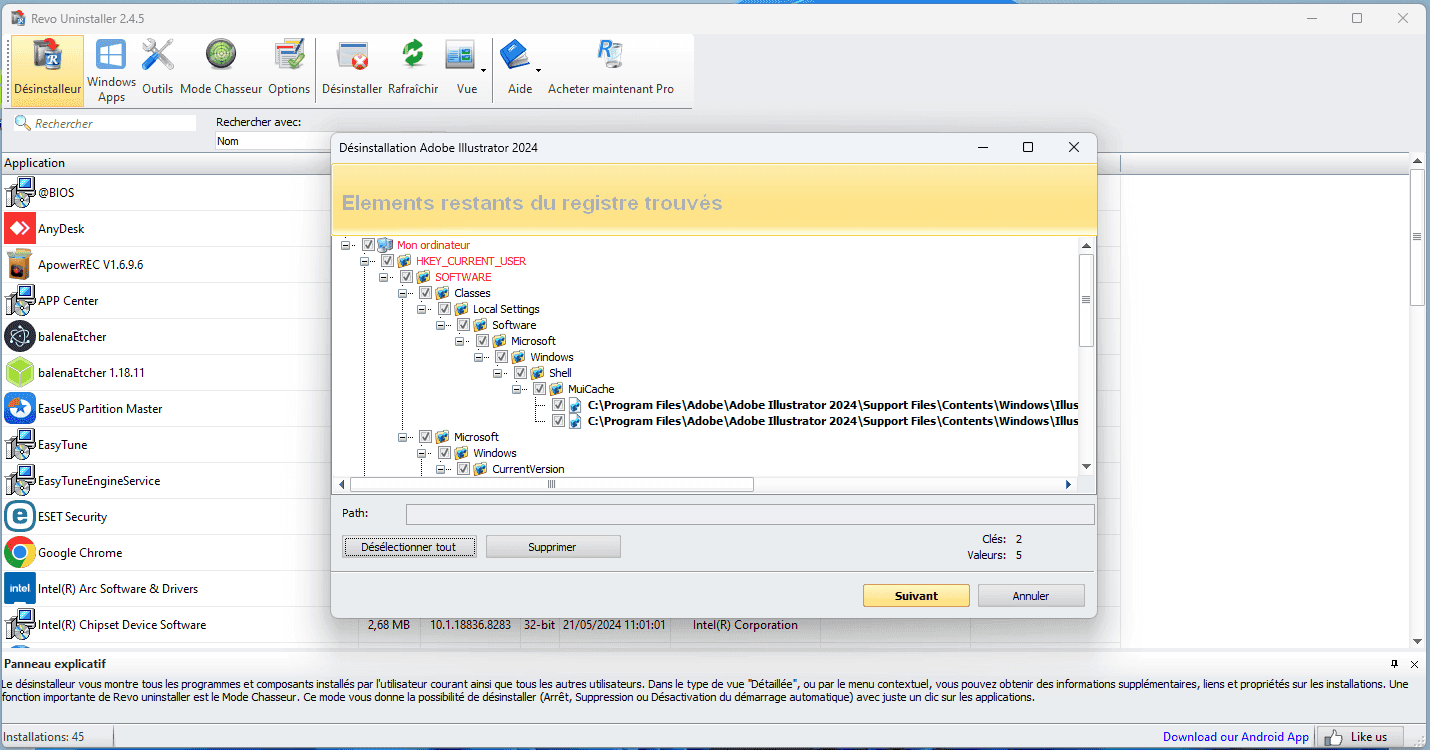
After program removal, Revo Uninstaller performs a thorough system scan for any residual files and registry entries left behind. Many programs retain settings, logs or temporary files that continue to occupy space and can slow down the system. The tool scans these items and displays them in a list to select those to be deleted. The advanced cleanup option guarantees complete deletion, while preventing unnecessary data from accumulating and affecting PC performance.
Check for remaining hidden files
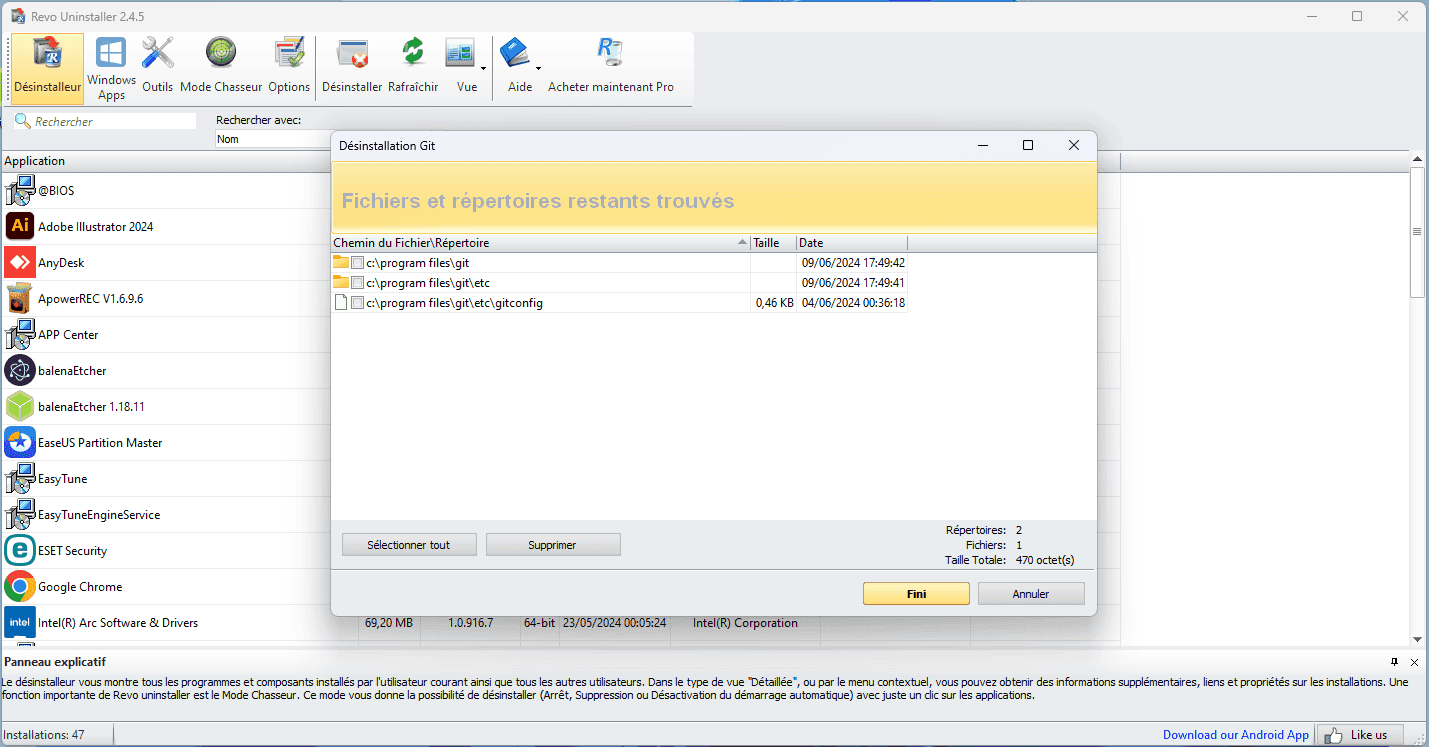
Even after a thorough uninstall, some files may persist in system folders such as AppData, ProgramData, Program Files or the Temp folder. These hidden files are often overlooked by conventional uninstallers, but Revo Uninstaller incorporates a manual and automatic search function to identify these remaining items. Revo Uninstaller then offers to remove them permanently for total system cleanup. This extra check is essential to avoid any accumulation of orphaned files and maintain a high-performance PC.
How to use Revo Uninstaller to remove a program completely
- Go to the official Revo Uninstaller Freeware website and download it.
- Install the software, then open it.
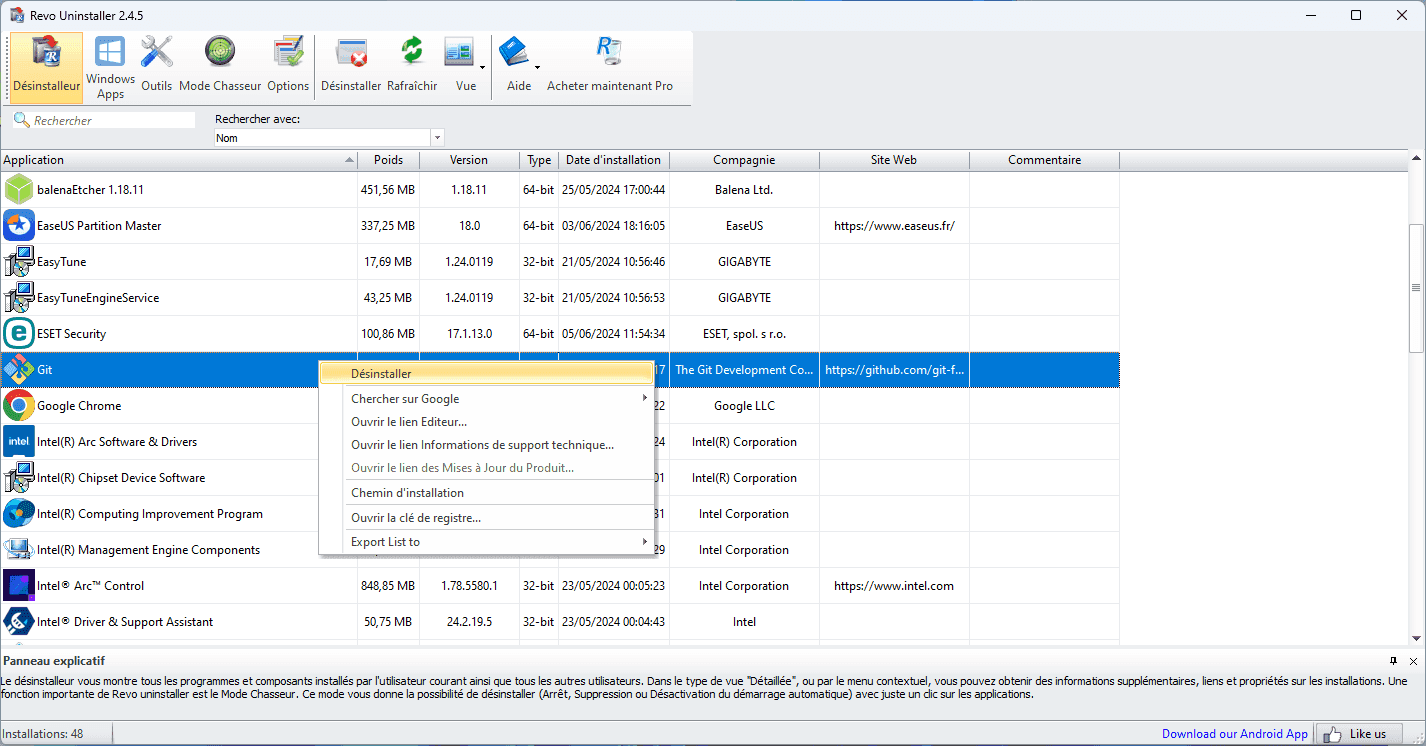
- Right-click on the software you wish to uninstall completely, then click on uninstall.
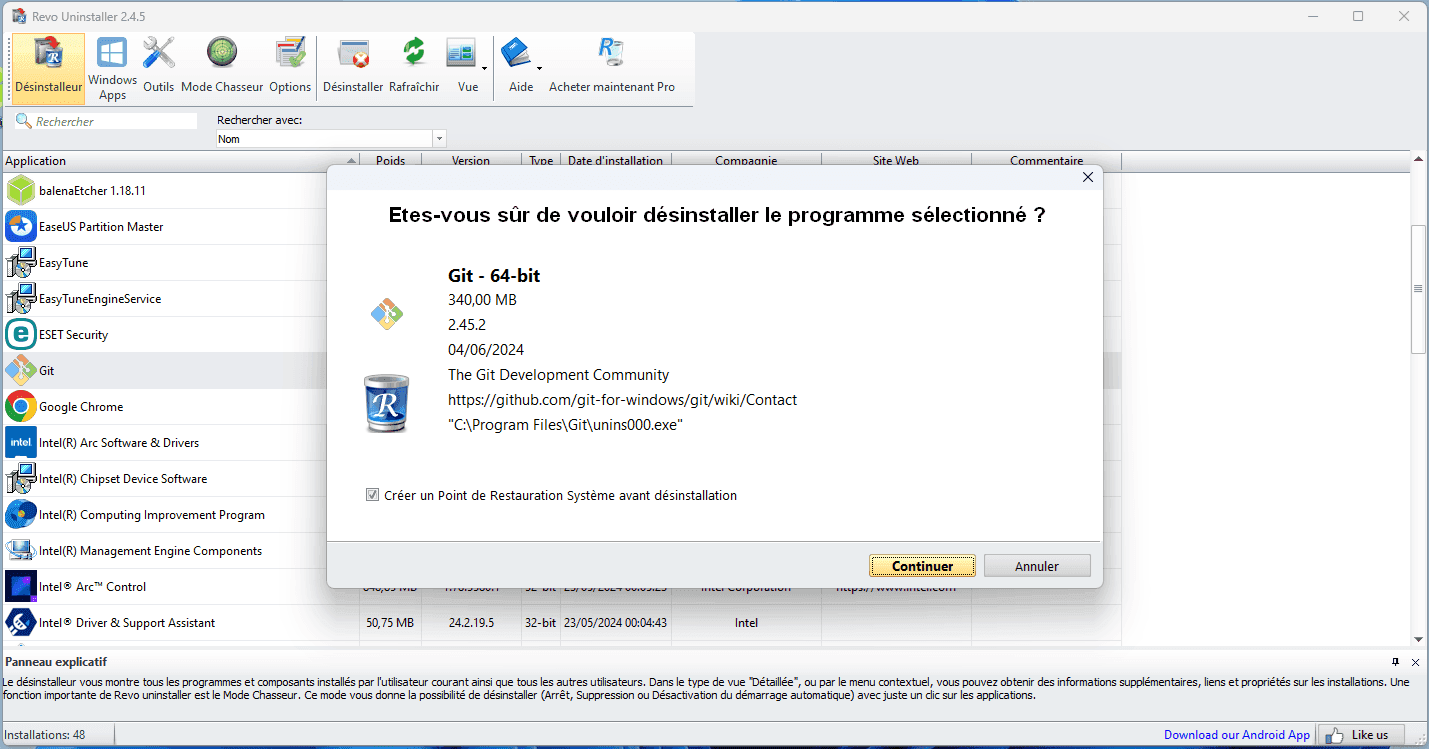
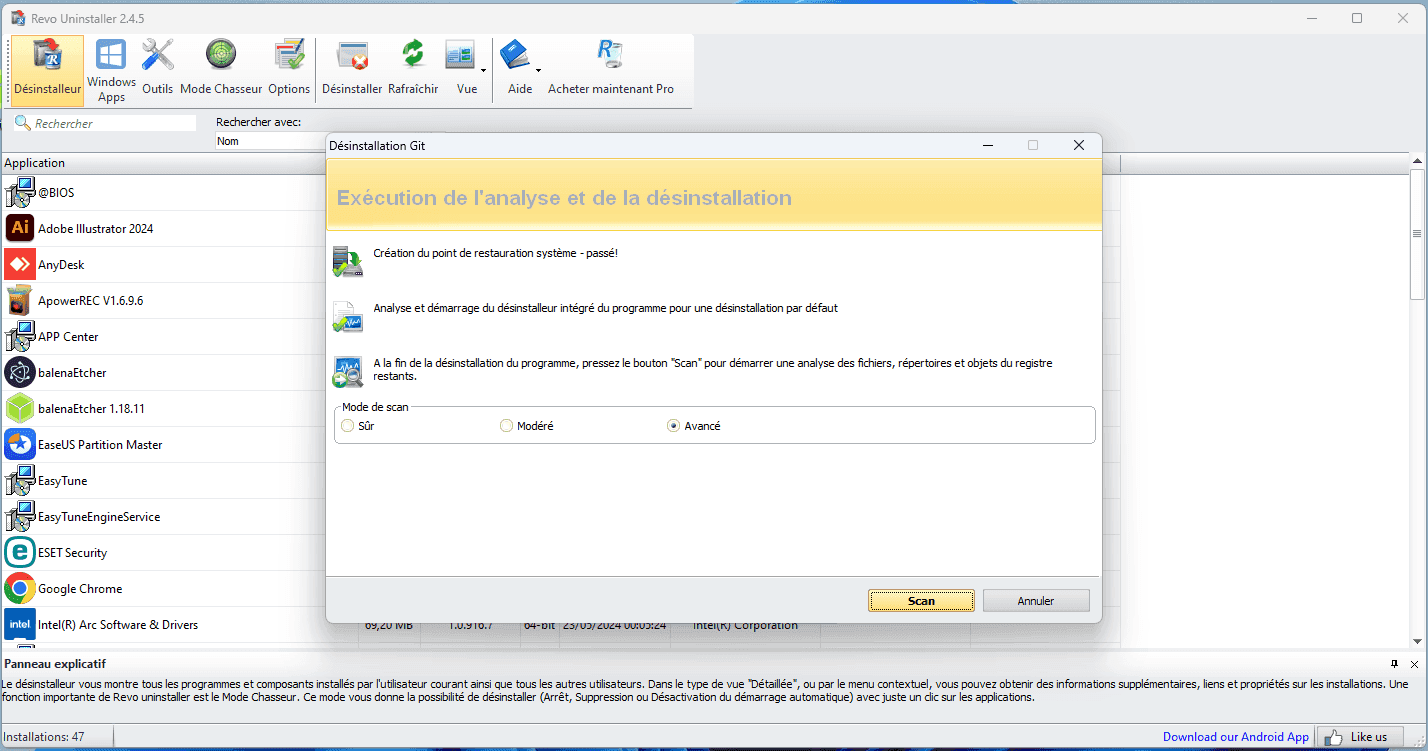
- The program prompts you to create a system restore point, click on continue.
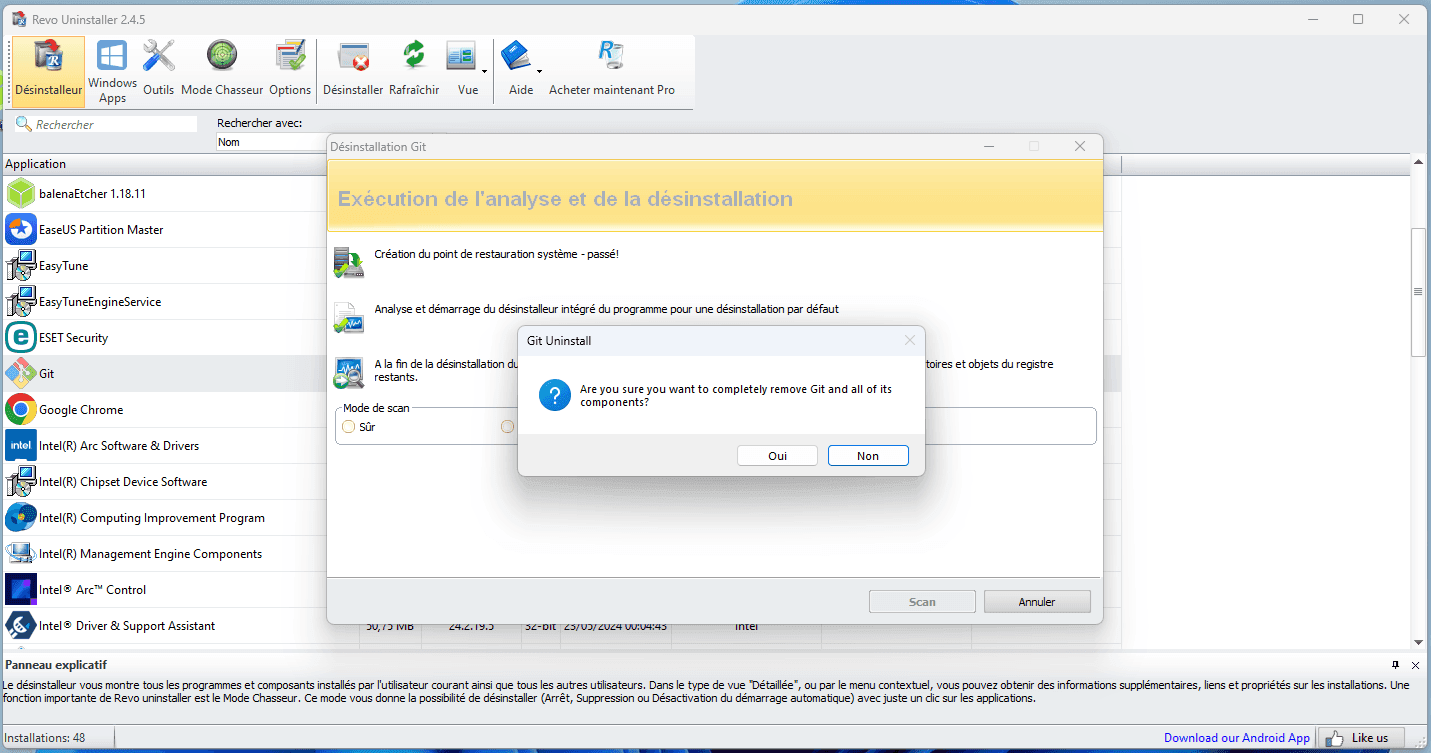
- The official uninstaller for the program in question opens, and you can proceed to the end of the process.
- Once uninstallation is complete, click on Advanced, then Scan.
In some cases you’ll have to delete the remaining registry items, in others you’ll only have to delete the remaining files and directories found by the software.
- The software will then search the remaining elements of the registry, click on Select all, then on Delete.
- Ditto for the remaining files and directories, click on Select all, then on Delete.
- Confirm the warning by clicking on Yes.
✌️ Congratulations, you’ve now completely removed the software and all residual files.
How do I manually remove any remaining traces?
After uninstalling a program, some files may remain stored on the hard disk, taking up unnecessary disk space.
To remove them manually, start by checking the AppData and ProgramData folders, where many programs store temporary files and settings.
Open File Explorer, then access C:UsersYourNameAppData and C:ProgramData.
In these directories, look for a folder with the name of the deleted program, and delete it if it’s still there.
You should also check C:Program Files and C:Program Files (x86), where some software still leaves traces after being uninstalled.
Cleaning the Windows registry of obsolete entries
It is recommended to clean the Windows registry to remove obsolete entries related to the uninstalled program.
To do this, open Registry Editor by typing regedit in the Windows search bar and running the tool in administrator mode.
Then navigate to HKEY_CURRENT_USERSoftware and HKEY_LOCAL_MACHINESOFTWARE, and find a folder with the name of the deleted program.
If you find one, remove it with care. Any modification of the registry can affect system stability, so it’s advisable to create a backup before deleting it.
Check scheduled tasks and associated services
Some programs add scheduled tasks or Windows services that continue to run even after they have been removed.
To check this, open the Task Scheduler(taskschd.msc) and search for a task associated with the uninstalled software.
If you find one, right-click and select “Delete”.
Similarly, in the Services tool(services.msc), check whether there is still a service linked to the program. If so, set it to Disabled or remove it manually via Command Prompt. These steps will eliminate any remaining traces and prevent unnecessary processes from continuing to run in the background.