Secure Boot is a security feature built into UEFI, designed to prevent the loading of unauthorized systems at boot time. While this protection is useful in most cases, it can quickly become an obstacle when you want to install an alternative system such as Linux, use a Live CD to repair Windows or modify certain advanced settings. In this article, we explain step by step how to disable Secure Boot from the BIOS.
How to disable Secure Boot in your PC’s UEFI BIOS (complete guide)
- What is Secure Boot?
- How to disable Secure Boot in your PC’s BIOS / UEFI?
- Should Secure Boot be disabled or left enabled?
What is Secure Boot?
Secure Boot is a security feature built into UEFI (Unified Extensible Firmware Interface), the modern replacement for the traditional BIOS. Whereas BIOS simply launches the operating system, UEFI incorporates more advanced mechanisms for verifying the authenticity of boot components. This is where Secure Boot comes in, checking every critical file as soon as the PC is switched on.
In concrete terms, Secure Boot works by validating the digital signatures of boot files (bootloader, kernel, drivers, etc.). If one of these files is not signed, or does not correspond to the keys stored in the firmware, bootup is blocked. The aim is to prevent the loading of stealth malware such as rootkits, capable of running even before the antivirus is active.
This verification enhances operating system security, but poses a problem in certain legitimate use cases: installation of unsigned Linux distributions, use of customized Live CDs or modification of an existing OS. In these situations, Secure Boot must be deactivated to allow free booting of the desired system.
How to disable Secure Boot in your PC’s BIOS / UEFI?
Secure Boot can be deactivated in just a few steps, directly from your PC’s BIOS (or, to be more precise, UEFI). Here’s how to do it simply and effectively.
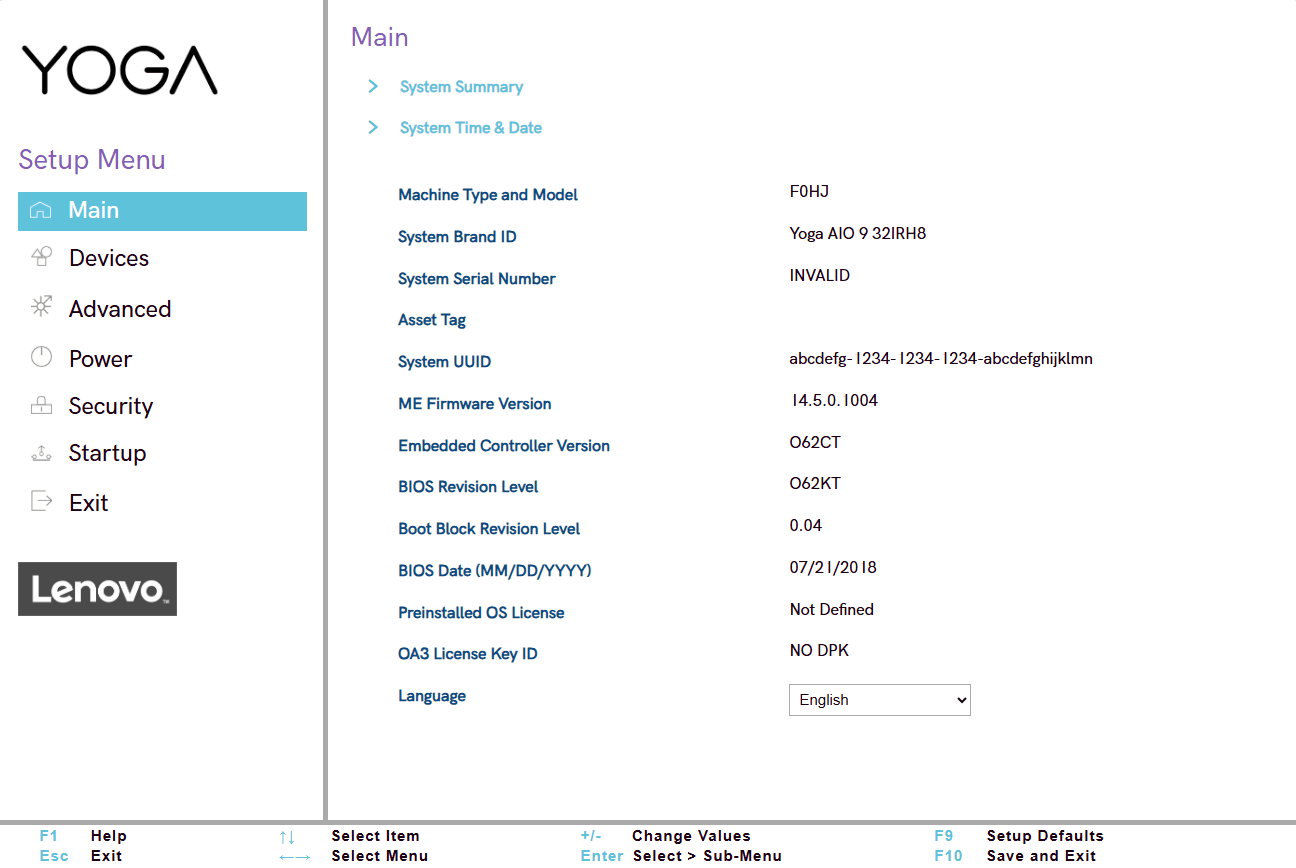
1. Accessing your PC’s BIOS / UEFI
Start by restarting your computer and immediately pressing the key specific to your brand (e.g. F2, DEL, ESC or F10). Each manufacturer uses a different key, so if you don’t know what it is, consult our complete guide :
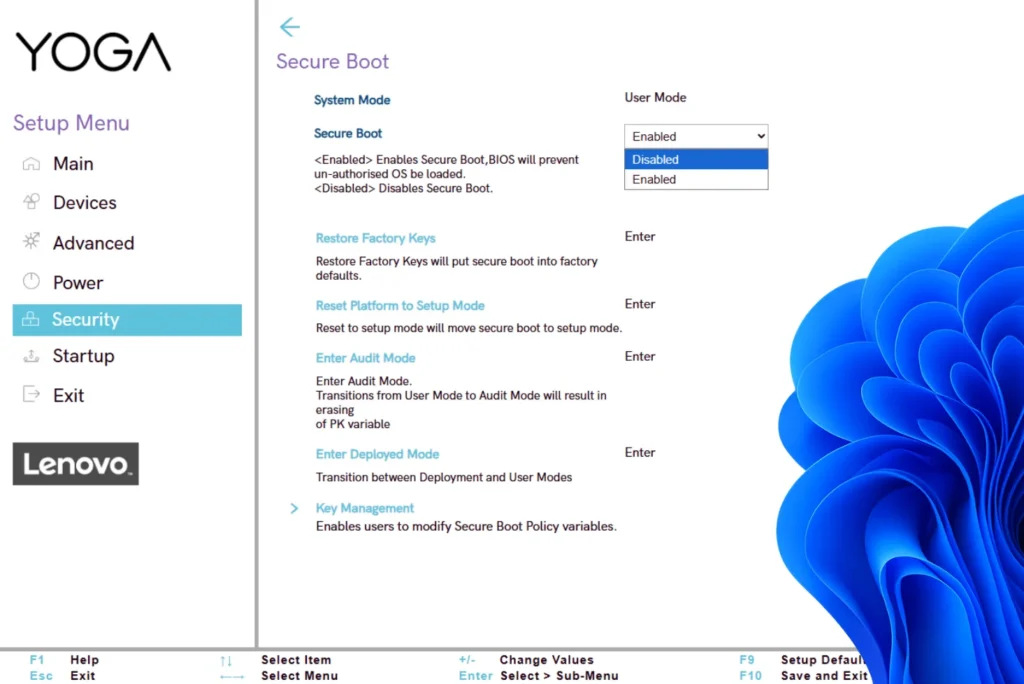
2. Locate the Secure Boot option in your BIOS
Once in the UEFI interface, use the arrows to navigate to the Boot, Security or Advanced tabs, depending on your motherboard or PC model.
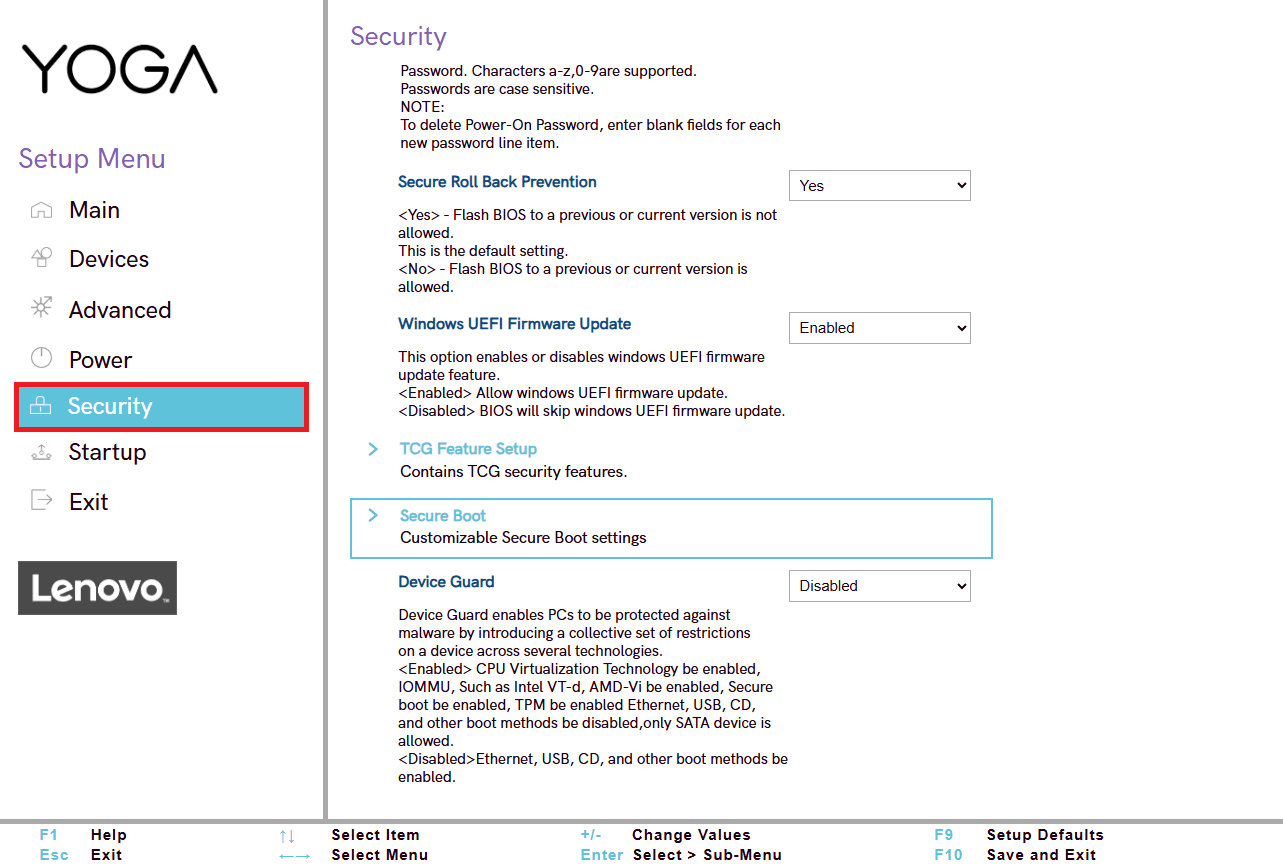
The option is usually called Secure Boot, Secure Boot Control or something similar.
3. Modify Secure Boot settings
Select the Secure Boot option and change its status from “Enabled” to “Disabled”.
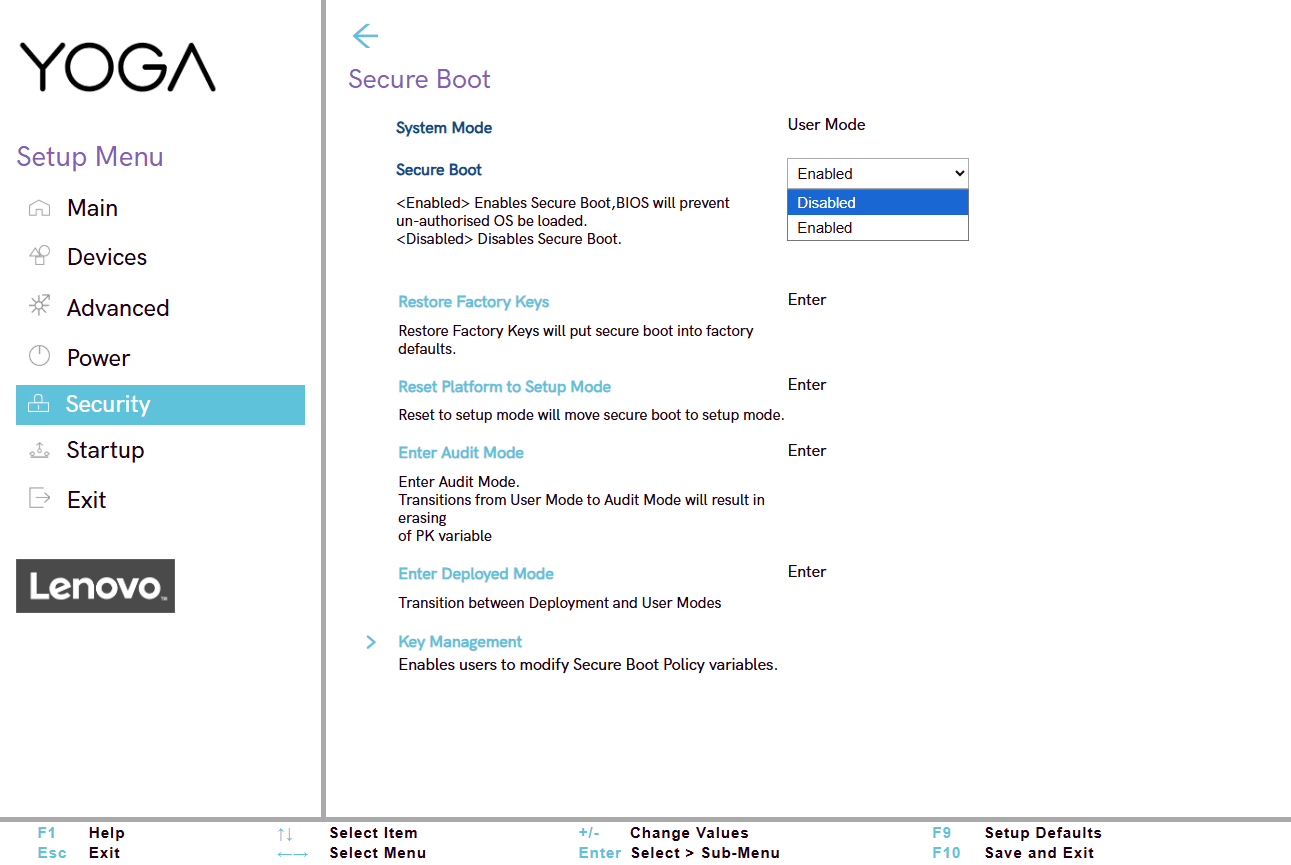
If the option is greyed out, you may first need to change the OS Type setting to “Other OS”, or switch to “Custom” mode to unlock the change.
4. Save and restart your PC
Once the change has been made, press F10 to save the configuration and exit the BIOS. Confirm with Enter if necessary. The PC will reboot with Secure Boot disabled, allowing you to install or use an unsigned system.
Should Secure Boot be disabled or left enabled?
Disabling Secure Boot is a simple operation, but one that should not be taken lightly. This feature plays an important role in protecting your system from threats that attempt to execute before the OS even starts up. If you don’t have any specific requirements (such as installing an alternative system or using an unsigned tool), we strongly recommend that you leave Secure Boot enabled.
If you need to disable it, do so only for the time required to install or run your system or utility. Once this operation is complete, and if it does not hinder the operation of your environment, remember to re-enable Secure Boot via the BIOS. This will restore optimum security.
Did you find this article helpful?
Share it so others can benefit from it.
Learn more about the author