
Windows Defender is the native Windows antivirus designed to protect your system from threats in real time. However, in certain situations, you may need to temporarily disable it: installing incompatible software, performance testing or managing another antivirus. In this article, we explain step-by-step how to disable Windows Defender.
In this article
Temporarily disable Windows Defender from its interface
If you wish to disable Windows Defender for a short period, you can do so via the Windows security settings.
- Click on the Start menu and search for Windows Security.
- Open the software and click on Virus and ThreatProtection.
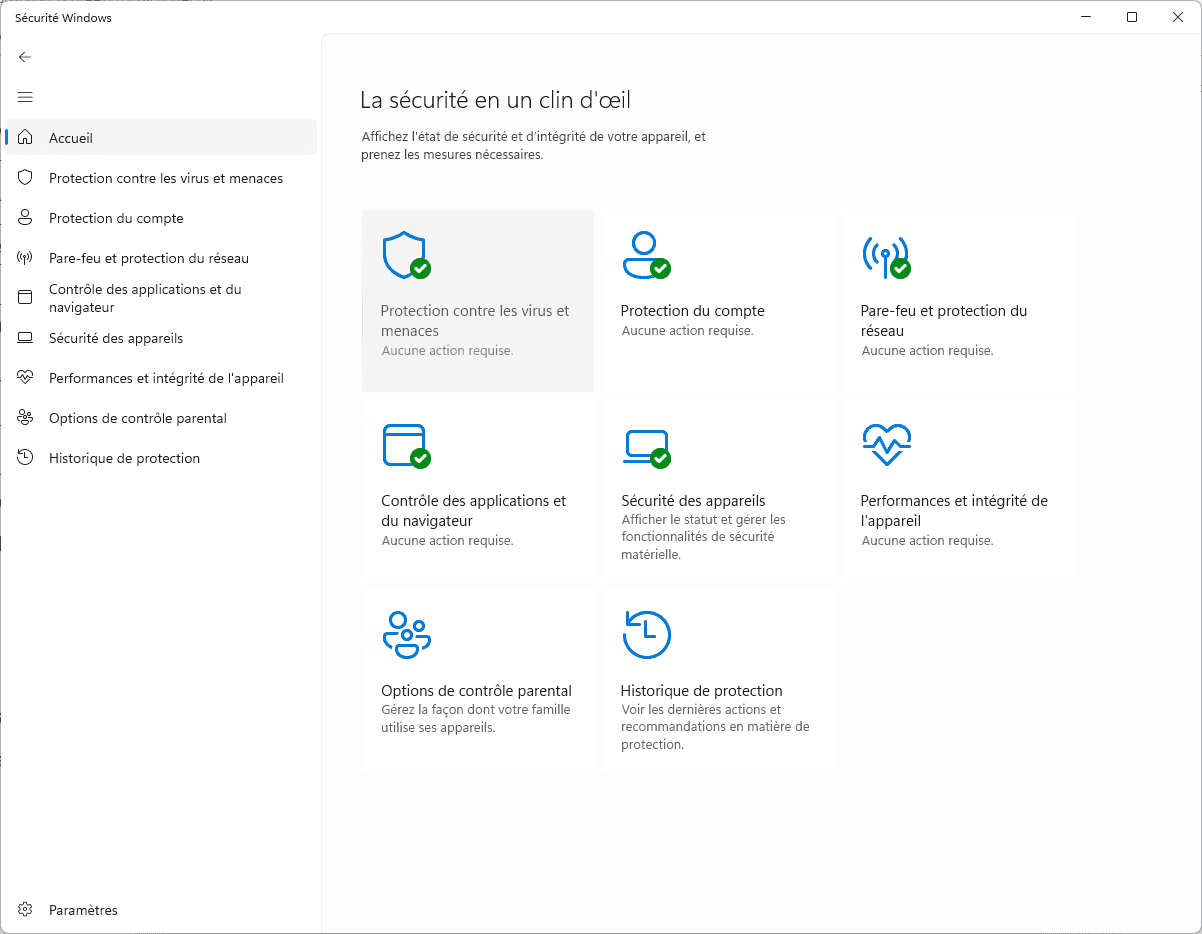
- Then click on Manage settings.
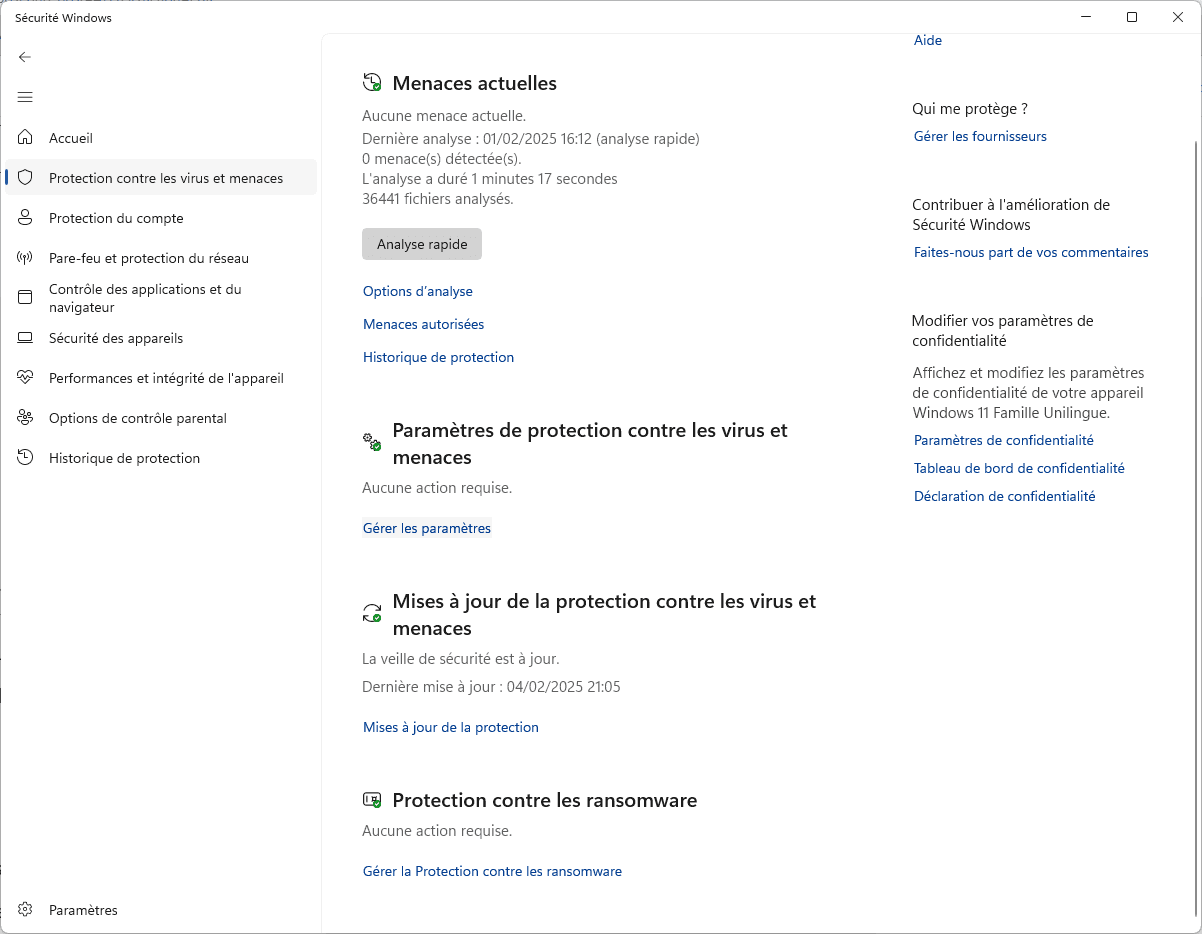
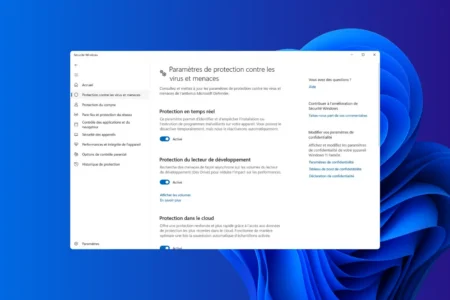
- Deactivate Real-time protection.
- Deactivate Cloud Protection.
- Deactivate Automatic sample sending.
- Deactivate Development drive protection.
- Deactivate Protection against tampering.
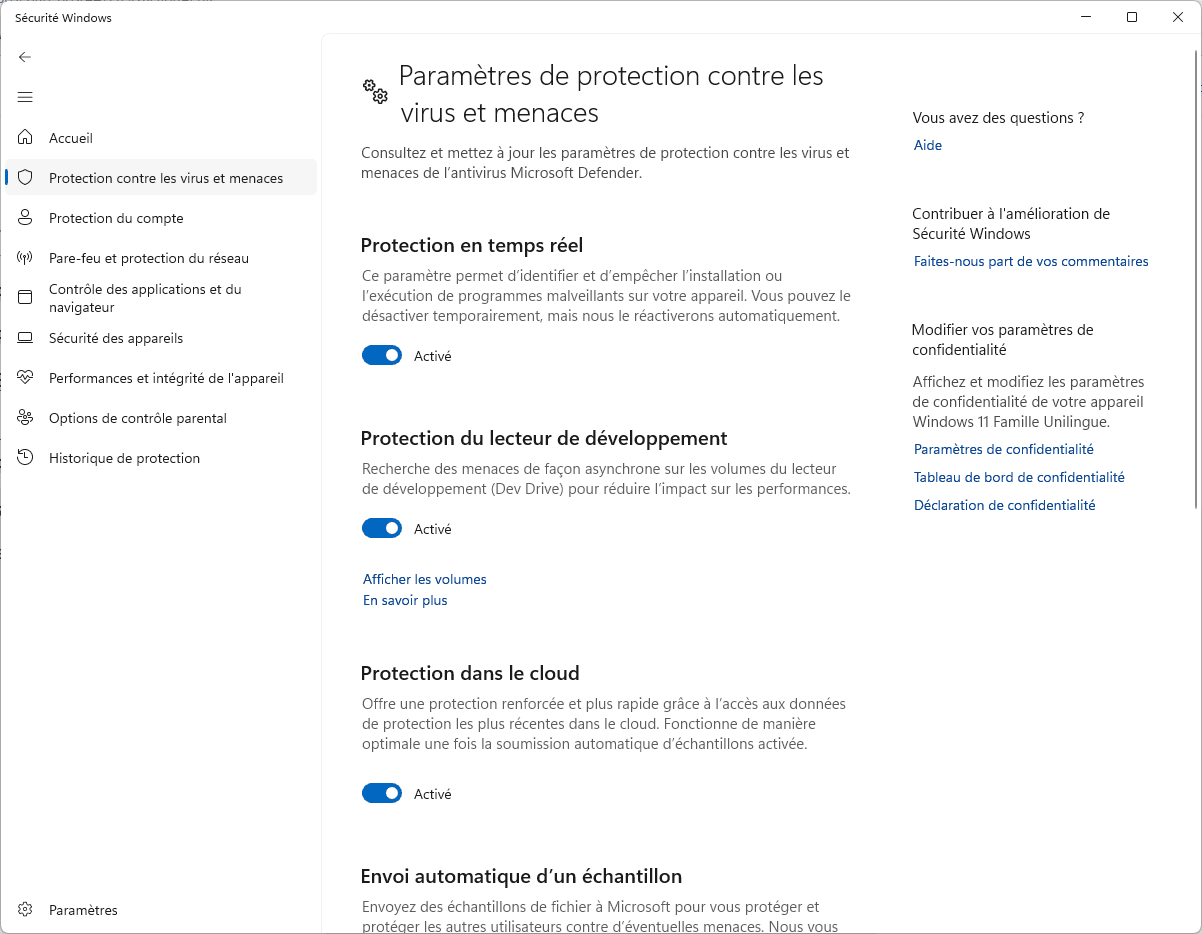
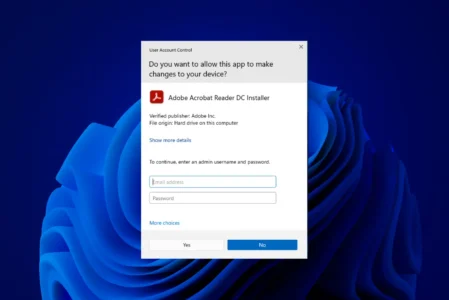
Windows may request confirmation via User Account Control (UAC). Accept to validate changes.
? Note: This method disables Windows Defender only temporarily. Real-time protection will reactivate automatically after a Windows restart or update. You will need to manually reactivate the other options.
Read our article: Is Windows Defender a good antivirus?
We allow some readers to view our articles for free with an ad blocker. However, their number is currently too high for us to keep this access available to everyone.
You can disable your ad blocker to continue reading immediately, subscribe to enjoy all our content without ads, or come back a little later when the pressure has eased.
Access will be restored automatically as soon as the situation allows.