
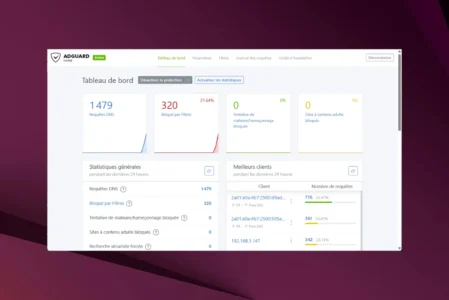
Are you tired of invasive ads, trackers and malicious domains cluttering your devices? What if you took back control at the source by filtering DNS traffic for your entire network? AdGuard Home is a modern alternative to Pi-hole. Easy to install on a Linux machine, AdGuard acts as a local DNS server that can block ads and unwanted requests before they even reach your browser. In this guide, we will go step by step through installing and configuring AdGuard Home on Ubuntu or any other compatible Linux distribution.
In this article
Install AdGuard Home on Linux
AdGuard Home lets you set up a filtering DNS server directly on your machine. Unlike simply switching to a public DNS, it provides local, customisable and centralised filtering for ads, trackers and malicious domains. Here is how to install it properly on Linux.
Preparing the system to install AdGuard Home
Start by connecting to your Ubuntu machine locally or through remote access to your local network if you are away from home.
First, update your system and install the required tools:
sudo apt update && sudo apt upgrade -y
sudo apt install curl dnsutils -y
These commands update your Ubuntu distribution and install the utilities needed to download and test AdGuard.
Run the official AdGuard Home installation
AdGuard Home provides a simple and fast installation script. It downloads the latest available version, extracts it to /opt and configures the systemd service to start automatically with the system:
curl -sS -L https://raw.githubusercontent.com/AdguardTeam/AdGuardHome/master/scripts/install.sh \
  | sh -s -- -v
Once it starts, the script displays the local address of the web interface (usually: http://SERVERIP:3000/). Open this URL in your browser to complete the setup.
Free port 53 for AdGuard Home
On Ubuntu, the systemd-resolved service occupies the local DNS port (127.0.0.53:53), preventing AdGuard from using it correctly. You must disable this DNS stub to avoid conflicts:
sudo mkdir -p /etc/systemd/resolved.conf.d
echo -e "[Resolve]\nDNS=127.0.0.1\nDNSStubListener=no" | sudo tee /etc/systemd/resolved.conf.d/adguardhome.conf
sudo mv /etc/resolv.conf /etc/resolv.conf.backup
sudo ln -s /run/systemd/resolve/resolv.conf /etc/resolv.conf
sudo systemctl reload-or-restart system-resolved
This step frees port 53, correctly redirects DNS requests and allows AdGuard Home to operate as the primary DNS server.
Initial setup through the AdGuard Home web interface
Once the installation has started, you will be redirected to the configuration web interface.
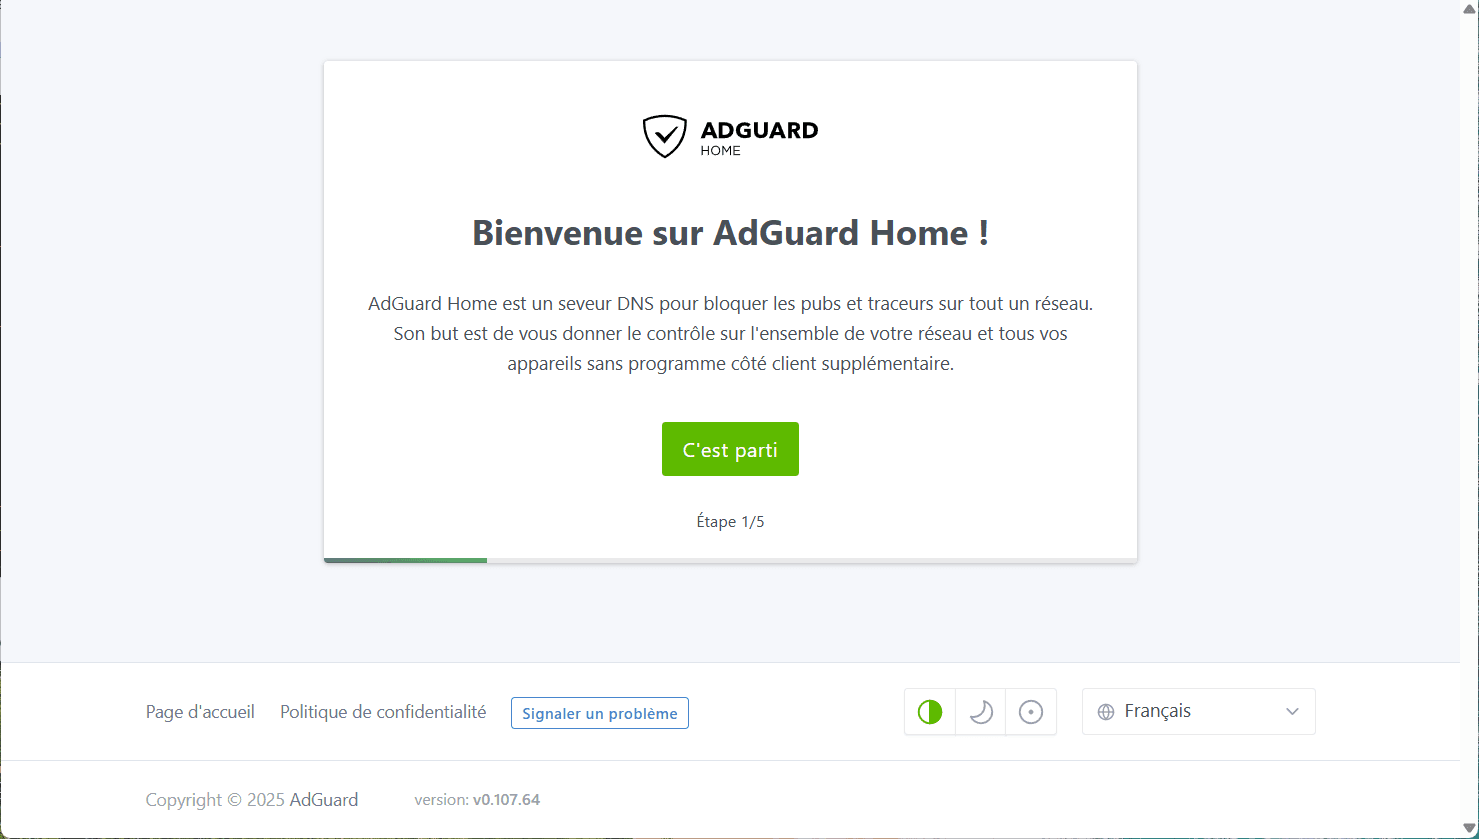
Check that the displayed ports (3000 for administration and 53 for DNS) do not report an error. If an error appears, return to the previous step and make sure systemd-resolved is no longer occupying port 53.
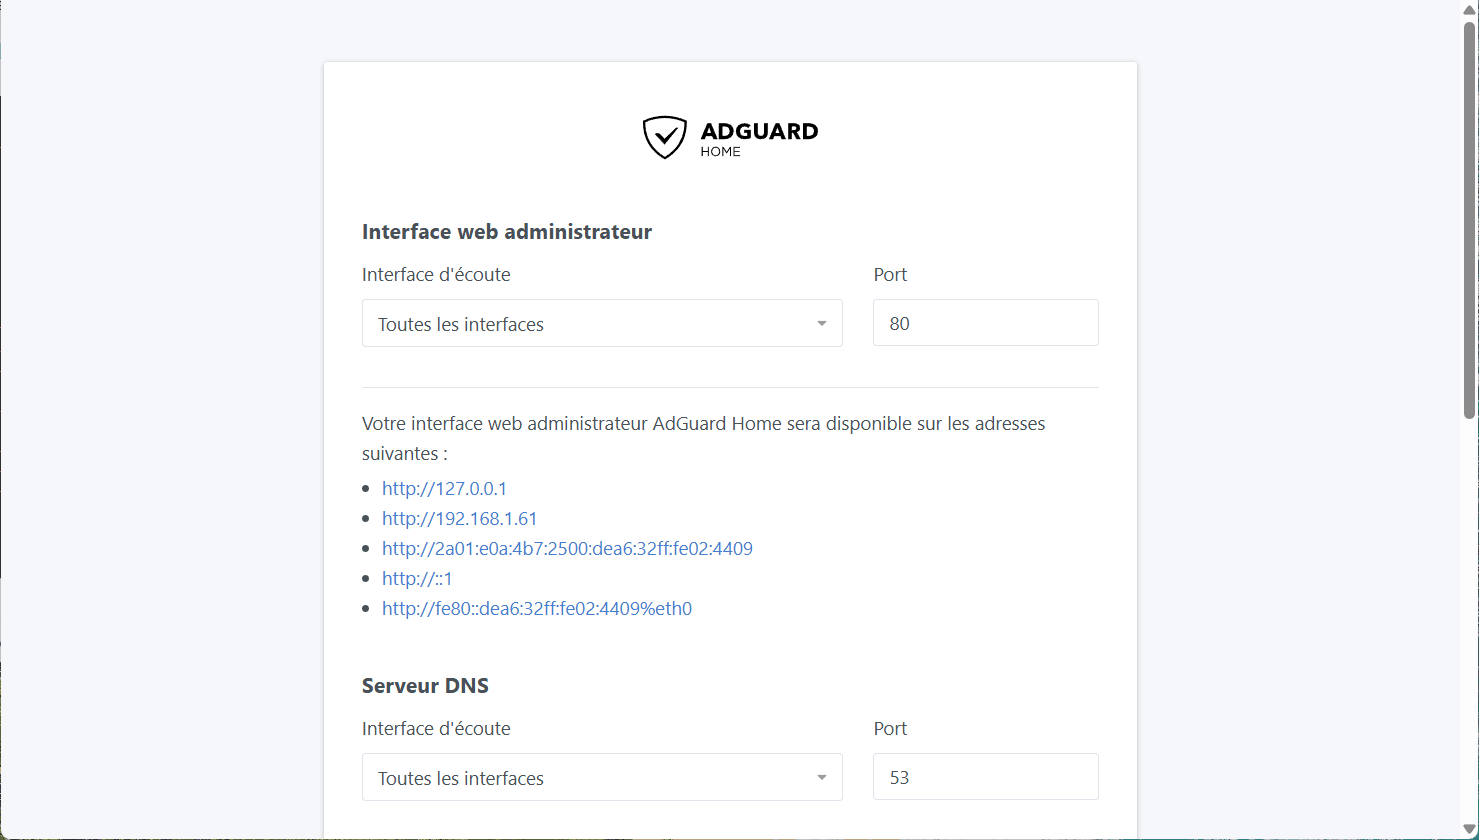
You will be asked to set a username and password. These credentials will secure access to your AdGuard Home dashboard.
Once the installation is complete, AdGuard will offer several ways to configure your device or router. Choose the option that matches your setup: manual configuration on Windows, macOS, Android or iOS, or configuration directly on your router. Your server’s IPv4 and IPv6 addresses will be shown there.
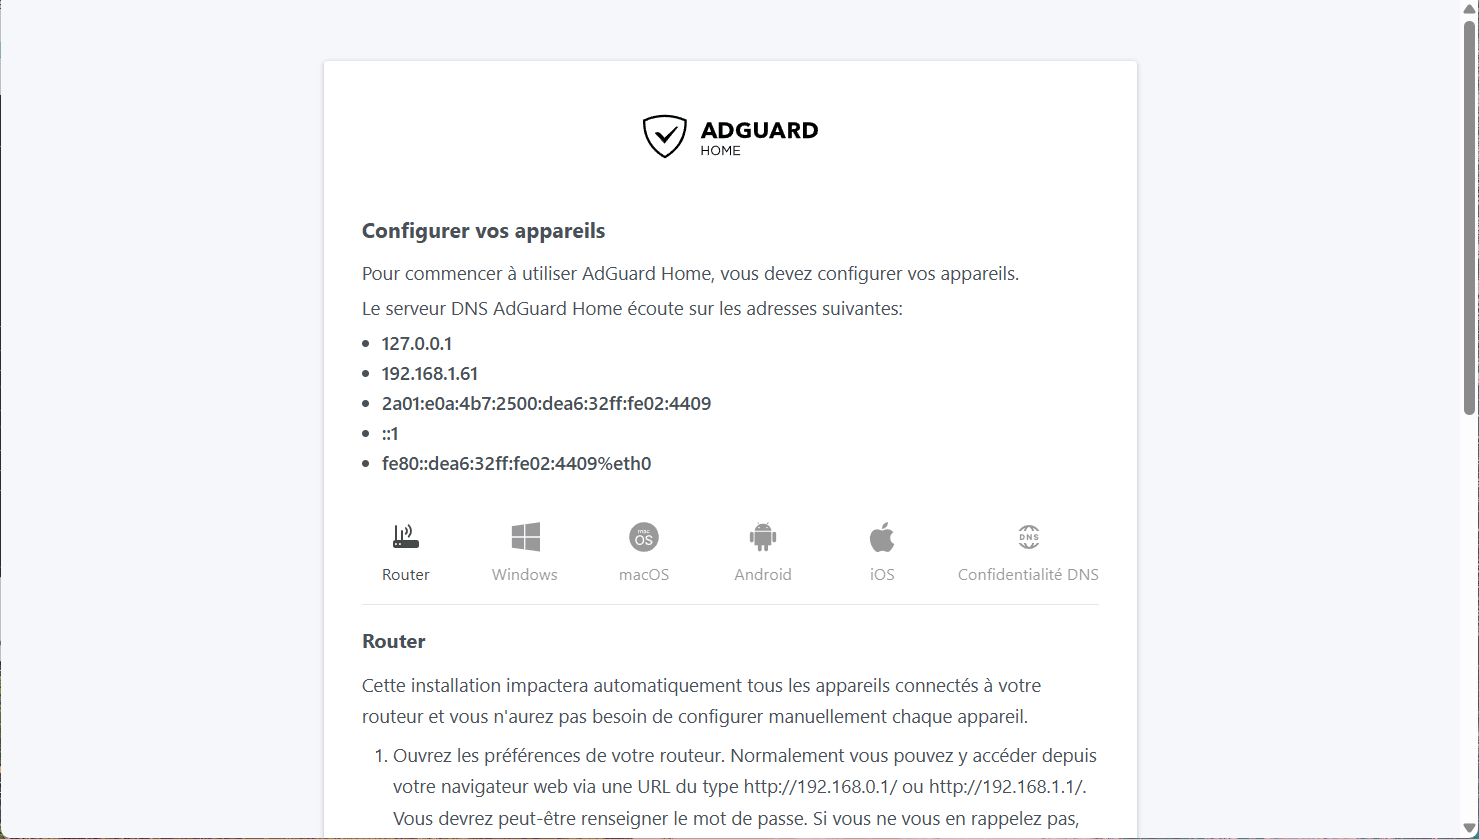
After these steps, you will be redirected to the main dashboard. Log in with the credentials you set to start using AdGuard Home.
Add a DNS blocklist in AdGuard Home
Unlike Pi-hole, which often requires you to copy and paste URLs found on the web to add blocklists, AdGuard Home simplifies the process with an intuitive interface and built-in lists. You can activate powerful filters in just a few clicks without leaving the web interface.
A built-in blocklist library
When you click the Filters tab and then Add blocklist, AdGuard Home displays an organised selection of recognised lists sorted by category. These include well-known sources such as:
- 1Hosts, HaGeZi, Steven Black and Peter Lowe: reliable sources with different filtering levels to match your needs (light, moderate or aggressive).
- OISD Blocklist (in the “Small” or “Big” version): an excellent balance between effectiveness and a low false-positive rate.
- AdGuard DNS filter: the official AdGuard team list, updated regularly.
To add a new blocklist:
- Open the Filters tab in the web interface.
- Click Add blocklist at the bottom left.
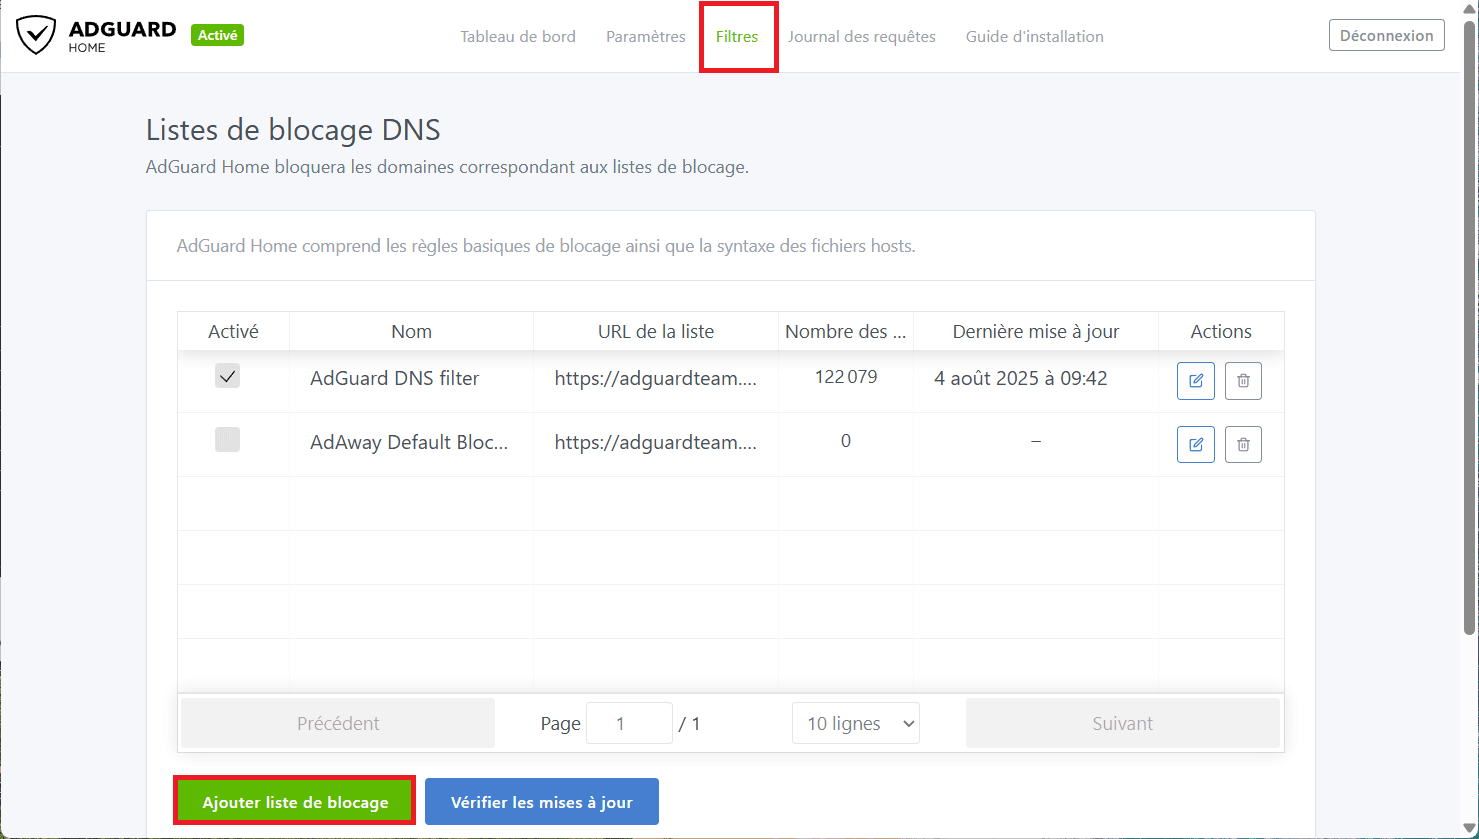
- A window opens with a selection of ready-to-use lists. Tick the ones you want to activate.
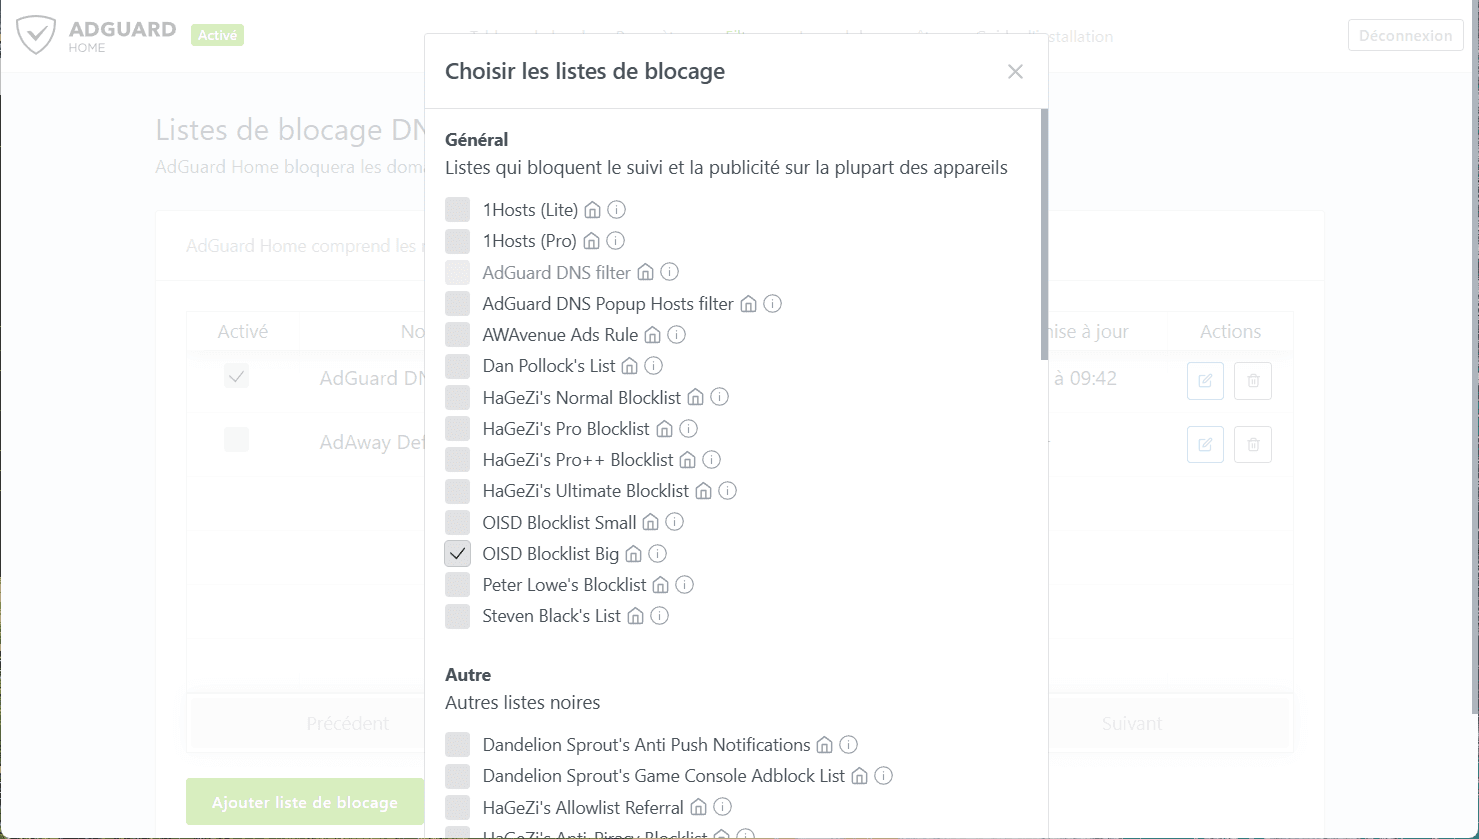
- Confirm, and AdGuard will automatically add, update and apply them to all DNS requests.
This is much more intuitive than Pi-hole, which often requires manually copying and pasting list URLs. Here, everything is centralised, kept up to date and accessible in a few clicks.
Customise DNS protection with AdGuard Home
AdGuard Home offers much more than basic ad filtering. It lets you fine-tune DNS protection on a local network through several options that can be enabled directly from its web interface. These settings can block unwanted domains, secure browsing and even control access to certain content.
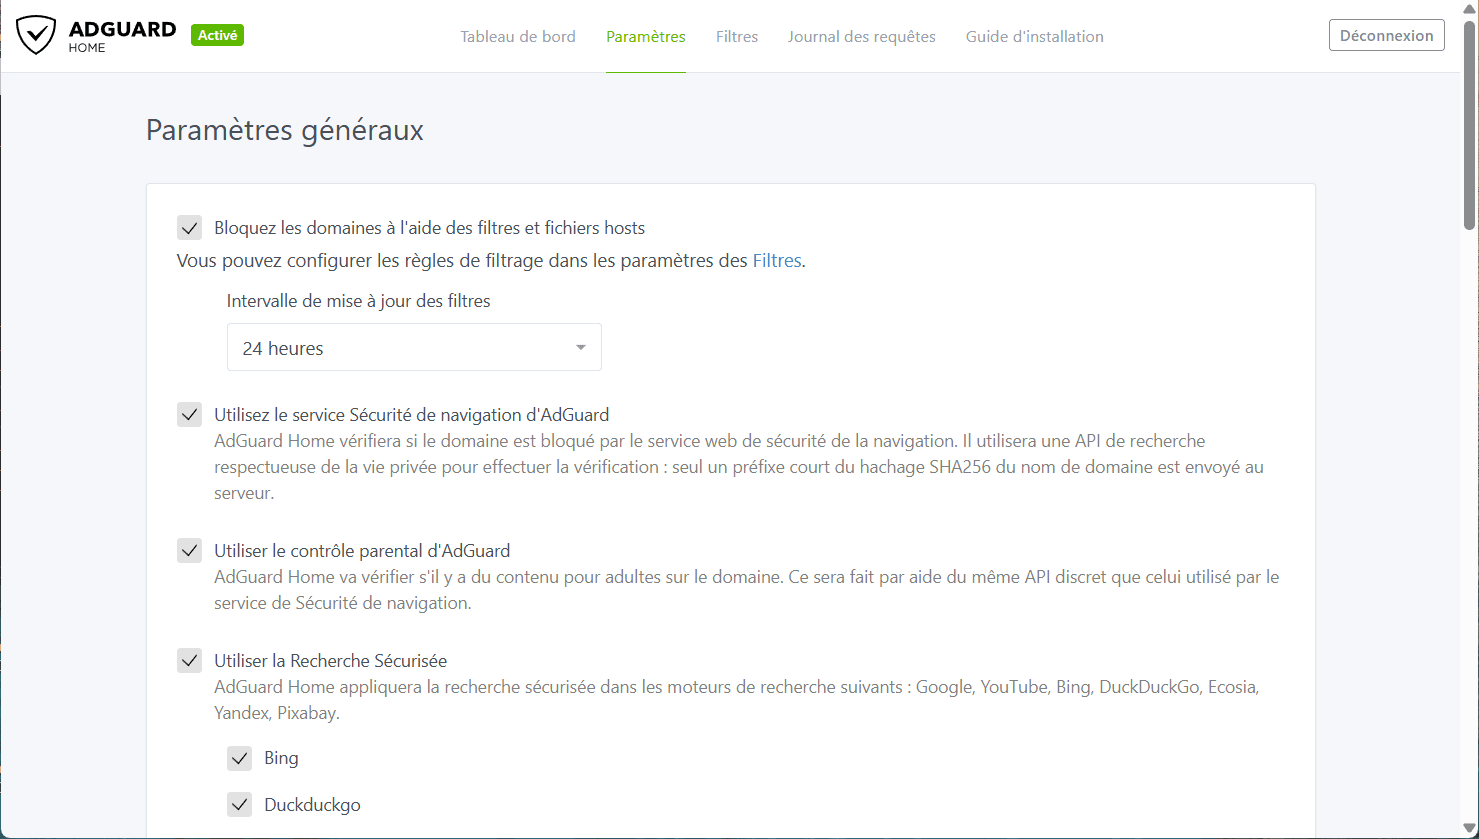
Blocking with filters and hosts files
This is the core of the system: when you enable this option, AdGuard uses blocklists to intercept DNS requests to advertising, tracking or malicious domains. These lists can be updated automatically, here every 24 hours. Adjust them in the Filters section to choose a light, aggressive or targeted filtering level.
AdGuard browsing security service
This feature acts like a DNS-side antivirus. When a domain is requested, AdGuard compares it with a database of malicious websites using an anonymous SHA256 hash check. This blocks phishing sites and infected or fraudulent domains without ever sending the domain in plain text to the remote server.
Built-in parental control
This option automatically detects and blocks domains hosting adult content. It uses the same anonymised-request mechanism as browsing security. It is a useful addition for securing children’s Internet access at network level.
Forced Safe Search
AdGuard can automatically enable Safe Search mode on major search engines such as Google, Bing, DuckDuckGo and YouTube. This limits inappropriate results, even if the user tries to bypass the browser settings. In the screenshot, only Bing and DuckDuckGo are enabled, but you can extend this protection to other search engines with one click.
Don’t let the algorithm decide for you
Add Assistouest to your preferred sources on Google so you can find our guides faster when you search for an IT solution.
AdGuard Home: an intuitive Pi-hole alternative on Linux
AdGuard Home is a complete, modern and easy-to-use filtering DNS solution. Its quick installation, intuitive web interface and compatibility with most Linux distributions make it an excellent choice for both beginners and experienced network administrators.
Compared with more technical solutions such as Unbound or more manual ones such as Pi-hole, AdGuard Home offers a good balance of simplicity, customisation and effectiveness. It is a serious option to consider if you want to protect your entire network from ads, trackers and malicious domains.
The content will unlock automatically after verification.