A corrupted system update, a package conflict or a mistake in the terminal can make a Linux installation unstable or even prevent it from starting. Timeshift is a popular open-source tool that addresses this risk by creating filesystem snapshots. Unlike a regular data backup, it records the state of your Linux distribution so you can return to a working point in a few minutes. This guide covers installation, automatic snapshots and recovery.
In this article
What is Timeshift?
Timeshift is a system backup tool for Linux. It creates snapshots, similar to System Restore in Windows or Time Machine snapshots on macOS. Its main purpose is to capture the overall state of your distribution at a particular moment, including system files and software settings. You can then return quickly to a working state after a faulty update, package conflict or serious mistake in the terminal.
Unlike traditional backup tools that focus on personal files, Timeshift is dedicated to protecting the operating system. It uses technologies such as rsync or BTRFS to create fast, incremental copies that use relatively little storage.
Keep in mind that Timeshift is not a complete backup solution for your personal data. It does not protect your documents, photos or videos if your drive fails. For important files, pair Timeshift with a separate backup on an external drive or in cloud storage so you can recover your files after hardware failure.
Install Timeshift on your Linux distribution
Installing Timeshift is straightforward because it is available in the official repositories of most current distributions. The command depends on the package manager your distribution uses.
Ubuntu, Linux Mint and Debian-based distributions
On Debian-based systems such as Ubuntu and Linux Mint, use the apt package manager. This command refreshes the package list and installs the application:
sudo apt update && sudo apt install timeshift -yFedora and RPM-based distributions
If you use Fedora or another distribution that uses RPM packages, install Timeshift with dnf:
sudo dnf install timeshiftArch Linux, Manjaro and derivatives
On Arch Linux, Manjaro and their derivatives, use the pacman package manager:
sudo pacman -S timeshiftAfter installation, open the graphical interface by searching for Timeshift in your application menu or by running timeshift-gtk in a terminal. The first time it starts, the application asks for administrator privileges so it can configure system settings.
Configure your first Timeshift snapshots
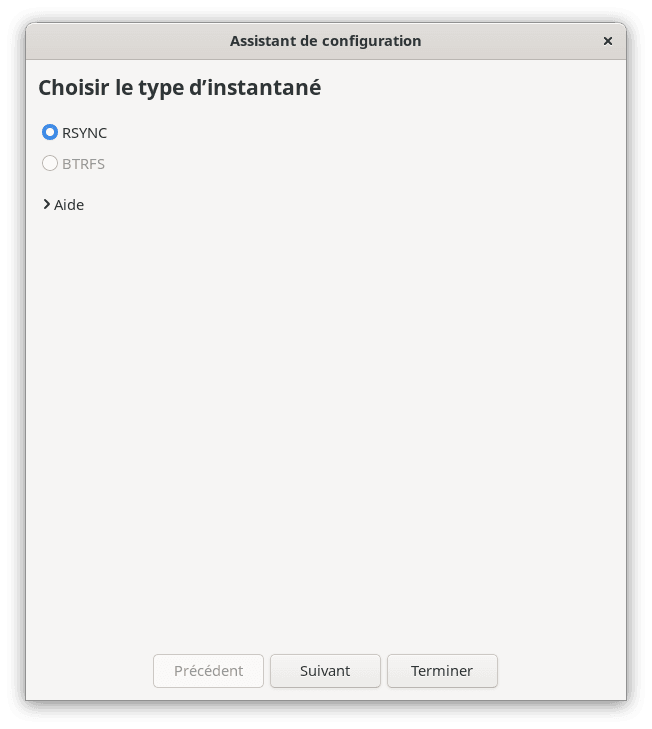
When you launch Timeshift for the first time, a wizard helps you choose how snapshots will work. These initial settings are important for reliable restore points.
Choose between RSYNC and BTRFS mode:
| Feature | RSYNC mode | BTRFS mode |
|---|---|---|
| Compatibility | Standard filesystems such as ext4 and XFS | BTRFS filesystem only |
| Technology | Hard links | Native copy-on-write (COW) |
| Creation speed | Moderate; changes must be calculated | Almost instant |
RSYNC mode uses hard links to create incremental copies on standard filesystems such as ext4 or XFS. BTRFS mode uses the filesystem’s native copy-on-write technology to create snapshots almost instantly while using little storage. This mode is available only on BTRFS partitions.
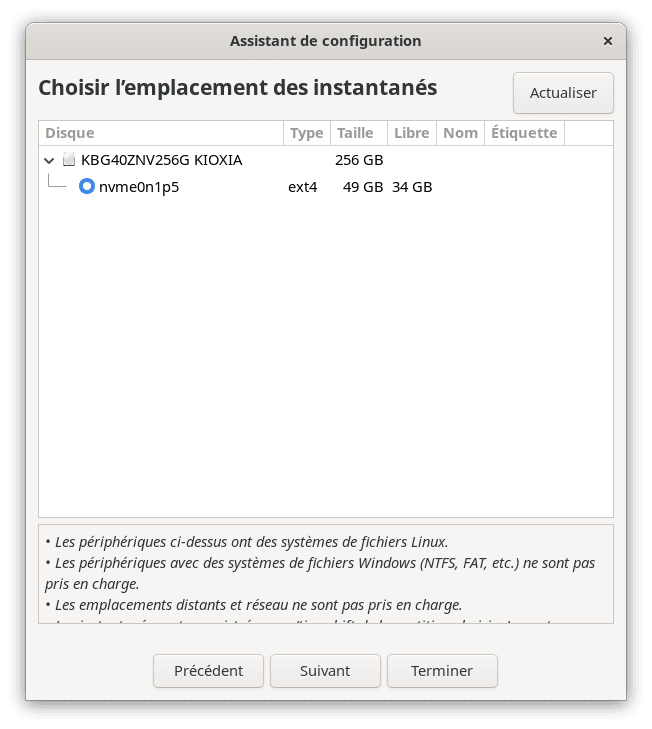
Next, choose where to store your snapshots. It is strongly recommended to use a disk or partition separate from your main operating system, which makes recovery easier if the system drive fails. The destination must use a native Linux filesystem such as ext4, XFS or BTRFS; Windows formats such as NTFS and FAT32 are not supported.
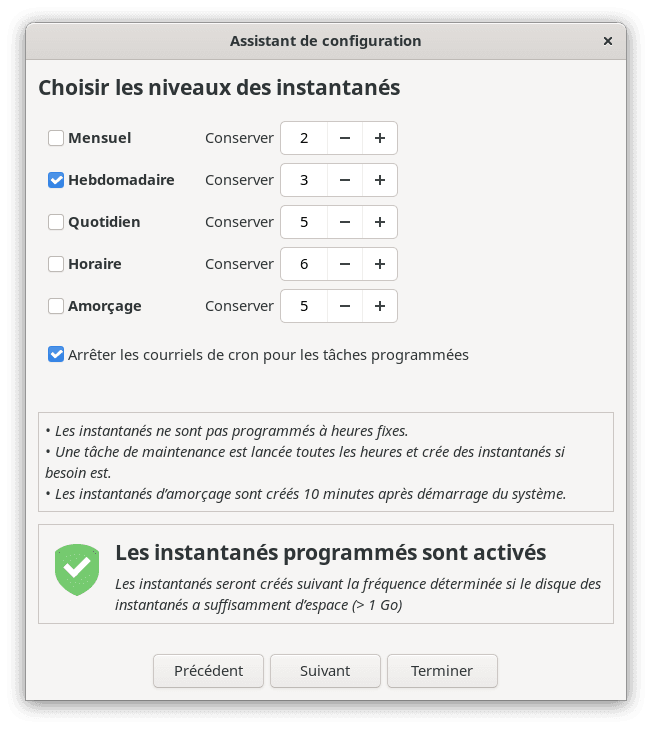
Then choose a schedule to create restore points automatically. For home or business use, daily snapshots that keep the latest two to five copies are a good balance between protection and disk usage.
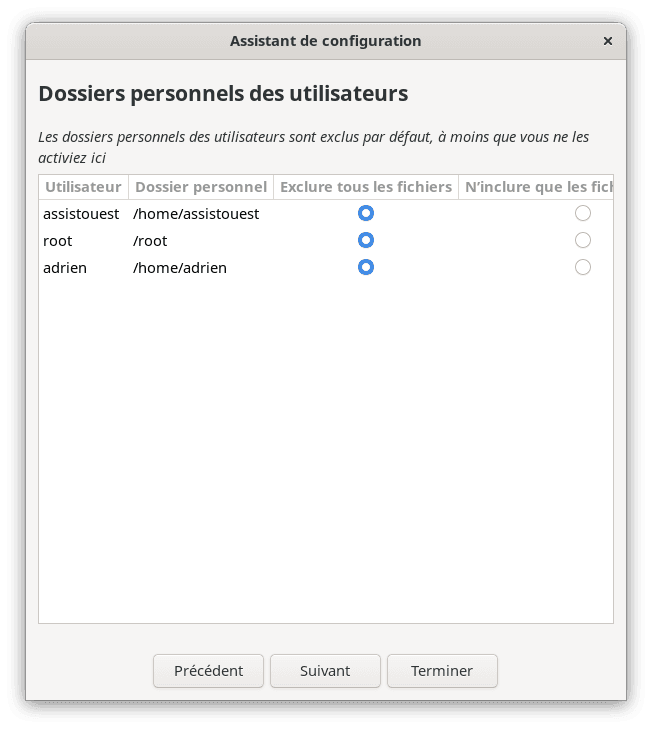
Finally, the wizard lets you exclude directories. You can change these filters, but keeping the defaults is recommended to avoid filling your storage unnecessarily.
Once setup is complete, Timeshift is ready to create regular system snapshots. This baseline gives you a way to restore a stable installation after a failed update or configuration mistake.
Create a snapshot manually
In addition to scheduled snapshots, create a restore point before a risky operation. This is recommended before a major distribution upgrade or installing a proprietary graphics driver, both of which could make the system unstable.
- Open the Timeshift graphical interface.
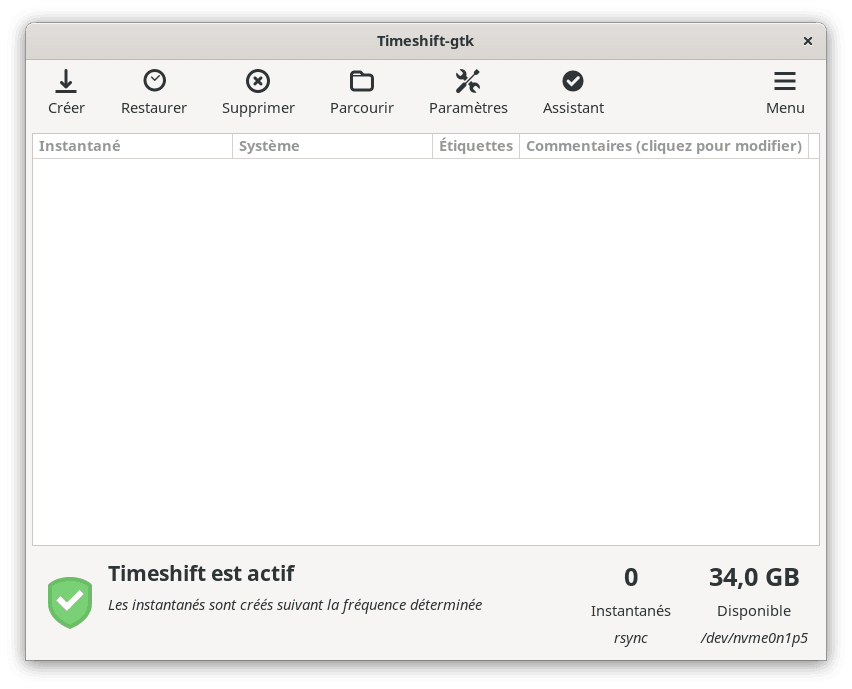
- Click Create in the main toolbar.
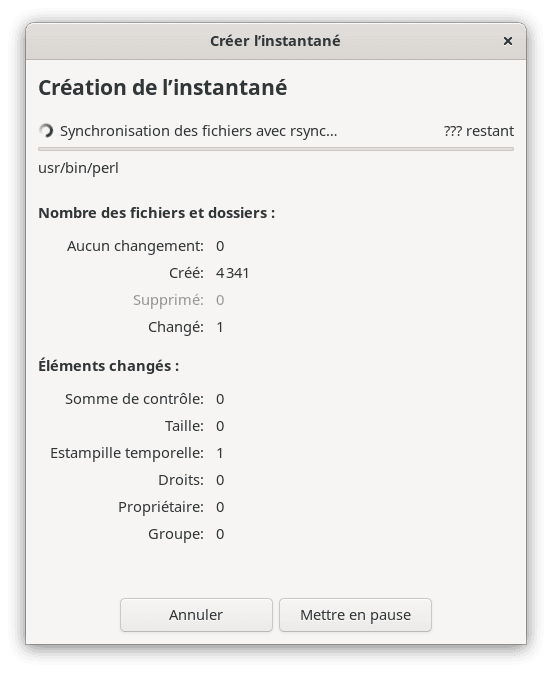
- Timeshift compares your current system with the last snapshot and copies only the files that changed.
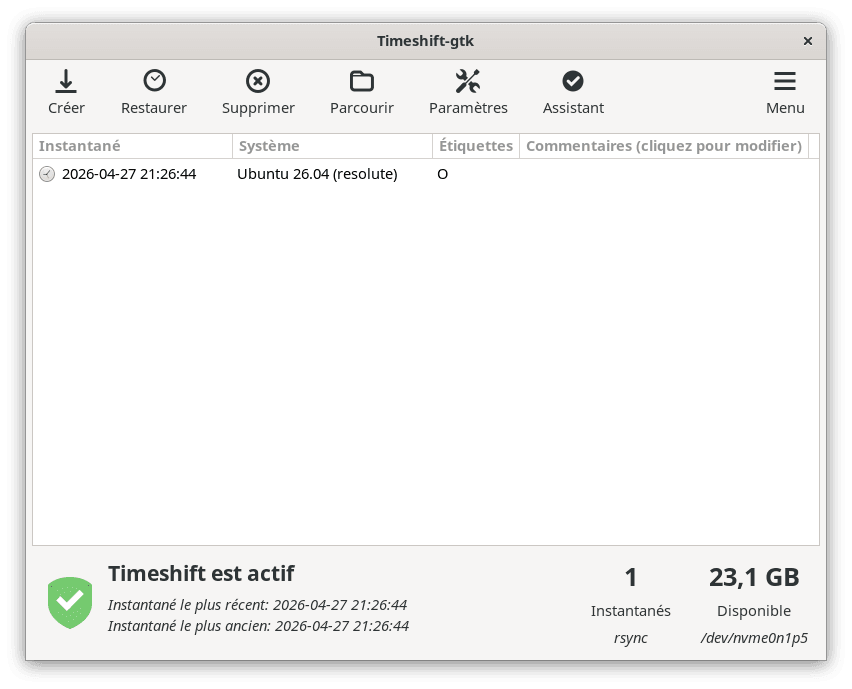
The time required depends on how many system files have changed. When it finishes, the new restore point appears in the main list with its creation date and time.
Restore your system from a snapshot
If your system becomes unstable, restore it to a previous working state. The procedure depends on whether you can still sign in or the system no longer boots.
Return to an earlier state from your session
If you can still open your session, restore the system from the graphical interface.
- Launch Timeshift, select a restore point from the list and click Restore.
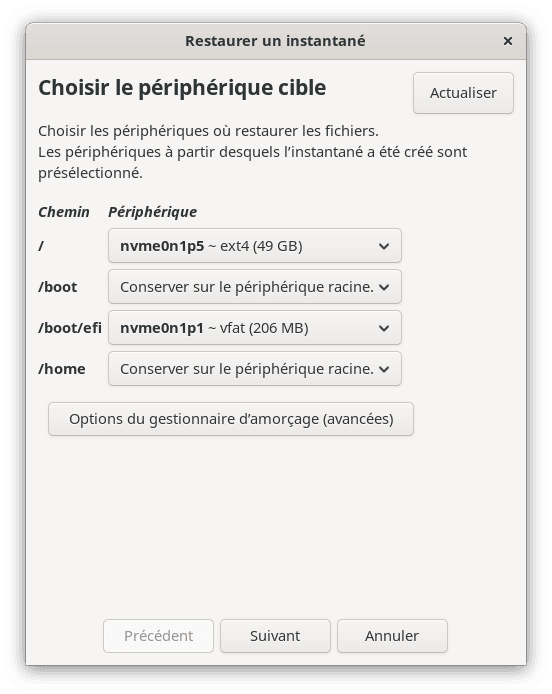
- The wizard asks you to select the target partition. In most cases, you can keep the default setting for a standard system restore.
- Timeshift runs a simulation to check the planned operations before writing any files.
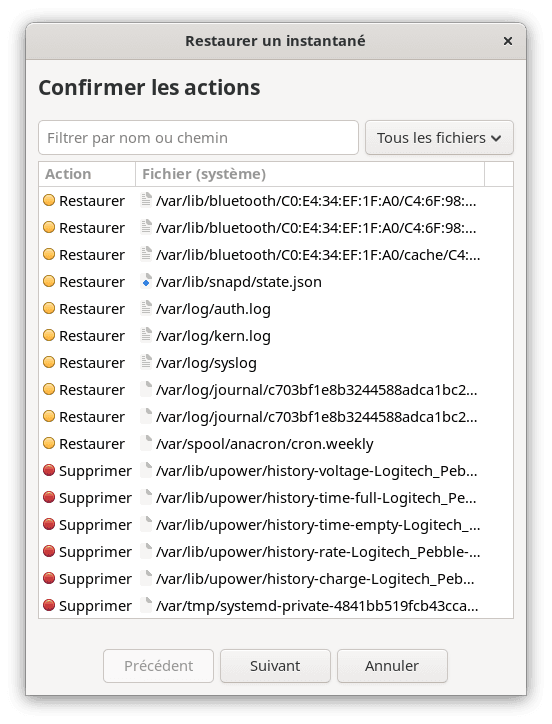
Confirm the operation to restart your computer in the selected earlier state.
Restore your system from a live USB drive
If the system is stuck and will not boot, use recovery media. Start the computer from a Linux live USB drive.
- Once the live session is open, install Timeshift with this command:
sudo apt install timeshift- Launch the tool and select the destination disk where your snapshots are stored.
- Select the restore point you want, restore it to your system disk and restart the computer.
Your system will return to the state captured in the selected snapshot, undoing the software problems you encountered.
Manage Timeshift from the command line
System administrators and advanced users can run Timeshift from the command line and include backups in custom scripts. This makes it possible to manage snapshots without opening the graphical interface.
- Create a restore point with a comment:
sudo timeshift --create --comments "Kernel update"- List all restore points saved on the computer:
sudo timeshift --list- Restore the system to a snapshot using its unique identifier:
sudo timeshift --restore --snapshot '2026-04-27_10-00-00'- Delete an obsolete snapshot to free disk space:
sudo timeshift --delete --snapshot '2026-04-27_10-00-00'
How can I free up disk space when Timeshift is full?
sudo timeshift --delete --snapshot 'SNAPSHOT_ID'. To prevent this, open Settings, go to the Schedule tab and adjust how many snapshots Timeshift keeps. We allow some readers to view our articles for free with an ad blocker. However, their number is currently too high for us to keep this access available to everyone.
You can disable your ad blocker to continue reading immediately, subscribe to enjoy all our content without ads, or come back a little later when the pressure has eased.
Access will be restored automatically as soon as the situation allows.