
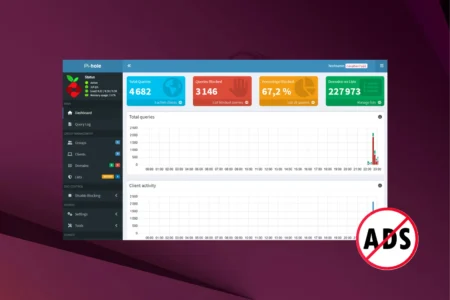
Are you tired of intrusive ads, trackers that follow your every move online and overly talkative connected devices? With Pi-hole, you can block all this unwanted traffic directly at network level. In this guide, you will learn how to install and configure Pi-hole on a Linux system (Raspberry Pi, Ubuntu) and turn your machine into a filtering DNS server that can protect every device at home or in the office.
In this article
Install Pi-hole on your Linux server
Before installing anything, update the operating system to ensure stability and security:
sudo apt update && sudo apt upgrade -y
Make sure the server has a static DHCP lease. Pi-hole must have an IP address that never changes, otherwise clients will lose their DNS server.
Pi-hole has an official installation script. Run it with:
curl -sSL https://install.pi-hole.net | sudo bash
The Pi-hole installation script starts. It opens a text-based console wizard (ncurses) that guides you through several steps. Each choice affects how your local DNS server works. Here is how to understand and configure them intelligently.
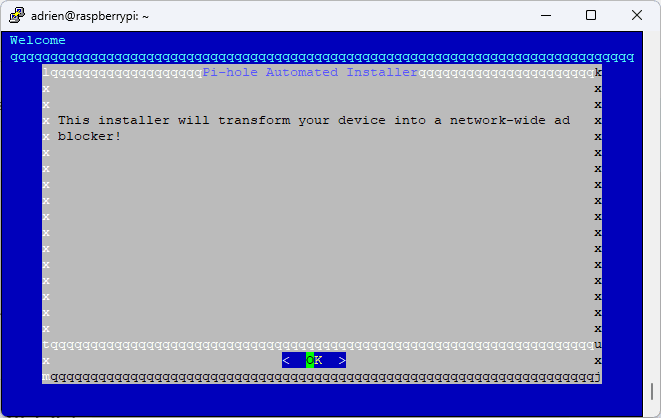
An introduction explains that your machine will become a filtering DNS server: it will block ads, trackers and malicious domains for every device on your network.
Simply press Enter to continue.
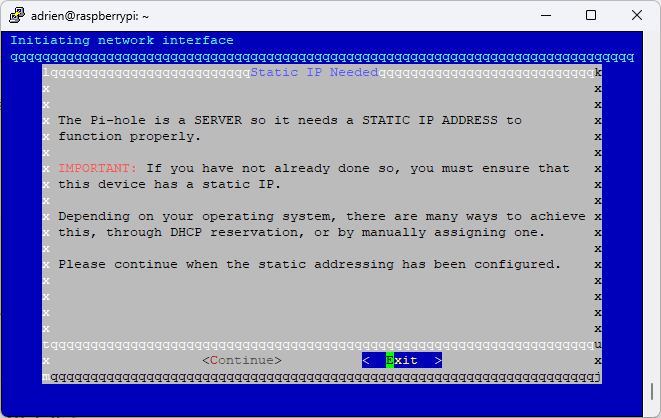
Pi-hole then warns that it needs a static IP address to work correctly. If the address changed after every reboot, as it would on a standard DHCP machine, your other devices would no longer know which DNS server to use.
If you have not done so already, configure a DHCP reservation on your modem/router.
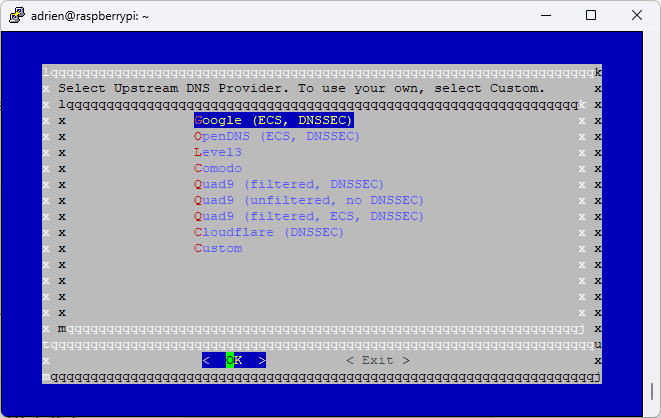
Choosing the upstream DNS resolver
During Pi-hole installation, you must select one or more upstream DNS resolvers. This choice determines which external service Pi-hole uses for queries it cannot resolve locally, typically for sites visited for the first time or outside its cache.
This setting is more important than it may seem. The resolver directly affects resolution speed and service reliability, but above all the privacy of your DNS queries. Depending on the provider, your browsing habits may be observed, stored or even sold.
| Provider | Malicious-domain filtering | DNSSEC supported | Privacy policy |
|---|---|---|---|
| No | Yes | Low (data analysed) | |
| OpenDNS (Cisco) | Yes (configurable) | Yes | Medium |
| Level3 | No | No | Low |
| Comodo | No | No | Low |
| Quad9 (filtered) | Yes | Yes | High (no IP logging) |
| Quad9 (unfiltered) | No | No | High |
| Cloudflare (1.1.1.1) | No | Yes | High (anonymous logs) |
For privacy- and security-focused use, Quad9 (filtered) or Cloudflare are the strongest options. Their no-logging or rapid log-deletion policies provide a good level of protection for a personal or professional network.
Resolvers such as Google, Comodo and Level3 should instead be avoided when hardening a network. They may be suitable for testing or low-risk environments, but their data-collection policies are not very transparent.
Pi-hole blocks harmful domains using predefined lists. By default, it offers the unified StevenBlack list, which combines several reliable sources such as adaway.org, someonewhocares.org and hosts-file.net.
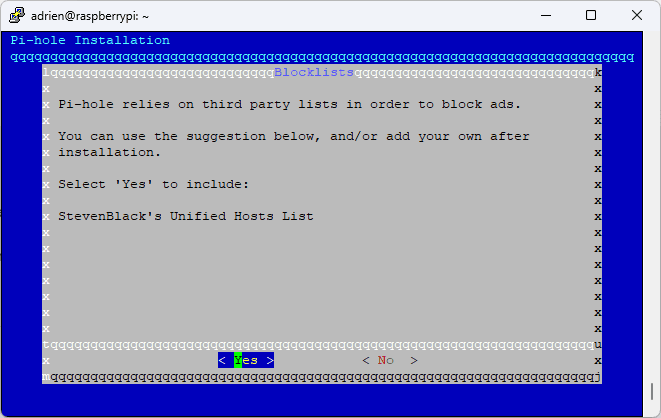
Accept this list; it is an excellent filtering baseline. You can adapt it to your needs later from the web interface.
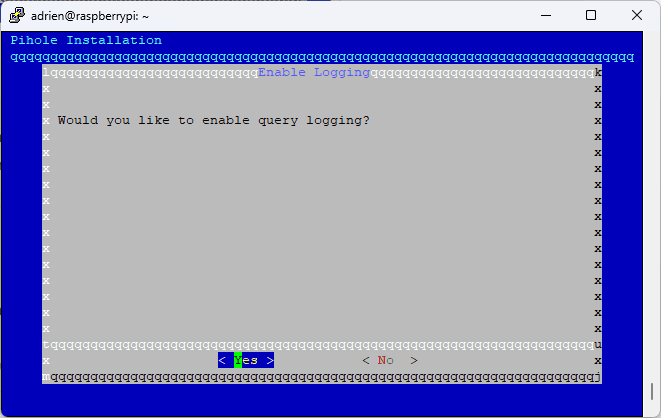
During installation, Pi-hole offers to enable DNS query logging. This means it will record queries made by every device on your local network, together with their results (allowed, blocked, redirected, and so on).
This feature is useful if you want to:
- analyse queries in detail (for troubleshooting)
- understand your devices’ network behaviour
- monitor the activity of certain users (in a family context)
Recommended if you are the only network administrator or want to monitor devices such as those used by your children.
You can change this setting at any time after installation.
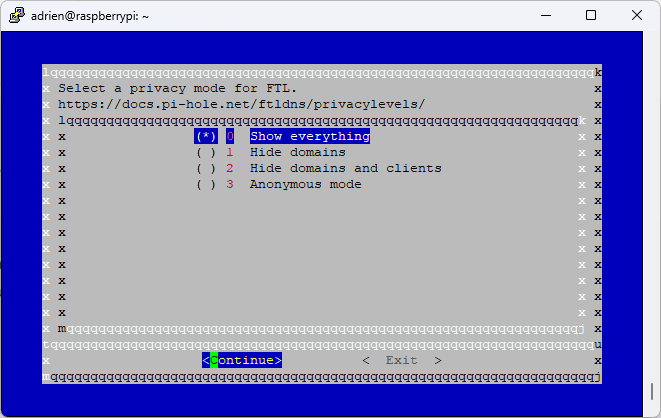
Pi-hole then asks you to choose a privacy level. This setting does not change how blocking works; it only controls what is visible in the web dashboard or command line.
| Level | Displayed detail | Recommended use |
|---|---|---|
| 0 | Show everything: domains + clients | Perfect for personal or parental use |
| 1 | Hide domains | Business: you know who makes requests without seeing the sites |
| 2 | Hide domains + clients | Partial anonymisation |
| 3 | Full anonymous mode | No tracking, even locally |
At the end, the installer will display:
- The web interface URL:
http://<your-Pi-IP>/admin - The administrator password
- Your IPv4 address for DNS configuration
- Your IPv6 address for DNS configuration
Don’t let the algorithm decide for you
Add Assistouest to your preferred sources on Google so you can find our guides faster when you search for an IT solution.
Add a blocklist in Pi-hole (custom blocklist)
To add a new blocklist in Pi-hole, open the web interface and go to “Lists” in the left menu under Group Management. Paste the list URL as plain text in the “Address” field, optionally add a comment and click “Add blocklist”. Leave the group set to “Default” unless you have an advanced configuration.
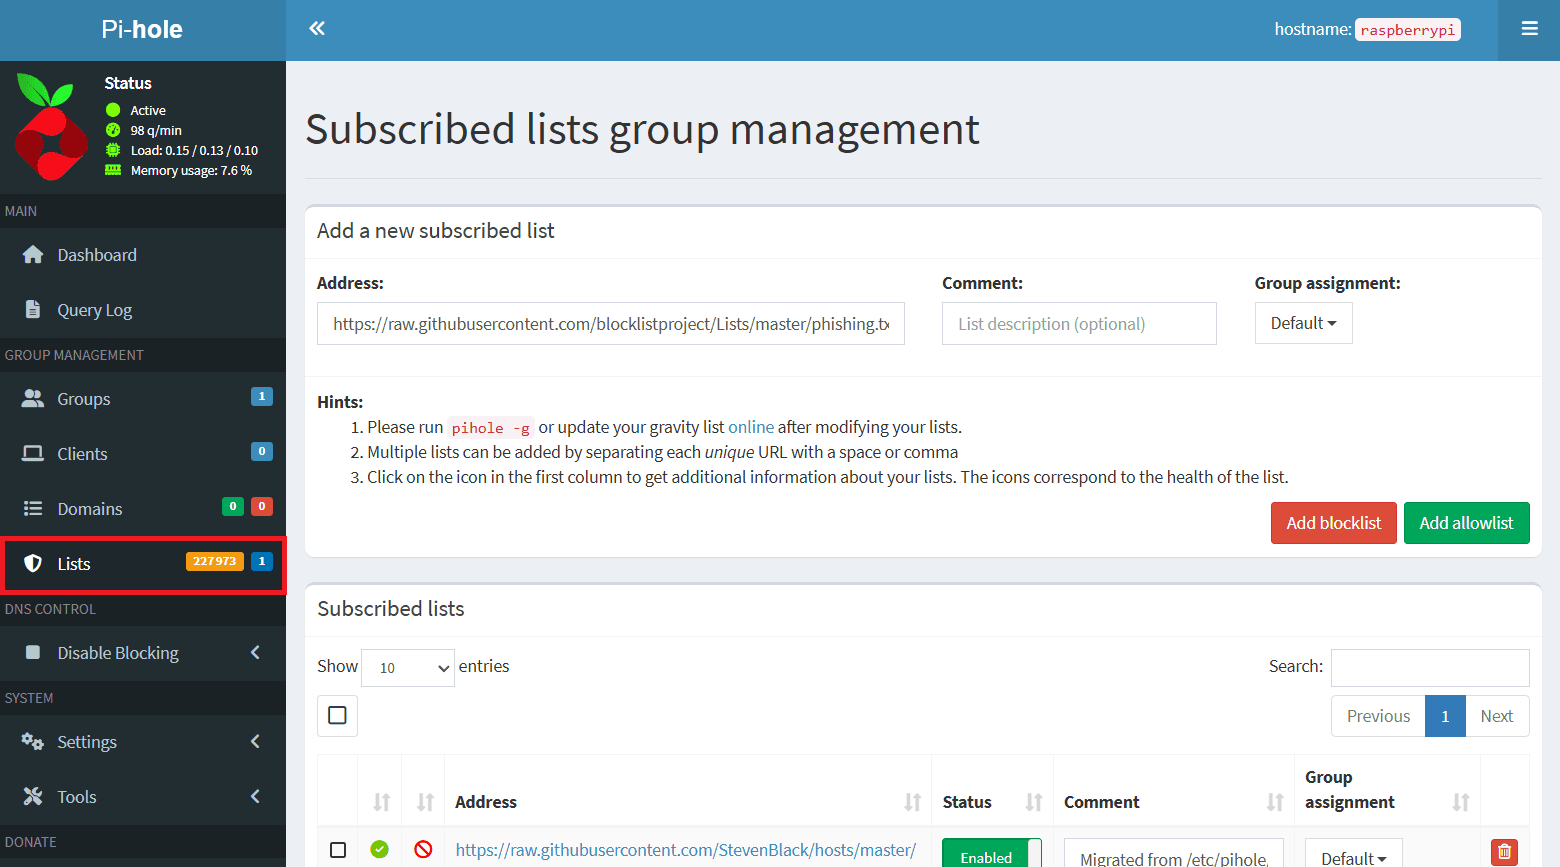
Once the list has been added, you need to refresh Pi-hole’s blocking rules. You can click the “update your gravity list online” link shown in the interface or run the following command in a terminal:
pihole -g
Choose reputable lists such as those from BlockListProject, Firebog or FilterLists.com. Avoid adding too many at once: this can create false positives or slow down the DNS server. Start with a small set, test it and refine it to suit your needs.
The content will unlock automatically after verification.