
Securing a WordPress site is not limited to installing a plugin or changing its password. With more than 40% of websites based on WordPress, the CMS is a prime target for hackers, bots and automated attacks. Brute force, SQL injections, malware and malicious scripts can compromise your data and reputation within minutes.
This article brings together 13 practical tips to protect your site, from simple measures such as updates to advanced server and HTTP-header configurations.
You manage hosting without root access
In this case, you do not control the Linux server or system files. Security measures will mainly be implemented in WordPress through plugins, settings and good practices such as updates, CAPTCHA, HTTPS and HTTP headers.
1. Keep WordPress updated to secure your site
This is one of the most important actions for protecting your site from security flaws, automated hacks and unexpected failures. Each new CMS version fixes vulnerabilities discovered by the community or security teams. As soon as a flaw becomes public, bots start scanning the web for sites that have not applied the patch. An outdated site then becomes an easy target.
WordPress automatically installs minor security updates. For major versions, make a complete backup before any intervention. On a professional site, it is best to test updates in a staging environment to avoid incompatibilities.
What to do:
- Regularly check for available updates
- Delete unused plugins and themes
- Avoid unmaintained or abandoned tools
A lightweight and clean site is always more secure.
2. Enable HTTPS and then configure HSTS
Moving your site to HTTPS is now a basic requirement. To go further with security, enable the HSTS protocol (HTTP Strict Transport Security) afterwards. Together, these measures considerably strengthen the protection of data exchanged between your site and visitors.
2.1 Move your WordPress site to HTTPS
HTTPS relies on installing an SSL certificate on your server. This certificate encrypts exchanged information such as credentials, forms, payments and ordinary browsing data. Most hosts offer a free certificate through Let’s Encrypt.
Once the certificate is installed:
- Check that your site is accessible over https://
- Automatically redirect all HTTP traffic to HTTPS
- Update the URLs in the WordPress settings (Settings → General)
A permanent 301 redirect is essential. Without it, some pages may remain accessible over HTTP, weakening overall security.
2.1 Force the redirect to HTTPS
All HTTP requests must be redirected automatically to HTTPS.
Redirect all traffic to HTTPS through the .htaccess file (Apache server):
RewriteEngine On
RewriteCond %{HTTPS} off
RewriteRule ^(.*)$ https://%{HTTP_HOST}%{REQUEST_URI} [L,R=301]
Redirect all traffic to HTTPS through Nginx configuration:
server {
    listen 80;
    server_name votresite.com www.votresite.com;
    return 301 https://$host$request_uri;
}
After migration, some resources such as images, scripts and stylesheets often continue to load over HTTP. This is known as mixed content.
Even if your site displays the padlock, mixed content can:
- Trigger browser warnings
- Reduce actual security
- Damage user trust
A quick audit with the browser developer tools can identify these elements.
2.3 Go further with HSTS
Once HTTPS works perfectly, you can enable HSTS (HTTP Strict Transport Security).
Once enabled, the server tells the browser never to access the site over HTTP during a defined period. Even if a user types “http” or clicks an old insecure link, the browser automatically switches to HTTPS. If the SSL certificate cannot be found, the site becomes inaccessible.
This protects against:
- Downgrade attacks
- Interception on public Wi-Fi networks
- Some malicious redirection attempts
HSTS configuration through the .htaccess file (Apache server):
Add the following to your .htaccess file:
Header always set Strict-Transport-Security "max-age=31536000; includeSubDomains; preload"
HSTS configuration through Nginx:
add_header Strict-Transport-Security "max-age=31536000; includeSubDomains; preload" always;
Strict HSTS is enabled through an HTTP header added to the server configuration (Apache or Nginx).
3. Configure the other HTTP security headers correctly
HTTP headers tell the browser how to process your pages, which resources are allowed and which behaviours must be blocked. On a WordPress site, configuring these headers reduces the risk of XSS, clickjacking, content injection and session hijacking.
Unlike plugins visible in the administration area, HTTP headers act at server level. They provide an additional layer of protection that is independent of the theme and plugins.
They can be used to:
- Force HTTPS usage, as explained above
- Prevent your site from being embedded in a malicious iframe
- Block certain types of injection
- Control which external resources are allowed
To quickly check your HTTP headers, use SecurityHeaders.com. Enter your site URL to receive an instant analysis of the headers sent by your server. In a few seconds, you can see active protections, missing protections and an overall grade from F to A+.
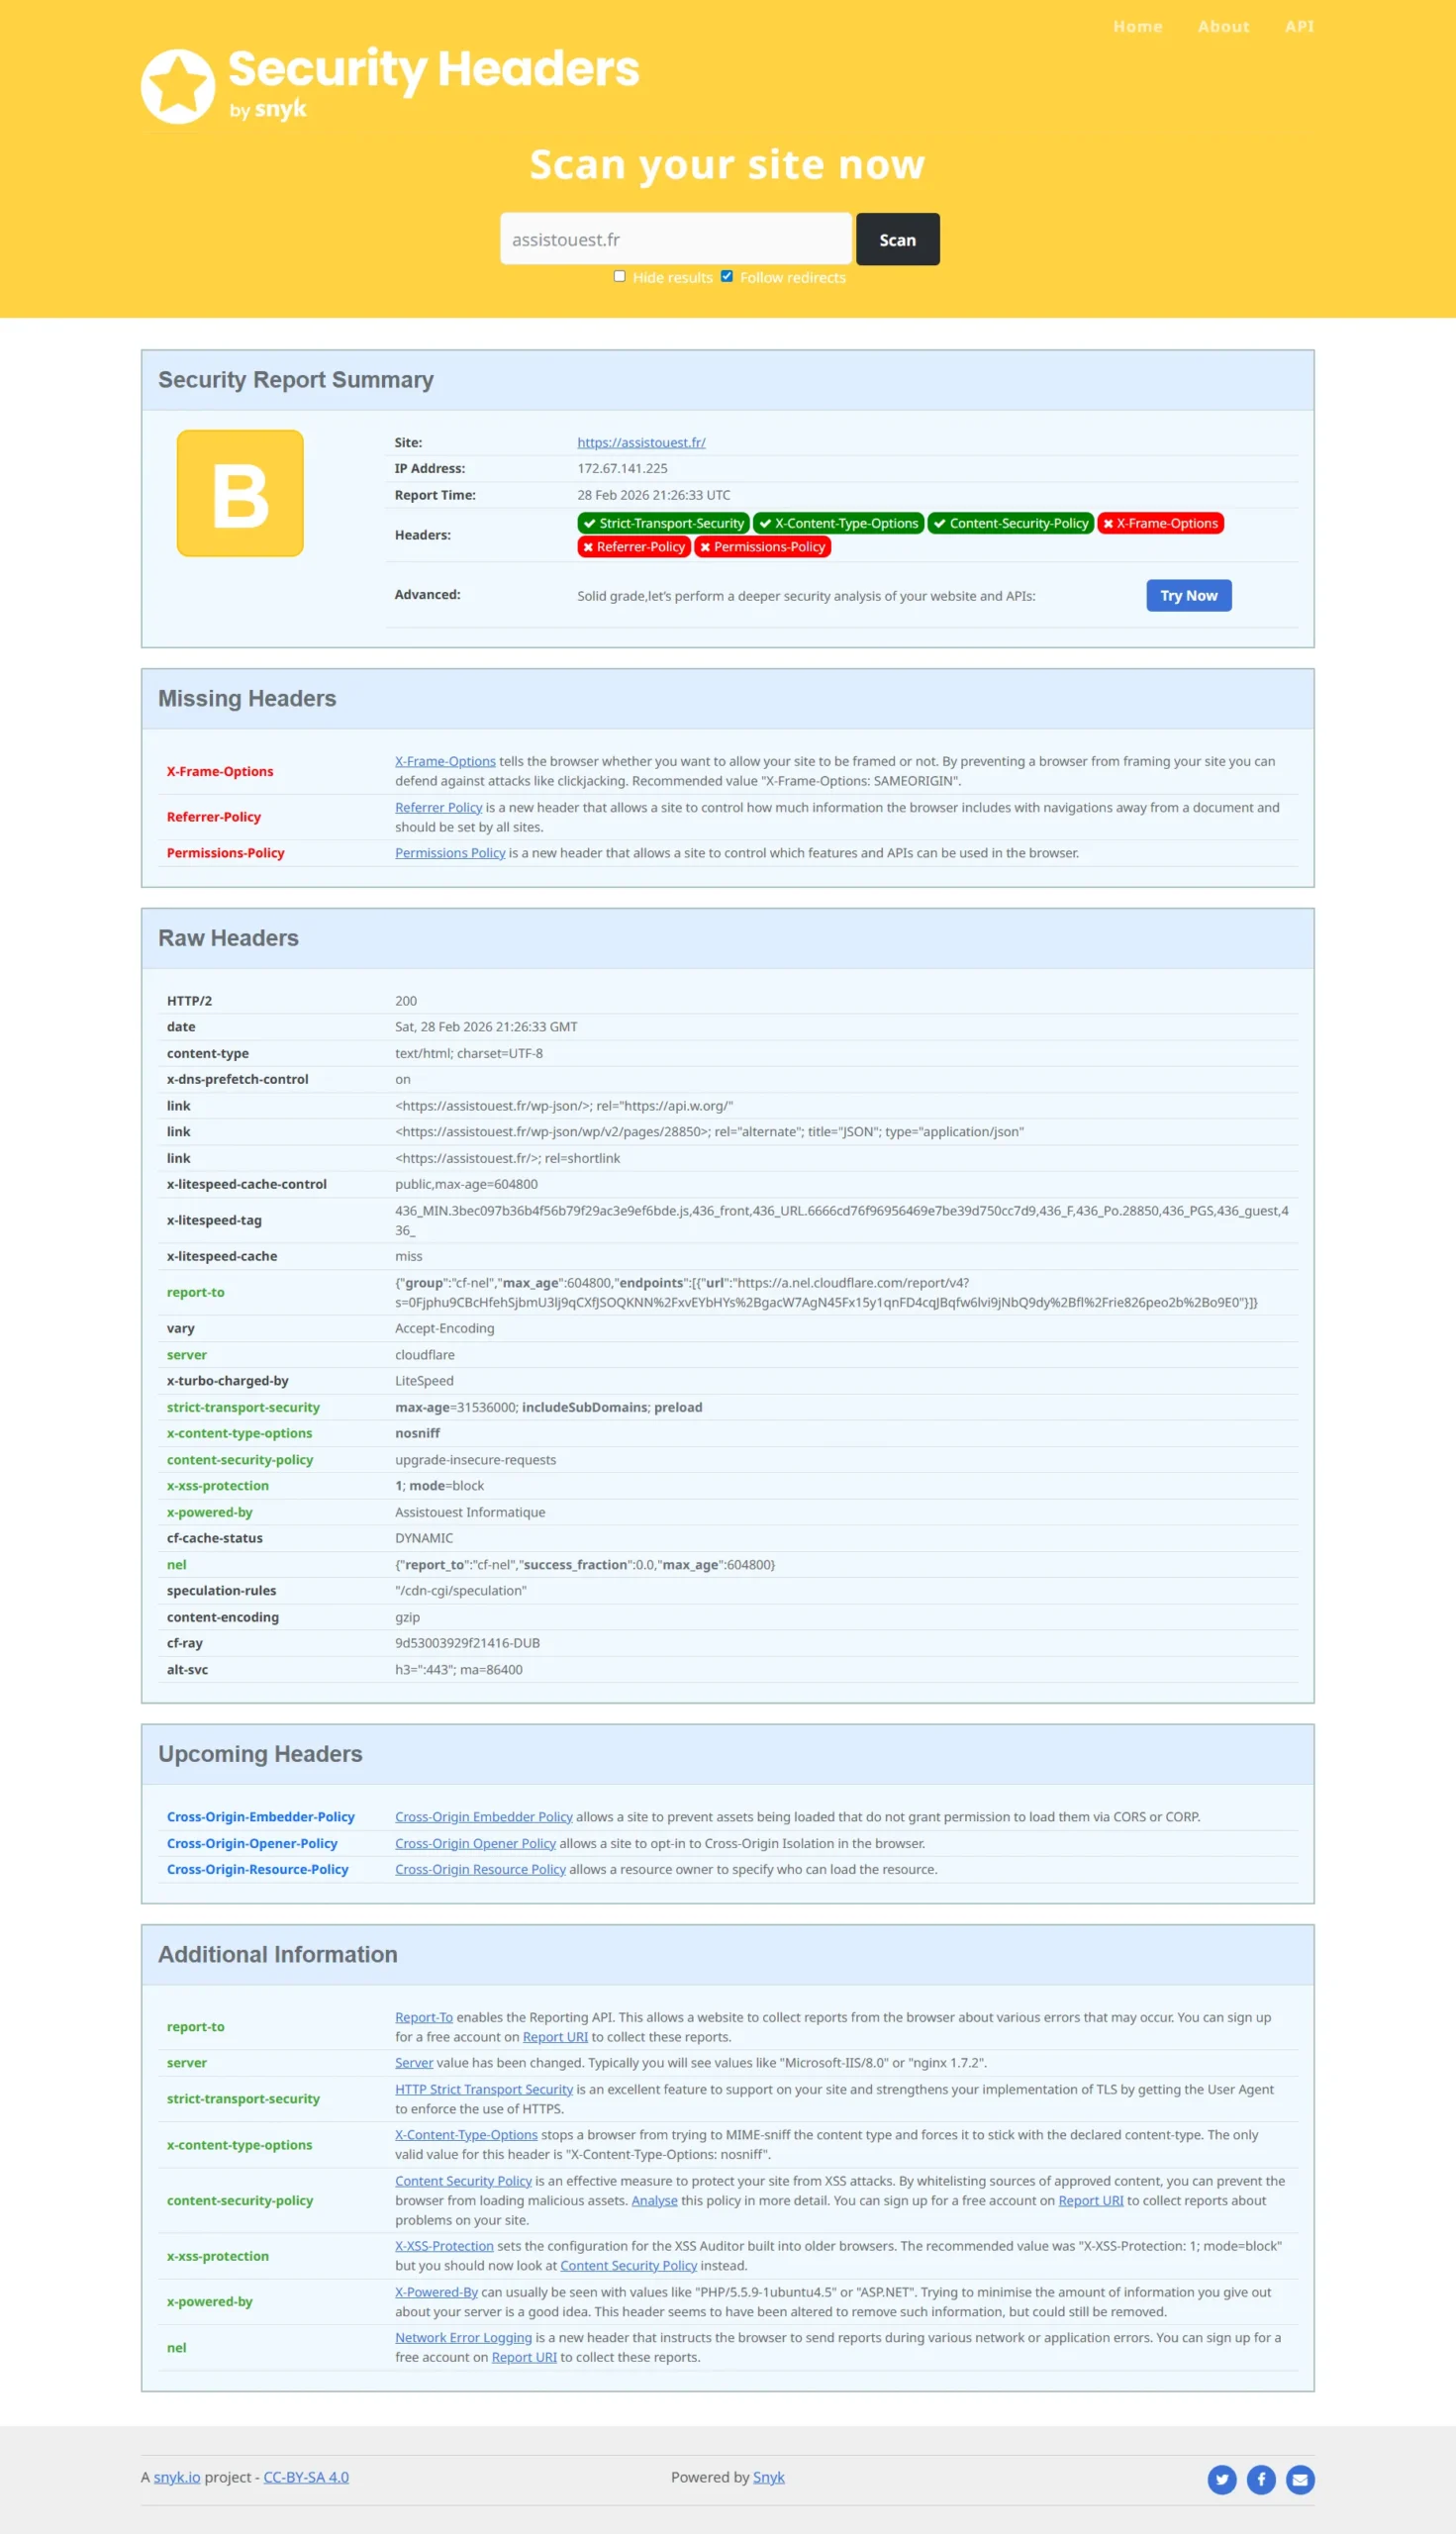
The goal is not only to get a good grade, but to understand what can be improved. The tool explains every point so you can adjust your configuration gradually. An excellent grade does not necessarily mean that the configuration suits your site. For example, an overly restrictive Content-Security-Policy (CSP) can prevent external services such as an embedded Google Maps map, videos, marketing tools or payment scripts from working.
After every server change or added header, run the analysis again to check that the settings are applied and that no error has been introduced.
4. Add a CAPTCHA to block bots
Automated attacks are one of the main threats to a WordPress site, including contact-form spam, brute-force login attempts and unwanted comments. Adding a CAPTCHA distinguishes human visitors from bots and limits these intrusions.
Several simple solutions can be integrated into WordPress, such as Google’s reCAPTCHA or dedicated plugins that add visual tests or “I am not a robot” checkboxes. These systems block bots effectively while remaining unobtrusive for legitimate users.
For a professional site, apply it to contact forms, login pages and account-creation areas. When configured properly, a CAPTCHA drastically reduces spam and automated hacking attempts without harming the user experience.
5. Install a WordPress security plugin
Even without root access to your server, you can strengthen your site’s security by installing a dedicated plugin. These extensions centralise protections such as file analysis, an application firewall, suspicious-login blocking, malware scanning and user-activity monitoring.
Popular solutions include Wordfence and Sucuri Security. Each lets you configure security rules to suit your needs and receive real-time alerts when a threat is detected.
For a professional WordPress site, apply the plugin to every login form, limit access attempts and schedule regular scans. Properly configured, a security plugin greatly reduces risk while keeping your site fully functional for visitors.
6. Enable two-factor authentication on WordPress
Securing access to your site starts with strong credentials and a robust password, but the best way to protect your administrator account is two-factor authentication (2FA). This method adds an extra step at login by requesting a temporary code generated on a smartphone or dedicated app in addition to the password.
On WordPress, Wordfence and other plugins make this protection easy to implement. Once enabled, even if a password is compromised, an attacker cannot sign in without the second factor.
For a professional site, apply 2FA to every account with elevated privileges, such as administrators and editors, while allowing regular users to enable it if they wish.
7. Move the default wp-login.php login page
The WordPress login page, wp-login.php, and the wp-admin dashboard are prime targets for automated attacks and brute-force attempts. Leaving these URLs accessible by default greatly increases the risk that bots or hackers identify your site as an easy target.
To limit this exposure, move or rename the login page. Plugins such as WPS Hide Login let you change the login URL in a few clicks. Access becomes harder for a bot to guess while remaining simple for legitimate users.
This reduces the attack surface without affecting the visitor experience or plugin operation. Combine it with other protections such as two-factor authentication and login-attempt limits to strengthen overall security.
8. Back up your WordPress site regularly for peace of mind
Regular backups are an important part of WordPress security. If the site is hacked, an update fails or the server has a problem, a recent copy lets you restore it quickly and limit data loss.
The All-in-One WP Migration plugin manages backups. It creates complete copies of your site and stores them locally or on a cloud service. Small sites can be restored for free, while larger sites can still be backed up for free but require a licence for restoration.
For a professional site, schedule regular backups and occasionally test restoration to make sure everything works. This precaution greatly reduces the risk of data loss and provides continuity for your online activity, even after a serious cyberattack.
9. Remove unused themes and plugins
Even when disabled, unused themes and plugins remain on your server and can provide entry points for hackers. Every obsolete plugin or theme increases the attack surface and may contain exploitable vulnerabilities, even if you do not actively use it.
To reduce this risk, completely remove every theme and plugin that is not needed. Keep only those that are up to date and essential to the site’s operation. This also makes the site lighter, improves performance and simplifies maintenance.
Before deleting a plugin or theme, make sure you have a recent backup. After deletion, check that the site works properly and test its basic features.
10. Check where plugins and themes come from
Installing plugins or themes from questionable sources is one of the most common and riskiest mistakes on WordPress. Cracked plugins, pirated versions and unmaintained software can contain malware, backdoors or unpatched vulnerabilities that expose your site to immediate attacks.
To secure your site, always prefer themes and plugins from the official WordPress directory or known developers. Check that extensions are updated regularly and compatible with your WordPress version. Even a popular plugin can become a vulnerability when its updates are abandoned.
If you are unsure about an existing plugin, remove it or replace it with a reliable alternative. This vigilance prevents malicious-code injection, reduces hacking risks and helps keep your site stable and secure over the long term.
11. Use a content delivery network to protect against DDoS attacks
A content delivery network, or CDN, does more than speed up your WordPress pages. It also provides a barrier against DDoS attacks (Distributed Denial of Service), which aim to overload your server and make your site unavailable.
By relaying traffic through a global network of servers, a CDN automatically filters suspicious requests and distributes the load, reducing the risk of service interruption. Some CDNs, such as Cloudflare, also provide an application firewall and bot protection to strengthen your site’s security.
For a professional site, adding a CDN combines performance and security. It protects your main server, improves availability for visitors and limits the impact of large-scale attacks without changing your WordPress site.
Don’t let the algorithm decide for you
Add Assistouest to your preferred sources on Google so you can find our guides faster when you search for an IT solution.
You have root access to a Linux server
With full access, you can go much further. You can configure HTTP headers directly, manage file permissions at system level, install application firewalls, deploy advanced solutions such as CrowdSec and automate backups or monitoring. These measures require full server control but provide much stronger and more flexible protection. If you are starting from scratch, our guide explains how to self-host your WordPress site on Ubuntu with CyberPanel.
12. Protect your server with a collaborative firewall
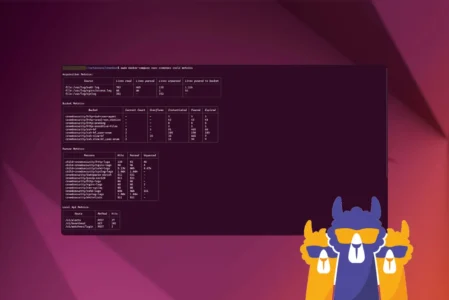
CrowdSec is a collaborative firewall that analyses traffic in real time to detect suspicious behaviour and automatically neutralise malicious IP addresses. It protects your WordPress site from bots, brute-force attempts and automated attacks that threaten data security and site integrity.
 assistouest.fr
The firewall identifies abnormal activity, applies temporary or permanent blocks, sends alerts and keeps detailed logs for accurate monitoring. Its community dimension makes it even more effective because addresses identified as dangerous are shared among participating servers, creating a collective and dynamic defence network.
When a threat is identified, the system can:
- Temporarily or permanently block the affected IP
- Send an alert to the administrator
- Log events for a later audit
CrowdSec goes far beyond the conventional protection offered by WordPress by providing a high level of security while preserving the flexibility needed for your site to work properly.
13. Set up an application firewall with OWASP CRS
To protect a WordPress site from the most common web attacks, an application firewall is essential. The OWASP Core Rule Set (CRS) is a collection of ready-to-use rules for web servers such as Apache or Nginx. These rules automatically detect and block SQL-injection attempts, cross-site scripting, Remote File Inclusion attacks and other malicious behaviour.

CRS is installed through a WAF module such as ModSecurity. Once enabled, the WAF inspects every incoming request and applies OWASP rules in real time. The community regularly updates the rules to address new vulnerabilities. This protection greatly reduces the risk of exploiting flaws in your WordPress site.
The content will unlock automatically after verification.