
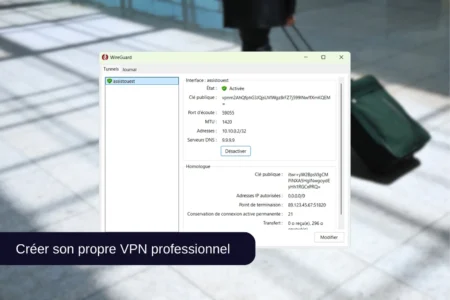
Between unsecured public Wi-Fi networks and network restrictions abroad, nothing beats direct access to your own local network. With WireGuard and a simple Ubuntu server, you can connect remotely as if you were physically at home. Printers, home automation, shared drives—everything becomes accessible through an encrypted, fast and discreet connection. Here is how to create your own personal or business VPN.
In this article
- Why create your own WireGuard VPN?
- Prerequisites for creating your WireGuard VPN
- Installing WireGuard on Ubuntu
- Basic WireGuard server configuration
- Installing Docker and Docker Compose
- Deploying the WGDashboard interface with Docker Compose
- Launching the web interface
- Accessing the WGDashboard web interface
- Creating a VPN client (peer)
- Installing the WireGuard client
Why create your own WireGuard VPN?
Setting up your own VPN server with WireGuard on Ubuntu is much more than a technical project: it means taking full control of your connections, data and network. Unlike commercial VPNs that promise anonymity while imposing their own rules (and sometimes their limits), a self-hosted WireGuard server gives you a customised, transparent and highly secure solution. The benefits are numerous:
- Enhanced security: WireGuard’s modern encryption relies on secure protocols (Curve25519, ChaCha20…) and an extremely small codebase, considerably reducing the risk of vulnerabilities.
- Controlled privacy: no third party is involved in transmitting your data.
- Remote access to your local network: whether you are on the other side of the world or simply away from home, you can access all your devices as if you were at home: NAS devices, printers, home automation hubs, IP cameras and more.
- Bypassing network restrictions: in some places (hotels, businesses and countries), access to certain services may be blocked. With your own VPN, all your traffic goes through your home connection as if you had never left your sofa.
Compared with alternatives such as OpenVPN (heavier and more complex to configure) or PPTP (obsolete and poorly secured), WireGuard stands out for its speed and robustness.
Prerequisites for creating your WireGuard VPN
Before you begin, make sure you have:
- An Ubuntu 22.04+ server (a server or single-board computer)
- An Internet connection with a public IP address
- UDP port 51820 forwarded to the server (through your modem/router)
Installing WireGuard on Ubuntu
The first step in setting up your VPN is to install WireGuard, a modern, fast and secure VPN protocol.
Start by updating your system to make sure all packages are up to date:
sudo apt update && sudo apt upgrade -y
Next, install WireGuard and its tools:
sudo apt install wireguard wireguard-tools -y
IP forwarding is required to let VPN clients access the Internet through your server. Enable it with the following command:
echo 'net.ipv4.ip_forward=1' | sudo tee -a /etc/sysctl.conf
sudo sysctl -p
Basic WireGuard server configuration
Create the server’s private and public keys. These keys are required to establish an encrypted communication channel:
cd /etc/wireguard
umask 077
sudo wg genkey | tee server_private.key | wg pubkey > server_public.key
Next, retrieve the private key (you will need it for the configuration):
cat /etc/wireguard/server_private.key
Create the main configuration file for the VPN interface:
sudo nano /etc/wireguard/wg0.conf
Paste the following content, replacing <COLLEZ_ICI_LE_CONTENU_DE_server_private.key> with your private key:
[Interface]
Address = 10.10.0.1/24
PrivateKey = <COLLEZ_ICI_LE_CONTENU_DE_server_private.key>
ListenPort = 51820
SaveConfig = true

PostUp = iptables -A FORWARD -i wg0 -j ACCEPT; iptables -A FORWARD -o wg0 -j ACCEPT; iptables -t nat -A POSTROUTING -o eth0 -j MASQUERADE
PostDown = iptables -D FORWARD -i wg0 -j ACCEPT; iptables -D FORWARD -o wg0 -j ACCEPT; iptables -t nat -D POSTROUTING -o eth0 -j MASQUERADE
Note: if your main network interface is not eth0 (for example, on a VPS), replace it with the correct name (you can check it with the command ip route show default | grep '^default' | awk '{print $5}').
Start the WireGuard service and configure it to start automatically when the system boots:
sudo systemctl enable wg-quick@wg0
sudo systemctl start wg-quick@wg0
Check that the VPN is working correctly:
sudo wg show
Installing Docker and Docker Compose
To use a graphical management interface such as WGDashboard, Docker is required. Install it as follows:
sudo apt install docker.io docker-compose -y
sudo systemctl enable docker
sudo systemctl start docker
Installing the Docker Compose binary (depending on the architecture)
First create the directory where the Docker Compose binary will be placed:
sudo mkdir -p /usr/local/lib/docker/cli-plugins
Then download the version suited to your system:
- For ARM64 systems (Raspberry Pi, ARM servers, etc.):
sudo curl -SL https://github.com/docker/compose/releases/latest/download/docker-compose-linux-aarch64 -o /usr/local/lib/docker/cli-plugins/docker-compose
- If you are using a PC or VPS (x86_64):
sudo curl -SL https://github.com/docker/compose/releases/latest/download/docker-compose-linux-x86_64 -o /usr/local/lib/docker/cli-plugins/docker-compose
Make the binary executable:
sudo chmod +x /usr/local/lib/docker/cli-plugins/docker-compose
Check the installed versions:
docker --version
docker compose version
Deploying the WGDashboard interface with Docker Compose
Create a new directory to store the WGDashboard configuration files:
mkdir ~/wg-dashboard && cd ~/wg-dashboard
nano docker-compose.yml
Paste the following content into the docker-compose.yml file:
version: "3.8"

services:
  wg-dashboard:
    container_name: wg-dashboard
    image: ghcr.io/donaldzou/wgdashboard:latest
    ports:
      - "10086:10086"
    volumes:
      - ./data:/app/db
      - /etc/wireguard:/etc/wireguard
    restart: unless-stopped
    environment:
      - WG_CONF_DIR=/etc/wireguard
    cap_add:
      - NET_ADMIN
      - SYS_MODULE
    network_mode: "host"
Launching the web interface
Start the container:
docker compose up -d
Then check that the container is running:
docker ps
Accessing the WGDashboard web interface
Once WGDashboard is installed and running, you can manage it through a web interface accessible in any browser. Enter the following address in your browser’s address bar:
http://<IP-de-votre-serveur>:10086
By default, the interface is protected by a username and password initially set to:
- Username:
admin - Password:
admin
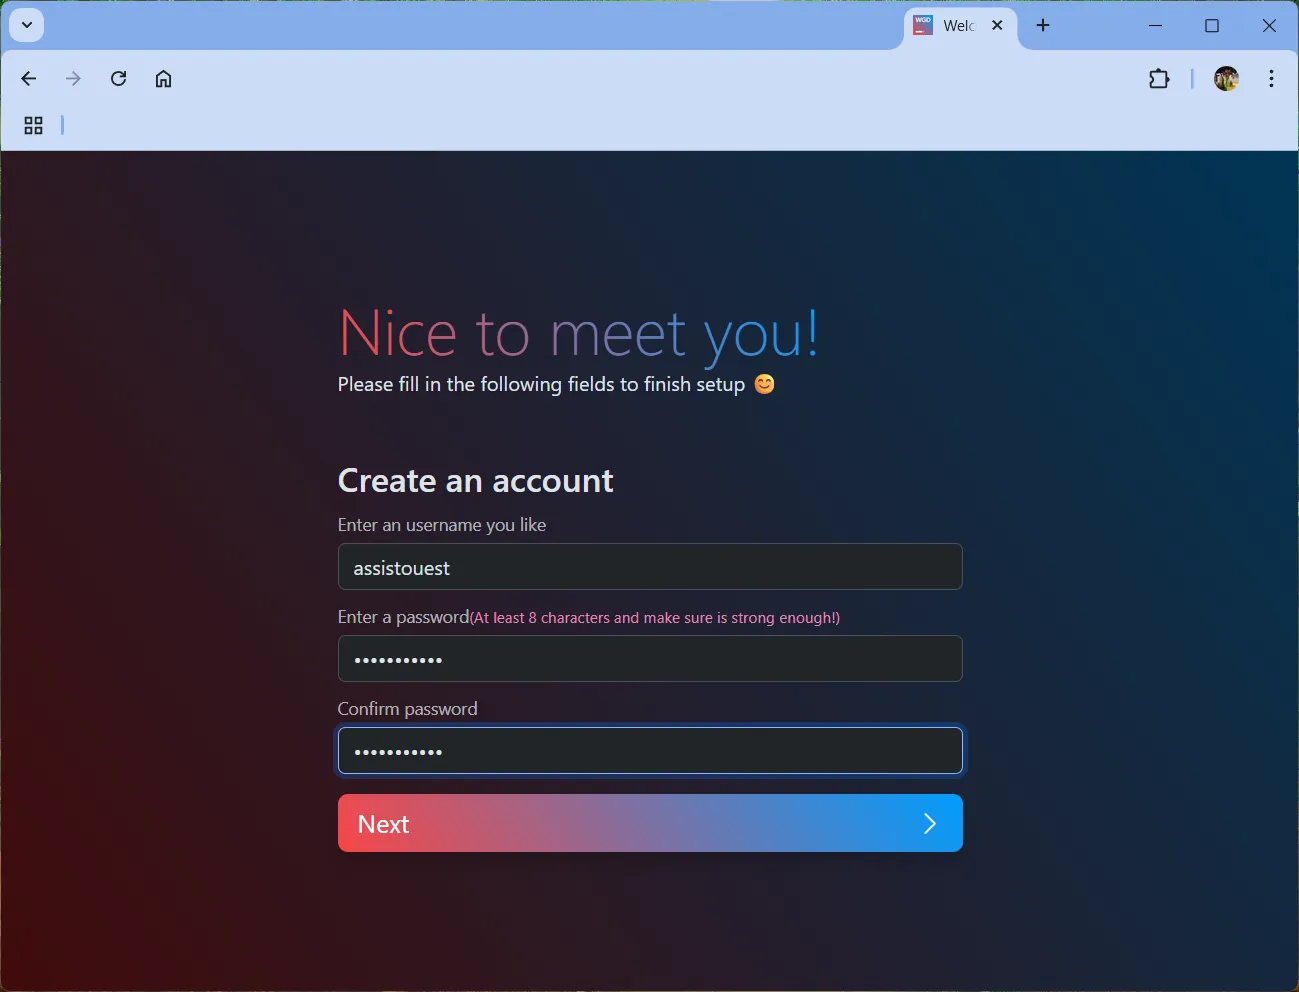
On your first login, you will be asked to customise these credentials to secure access.
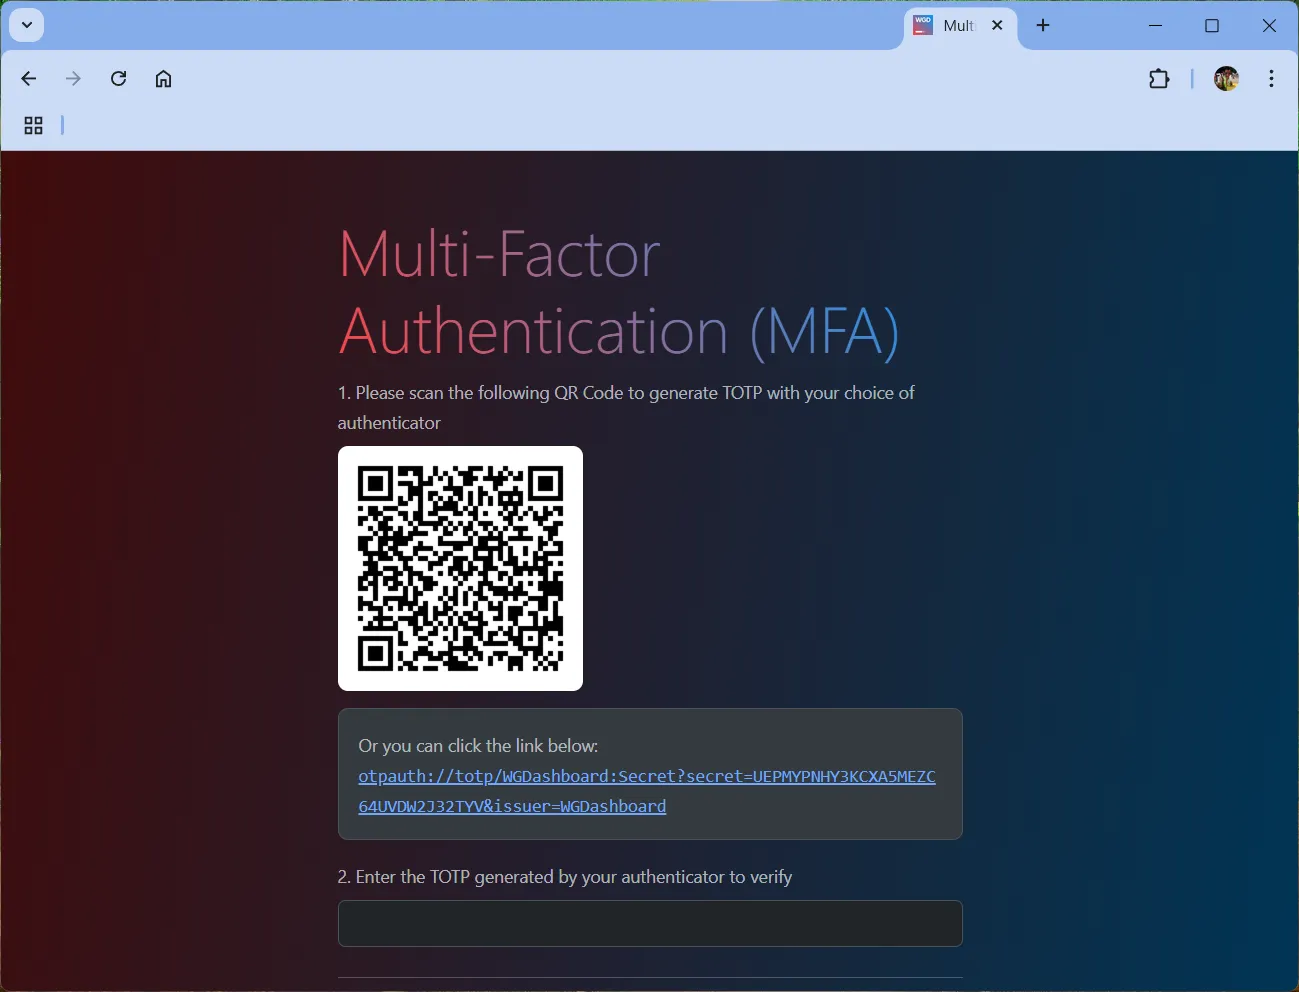
It is also recommended to enable two-factor authentication (2FA), available in the settings, to strengthen protection against unauthorised access.
Don’t let the algorithm decide for you
Add Assistouest to your preferred sources on Google so you can find our guides faster when you search for an IT solution.
Creating a VPN client (peer)
From the main interface, you will see the active VPN connection.
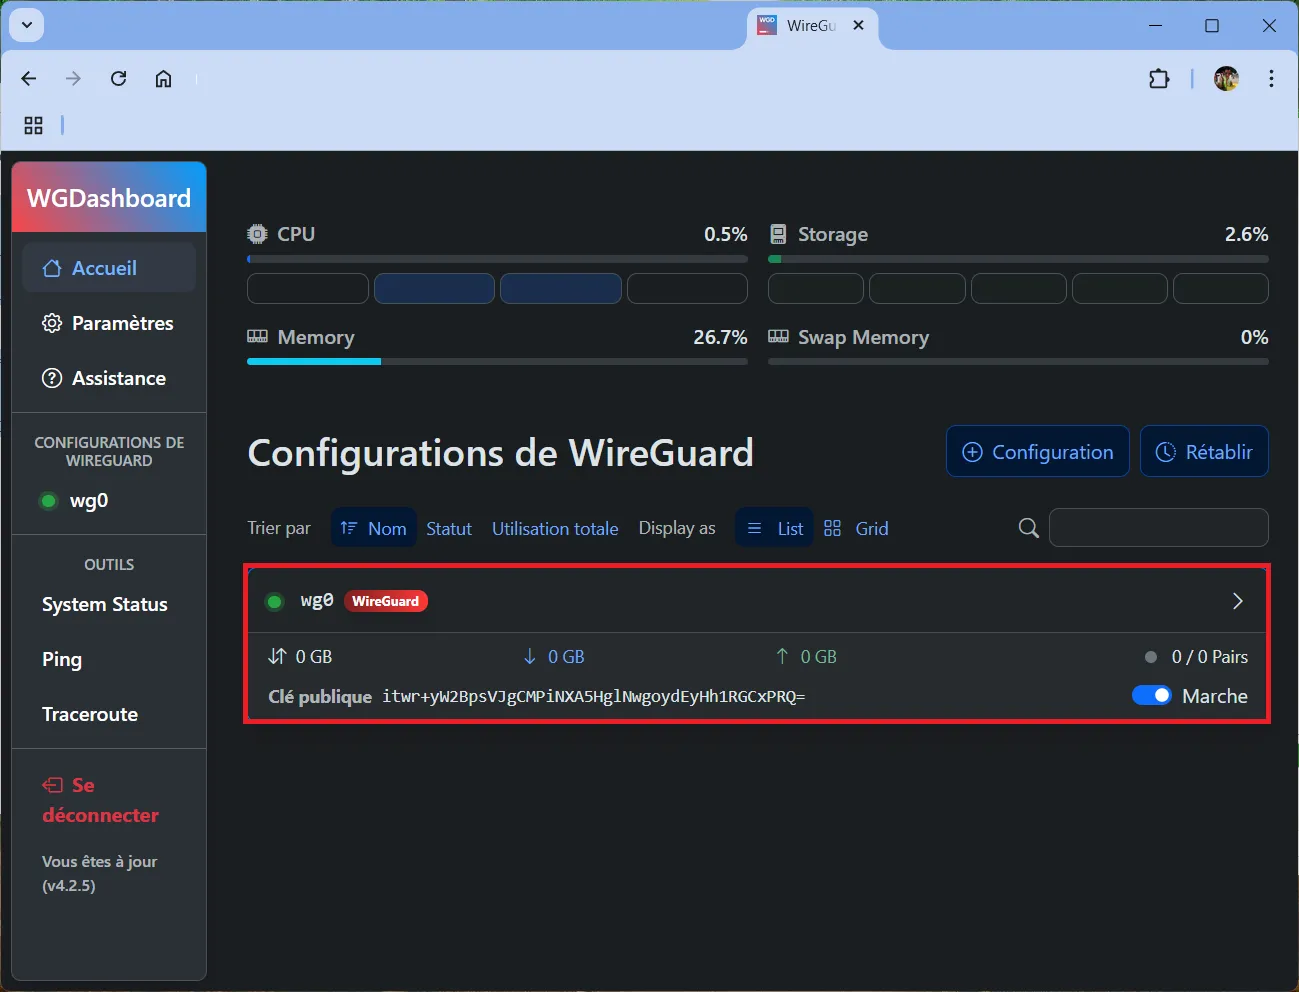
To add a new client, click this connection and then the tab labelled “Peer”.
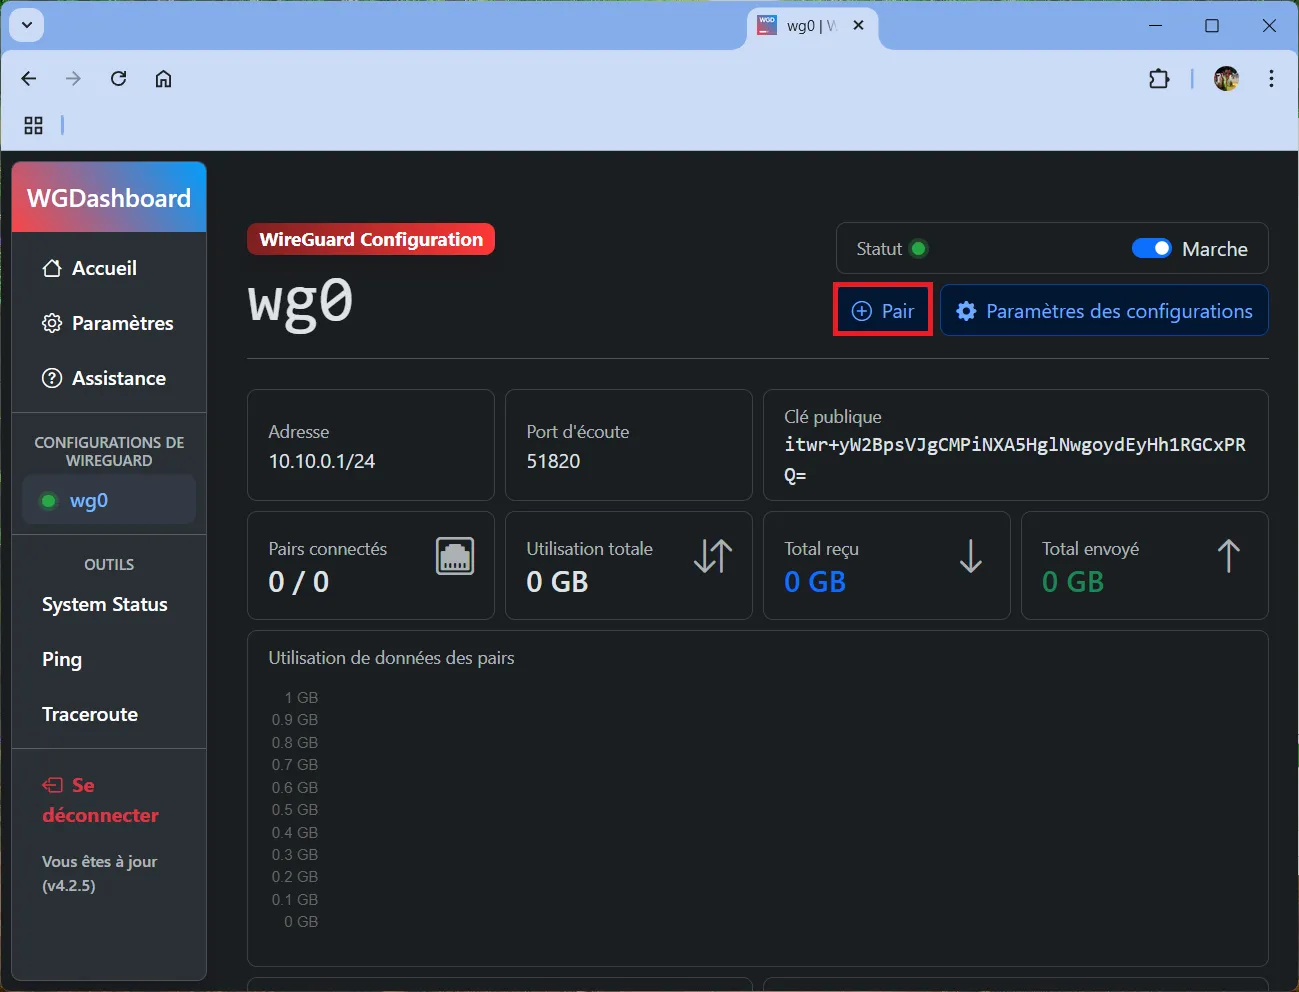
You can then create a new VPN client and give it a name (for example: Workstation, Laptop, Smartphone, etc.).
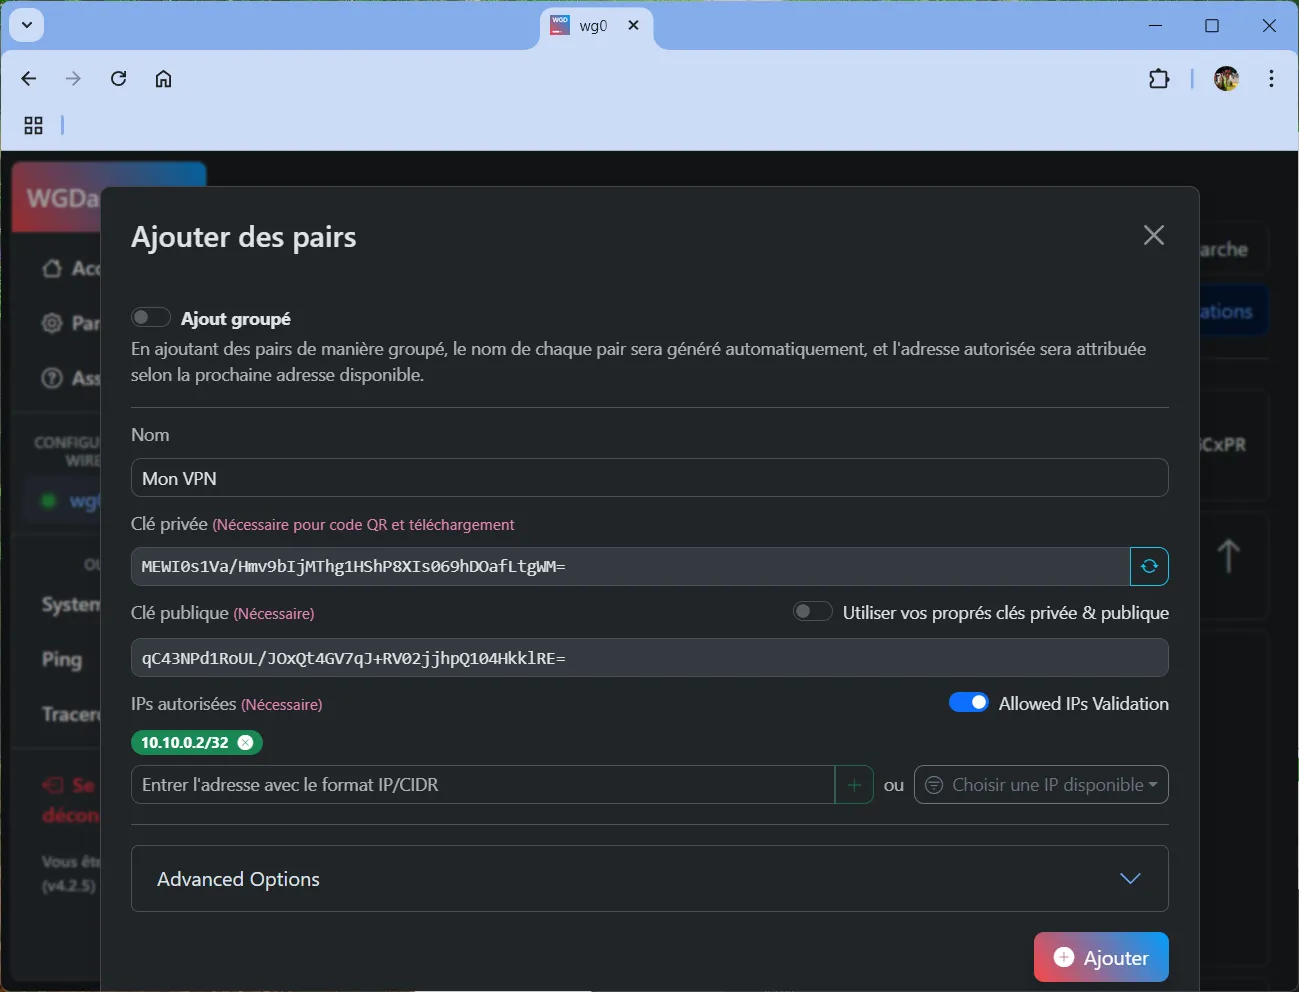
Once the peer is created, WGDashboard automatically generates the corresponding configuration file. You can then download it in .conf format.
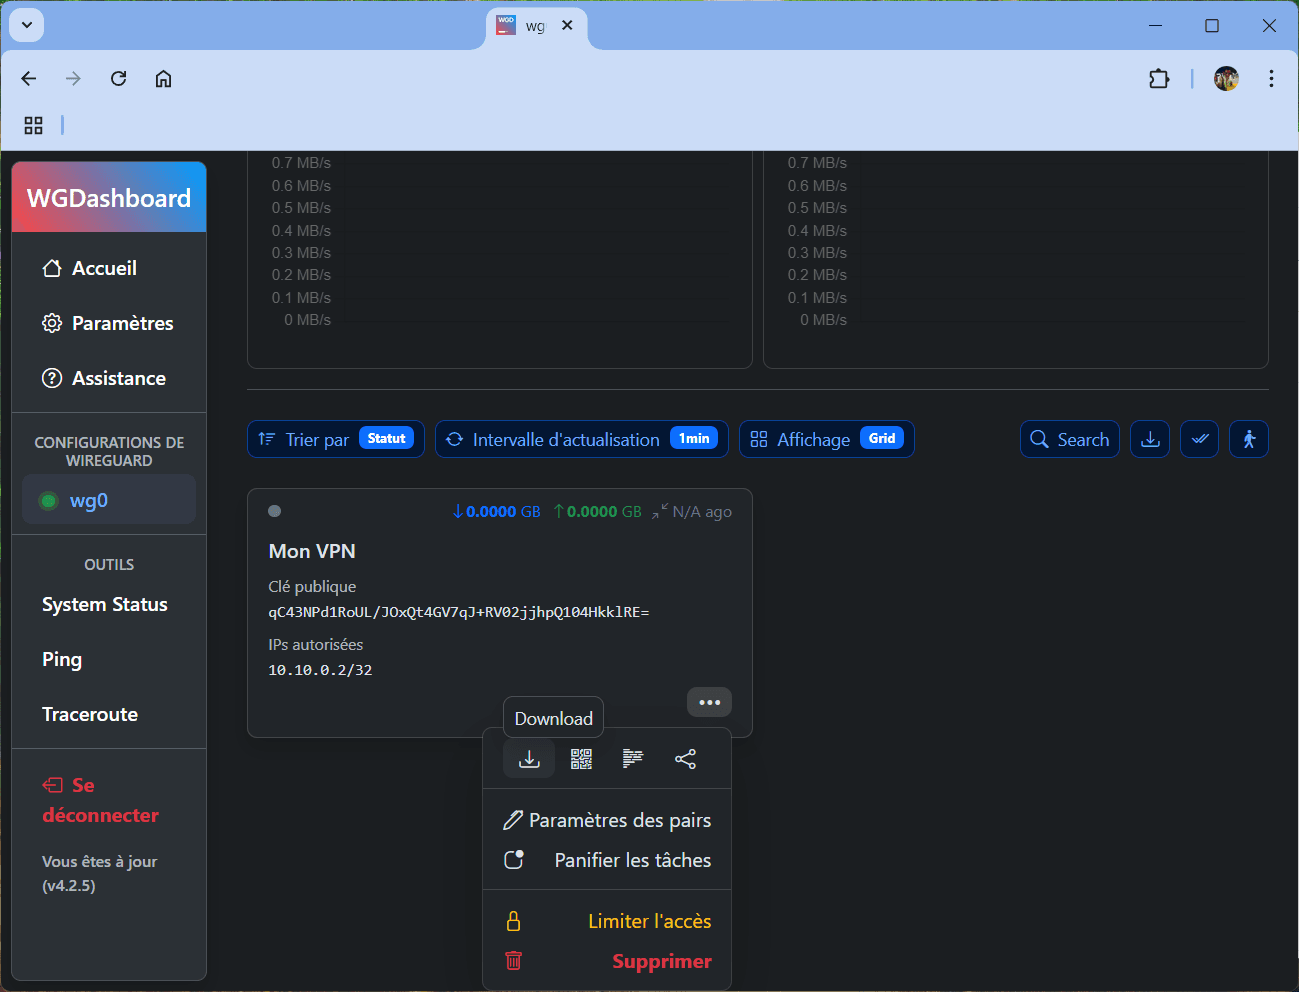
This file is designed to be used directly by WireGuard clients, but it sometimes requires a minor change, especially if your server uses an IPv6 address.
Here is an example of an automatically generated file:
[Interface]
PrivateKey = MEWI0s1Va/Hmv9bIjMThg1HShP8XIs069hDOafLtgWM=
Address = 10.10.0.2/32
MTU = 1420
DNS = 9.9.9.9

[Peer]
PublicKey = itwr+yW2BpsVJgCMPiNXA5HglNwgoydEyHh1RGCxPRQ=
AllowedIPs = 0.0.0.0/0
Endpoint = 2a01:e0a:4b7:2500:dea6:32ff:fe02:4409:51820
PersistentKeepalive = 21
In this example, the Endpoint field contains an IPv6 address. For the WireGuard client to interpret it correctly, this address must be enclosed in square brackets. Otherwise, the client will refuse to import it or display an error.
The corrected file should therefore look like this:
[Interface]
PrivateKey = MEWI0s1Va/Hmv9bIjMThg1HShP8XIs069hDOafLtgWM=
Address = 10.10.0.2/32
MTU = 1420
DNS = 9.9.9.9

[Peer]
PublicKey = itwr+yW2BpsVJgCMPiNXA5HglNwgoydEyHh1RGCxPRQ=
AllowedIPs = 0.0.0.0/0
Endpoint = [2a01:e0a:4b7:2500:dea6:32ff:fe02:4409]:51820
PersistentKeepalive = 21
This simple adjustment prevents file import errors in the WireGuard client.
⚠️ This file contains private keys and connection details for the VPN server. It provides direct access to your local network. Never share it with third parties. This example used a test environment, and the server has since been disabled.
Installing the WireGuard client
To establish the VPN connection, you now need to install the WireGuard client on the device you want to connect (computer, smartphone, etc.).
Visit the official WireGuard website and download the client for your operating system (Windows, macOS, Linux, Android or iOS).
Install the application and open it.
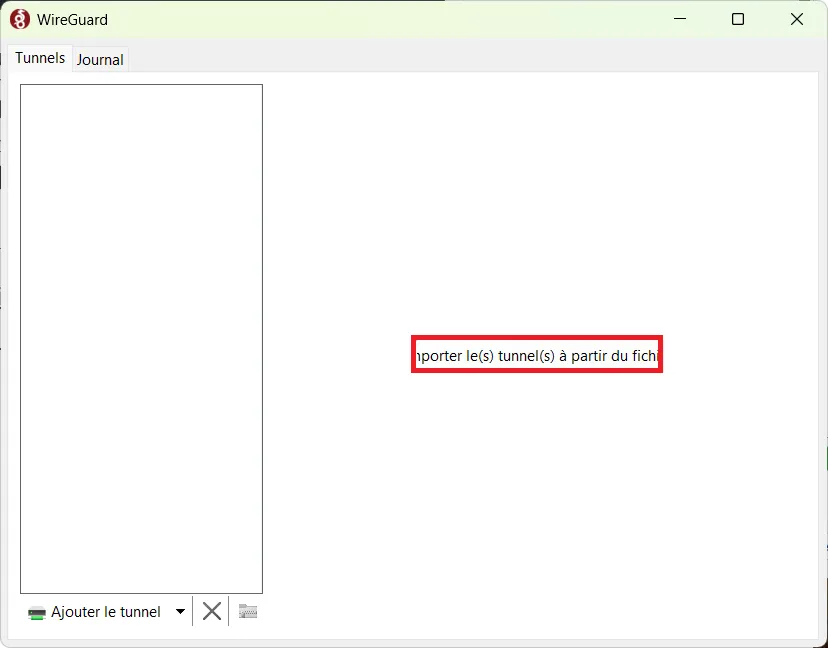
Click “Import tunnel(s) from file” and select the .conf file you modified earlier.
Once it has been imported, click “Activate” to establish the VPN connection.
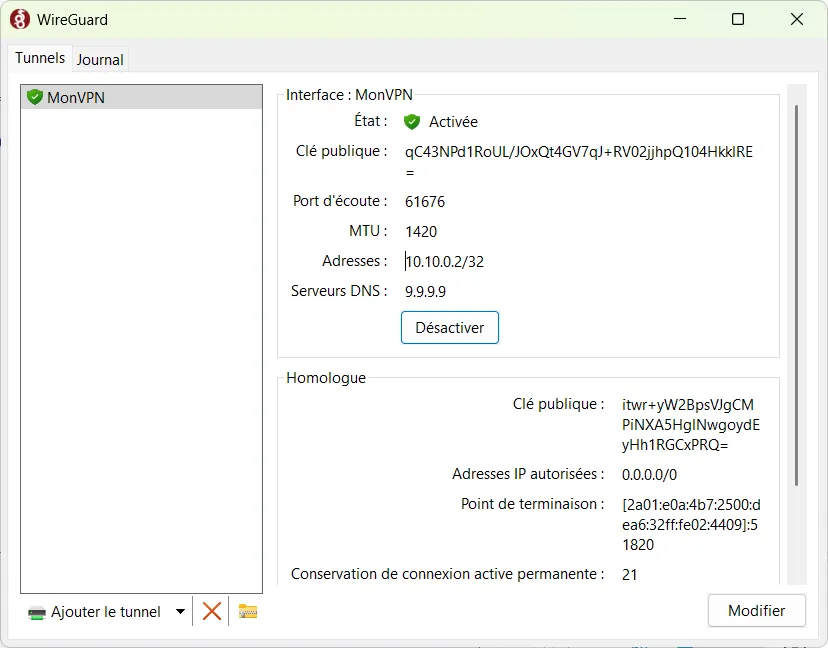
Once the connection is active, all your traffic will pass through the WireGuard tunnel. You can check that it is active by checking your public IP address with an online service such as ifconfig.me. If everything is configured correctly, the displayed IP address will be that of your VPN server rather than your usual Internet connection.
The content will unlock automatically after verification.